
Last month, I discussed one of our first big 3D printing and painting project, which was the Tower of Terror from Fat Dragon Games. It definitely fell into the learning experience area. We know there were little imperfections and many other things that we learned along the way, but I’m a firm believer that you can’t skill up without practice, and imperfections and mistakes are part of that process. We’re still pretty new at this, but as I said before, the purpose of me doing these pieces is to show other novices that there are still cool things you can produce at the novice level and to not be afraid to jump in.
As before, I will preface this by noting that none of the products I will reference were provided to me by any sort of sponsor or company. Some we selected on our own, others were recommended to us or were mentioned by someone in the gaming community online.
Printing
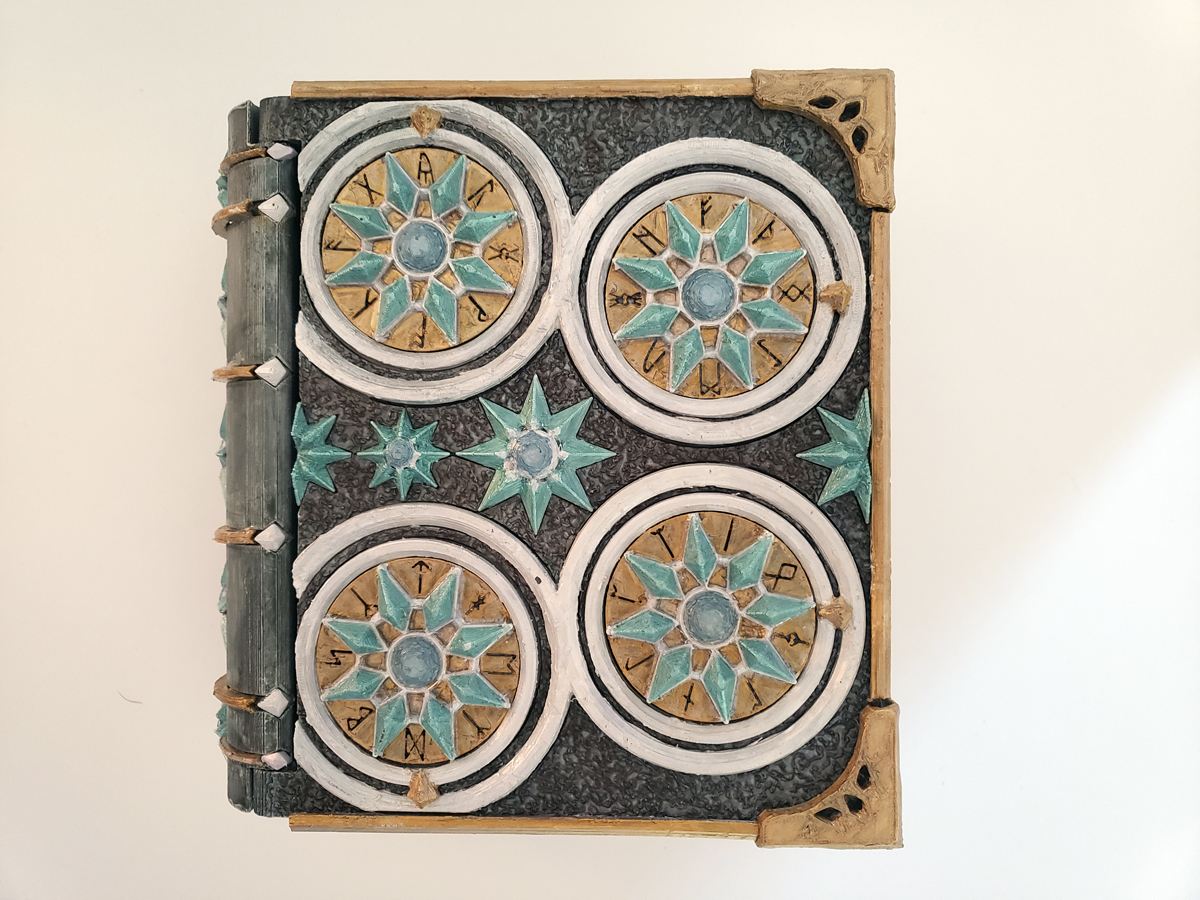
This time we decided to do something a little different as requested by our eleven-year-old, A. We were one of the backers for the extremely awesome Puzzles & Props Kickstarter from The Printing Goes Ever On (note: their props items are now found under the name Props & Beyond), which included a large number of full size props great for costuming or just extra fun. A’s eyes fell on the Tome of Portals, a book-shaped puzzle box, and decided he had to have one to store his Ranger’s spell cards in. It’s a really cool piece with moving sections that you can set a combination to lock the box (what every older sibling wants). There are lots of cool details on it that there are multiple ways to paint, and the idea was to use our own paint scheme with a blue and green theme to feel more Ranger-like. Wish granted, kiddo.
The files for the Tome of Portals were set up to be printed supportless so our FDM printer (a Creality CR-6 SE) was certainly up to the task. It was about a full week or so of printing time. The estimated time was about 5 days, but if a human can’t be around to immediately start the new job or a few pieces need reprinting, you end up adding a day or so extra. I will say I am grateful for one of the features our printer has which is a sort of surge detection. It paused 5 hours into a 7-hour print job when we had a power surge and was able to pick up the job as if nothing had ever happened.
These are the settings and filament my husband used:
- Time: Minutes for the smallest pieces to 24 hours for the main book.
- Filament: SUNLU PLA Grey 1.75mm.
- Printer settings: 0.4mm nozzle, 0.2mm layer height, 0.3 mm width, 150% first layer width, 10% infill, 50mm/sec print speed, 1 mm wall top and bottom.
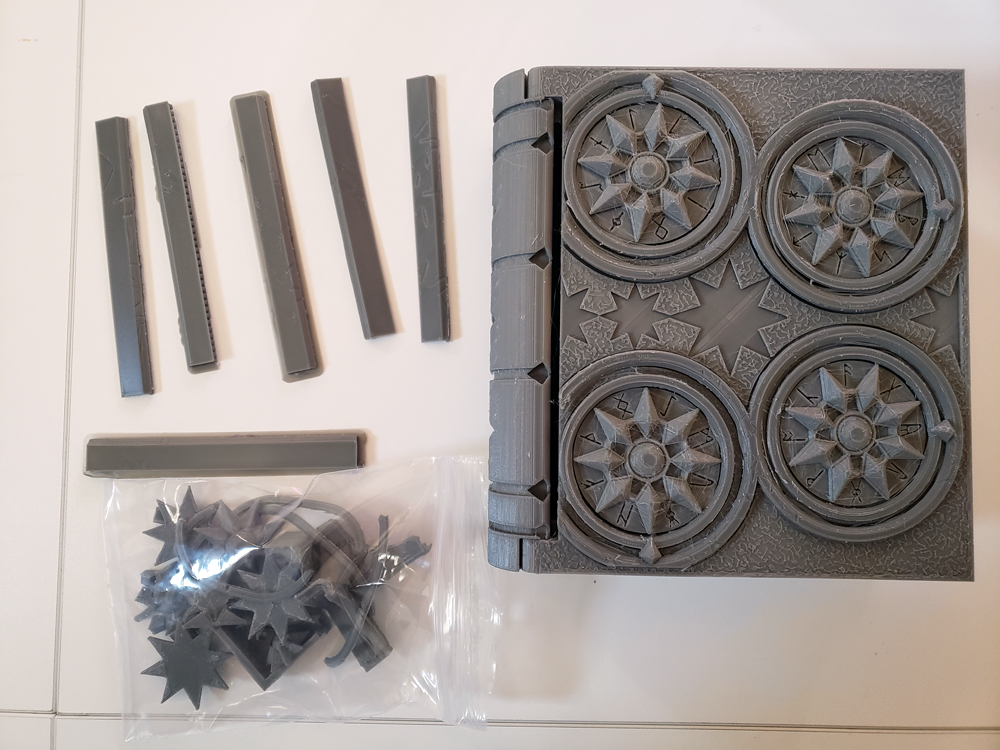
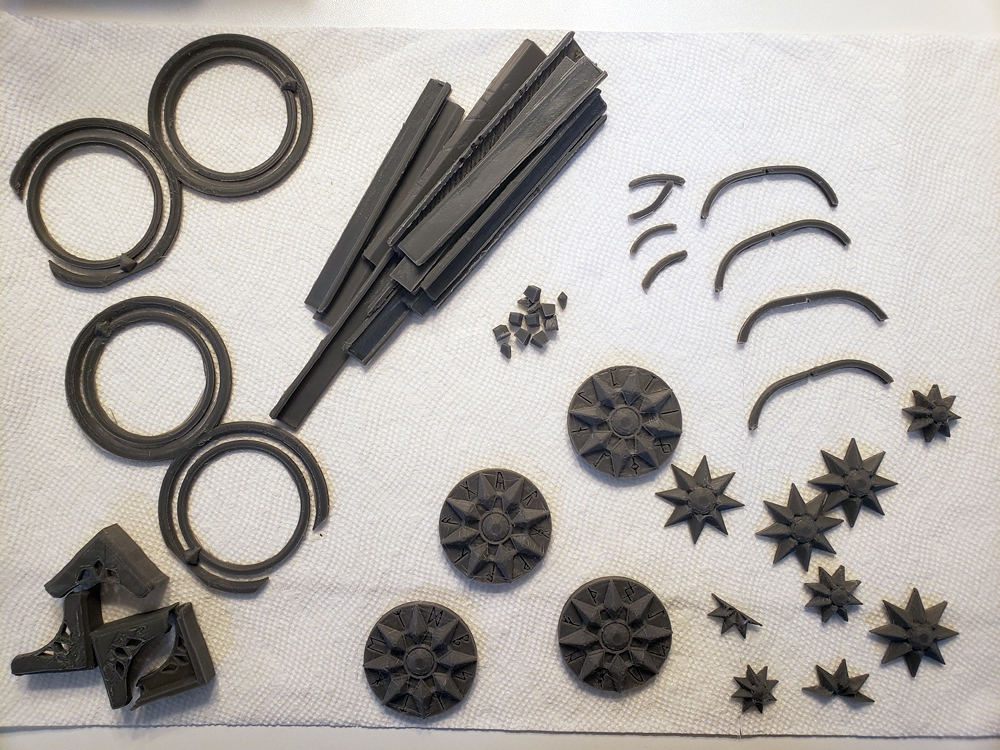
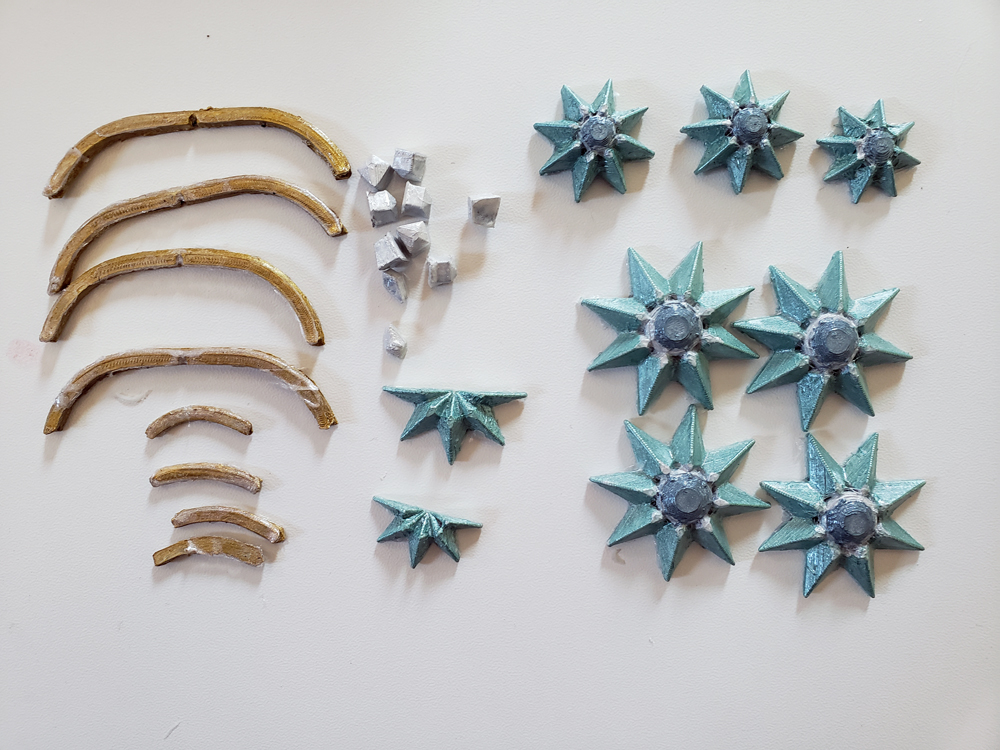
The one catch to this piece is that all of those little detail pieces need cleaning up, especially to fit in with each other (and they are a tight fit). We also had more stringing than I anticipated. Did we do the neatest job in polishing things up afterward? Honestly, we have room for improvement, and I’ll be looking up some methods later. Also, those tiny little gems were ridiculously easy to lose (we had to reprint a few). We do keep a project bucket with little baggies for the small bits as things print out which keeps most of those things together.
Painting
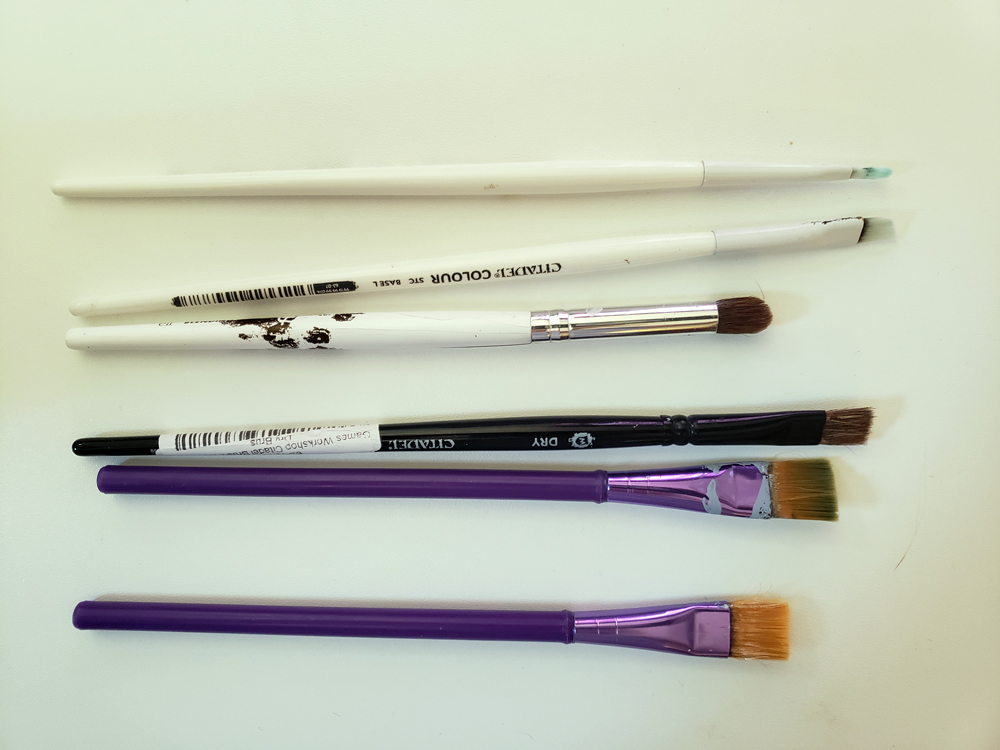
With the printing done, the next thing to do was paint. My paints all tend to come from Scale 75 with some mixing between their different lines. I used their Holy Charm Primer from the Instant Colors line (white-based) for everything. For these bigger pieces, I used some of my cheaper Crayola brushes for the painting and a Citadel brush for dry brushing. The book got its base in Leviathan Blue from the Instant Colors range. It’s a more greenish shade that feels very Cthulhu to me. To help give it a little more of an aged look, I dry brushed Decayed Metal from the Metal N Alchemy colors on top. A was thrilled. The aged pages were done by a first layer of Werewolf Brown from the Instant Colors line followed by dry brushing Hykey Yellow from the Fantasy & Games line on top to give an aged parchment look. A was even more thrilled. For those of you newer to painting, dry brushing is one of the simplest things you can do to add effects, and you can find a basic tutorial here. I dripped some paint on the book interior and just did an accent section in Elven Gold from the Mental N Alchemy line to cover it up.

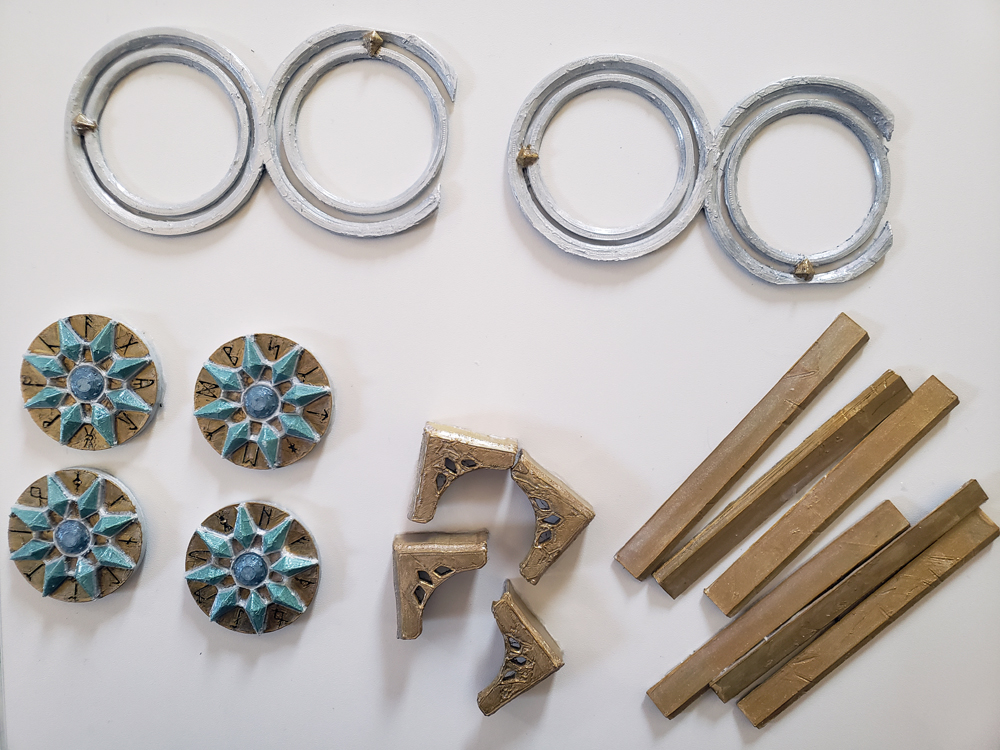
The rest of the pieces I did mostly in metallics from the Metal N Alchemy collection including Elven Gold, Speed Metal, Cobalt Alchemy, and Emerald Alchemy. I used smaller and nicer Citadel brushes for these. The tiny gems were one of the exceptions. I used a fluffy e.l.f. cosmetics brush to sort of roll paint them in a jar lid with a few drops of paint because it was the only method I could think of to paint around their awkward shape and contain them. We still lost two at some point, likely sacrificed to DJ Roomba and his efficient vacuuming. For the rune sections, I did a first layer in Shadow Black from the Instant Colors line so that the runes would really show up and then carefully painted the Elven Gold across the top.
The next part was sealing, especially since we anticipated this getting handled a decent amount. We ended up using Krylon Matte Finish for the main book and back of the gears but thought we should use a shinier sealant for the metal bits. We ended up using the Mod Podge Gloss Clear Acrylic Sealer Spray, which, in hindsight, we won’t use again as it made the pieces sort of tacky and tricky to deal with when it came to assembly. You live and learn.
Assembly was longer than I anticipated. Because of that tacky sealer, there was a bit more work needed getting the little pieces secured into their spots to be glued in. Soft clamps did end up being used on some of the pieces to keep them down enough for the glue to secure them properly. My husband particularly wrestled with getting the tiny gems in (those things better never fall out given all that work). The gear bits did take him some work to get together, but we did manage it and tested things. One of the little combinations bits was a bit tricky to dial, so it did need a bit more filing to be turnable. Again, more work assembling than we expected, but the end result was super cool and A is very much pleased.
Final Thoughts
We got better at some things and learned there are a few other things we should look up (like finishing pieces, the stone bits from the past project required less work like that). I will note a slicing software switch in some of what we are currently printing has really reduced the stringing in our future projects too. However, I’m pretty proud of this piece and I know my kid is going to love using it for his gaming stuff, so even with its imperfections, I count it as a win. I definitely look forward to printing more stuff from our Kickstarter rewards, and I’m subscribed to the monthly prop drops through Props and Beyond, so it’s probably only a matter of time before I take on another one of their items, or another Tome of Portals, because now the other kid wants one too.


