Our family hobby of 2022 has clearly become 3D printing and then the painting of things that we’ve printed (mostly stuff for tabletop gaming but also some prop size items). We’re still pretty new at all of this, but I decided to share our projects anyway. I know when it comes to painting gaming minis, a lot of people take one look at what veteran painters can do, get overwhelmed with a sense they can never be that good so they sort of give up trying altogether. I thought it might be helpful to highlight what beginners have been able to do as a way to create a sense of “maybe I can’t do that thing that super advanced person can, but I could probably do this.”
I would like to note up front that none of the products I will reference were provided to me by any sort of sponsor or company. Some we selected on our own, others were recommended to us or were mentioned by someone in the gaming community online.
Printing
Right now, we are using a Creality CR-6 SE FDM (Fused Deposition Modeling) Printer. It was actually this write-up from GeekDad Ricardo that helped us select this as our first printer. FDM printers are pretty decent for doing prop size items and terrain based pieces. Usually if you want highly detailed minis, you want to get a resin printer. While props and terrain can be printed on a resin printer, it does tend to be more expensive, especially for large pieces. It is also not uncommon for some people to own both printer types to split between the differing printing needs.
Recently, Humble Bundle hosted a deal for a large selection of both paper terrain and STL (Standard Tessellation Language) files for 3D printing terrain from Fat Dragon Games. Fat Dragon games does make their stuff very FDM friendly, so grabbing the pack seemed like an easy choice. Our younger son, W, locked onto the Tower of Terror and wanted to print it. I thought it looked like a lot of fun, so we decided to make a project out of it. This was one of our first major projects, so there was some learning curves over tweaking our settings to get a decent balance of speed and quality as well as learning to troubleshoot issues.
The Tower of Terror is a pretty cool thing because it’s a modular set. There’s several floor options, numerous wall options, and even choices that can make the tower look a little more ruined. You can see all of the 33 different pieces here. The Tower of Terror uses the Dragonbite clips designed by Fat Dragon Games to connect, which means you can take apart your tower to trade out parts if you want to make changes down the road. I printed out the images included with the files and used them like a catalogue to plan what we were going to put together and how many of each file needed to be printed.
These are the settings and filament my husband used in printing:
- Time: Floor pieces were 6-7 hours, walls and stairs 12-15, and inserts under 20 each (my husband often added a bunch at once and printed them in a single job).
- Filament: SUNLU PLA Grey 1.75mm 1 kg spool. With the misprints that occasionally game up, it effectively used the full spool.
- Printer settings: 0.4mm nozzle, 0.2mm layer height, 50mm/sec print speed overall, 30mm/sec for wall pieces.
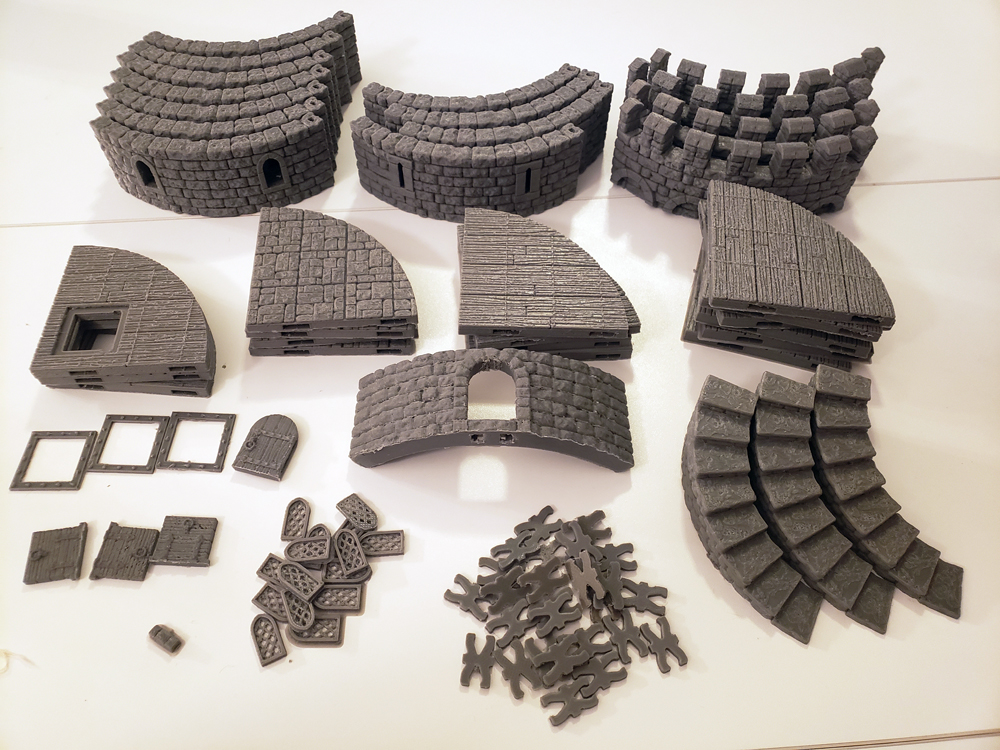
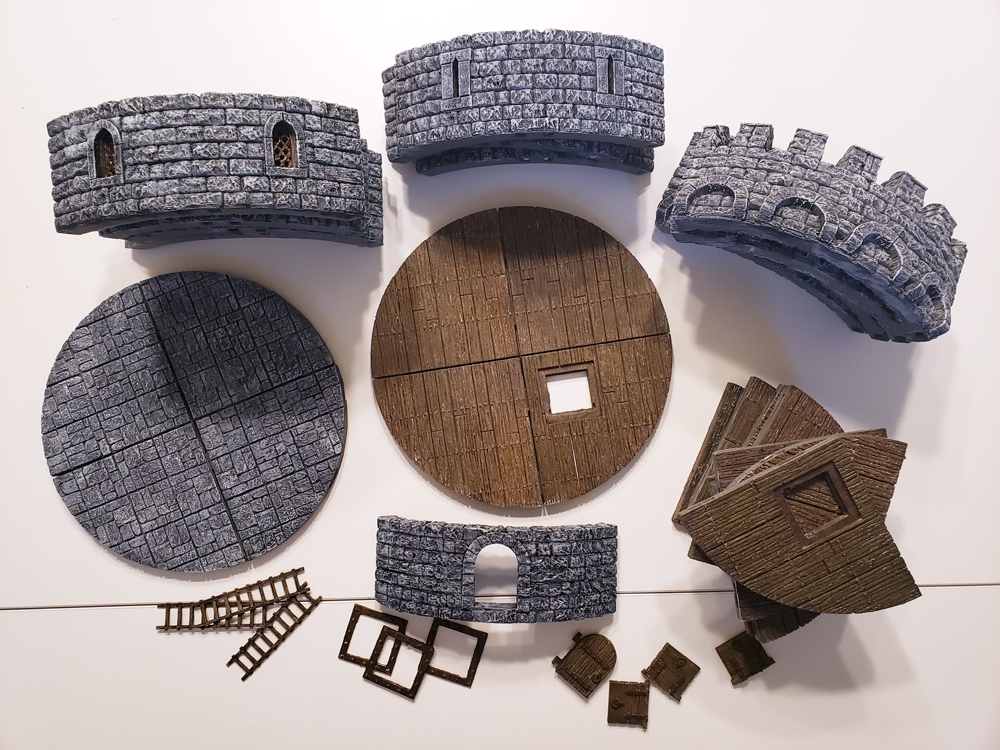
And here they are all printed up. Of course we realized we missed two pieces for the door and that our floor type would work better with ladders rather than stairs, so we did go back and print those again. However, this is enough pieces for three stories and a roof level that is pretty cool.
Now came the part where I do my best, the painting. I’m still new at this, but I feel that terrain painting is a little more forgiving and an easier place to start than tiny little miniatures so you can learn techniques on a bigger scale first.
Painting
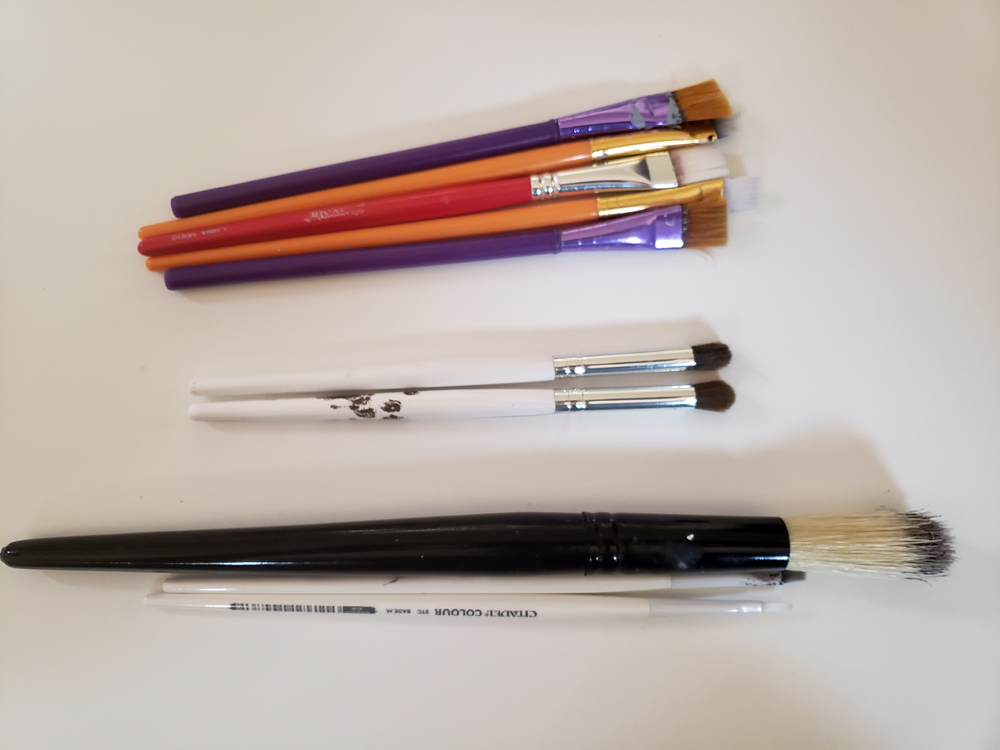
We tend to use a combination of the Scale 75 Instant Color line and the various Scale Color collections for our painting. The Instant Color line is closest to a wash-based speed-paint line. I brush primed all the rock based pieces in the Instant Color Ice Charm Primer (grey shade) and the wood based in the Instant Color Bone Charm Primer (off white shade). W then stepped in to help with the painting. We put thin layers of Instant Colors Shadow Black on the rock based pieces and a thin layer of Werewolf Brown for the wood based pieces. Head’s up, as kids learn to paint, they will use more than you as they get used to how thin to make layers. Our priming and base layers actually used cheap Crayola brand brushes except for some of the windows and crenellations on the roof. I used a cheap e.l.f. cosmetics blending brush to pull that off. I did however use a Citadel Scenery Brush on the wooden floors.
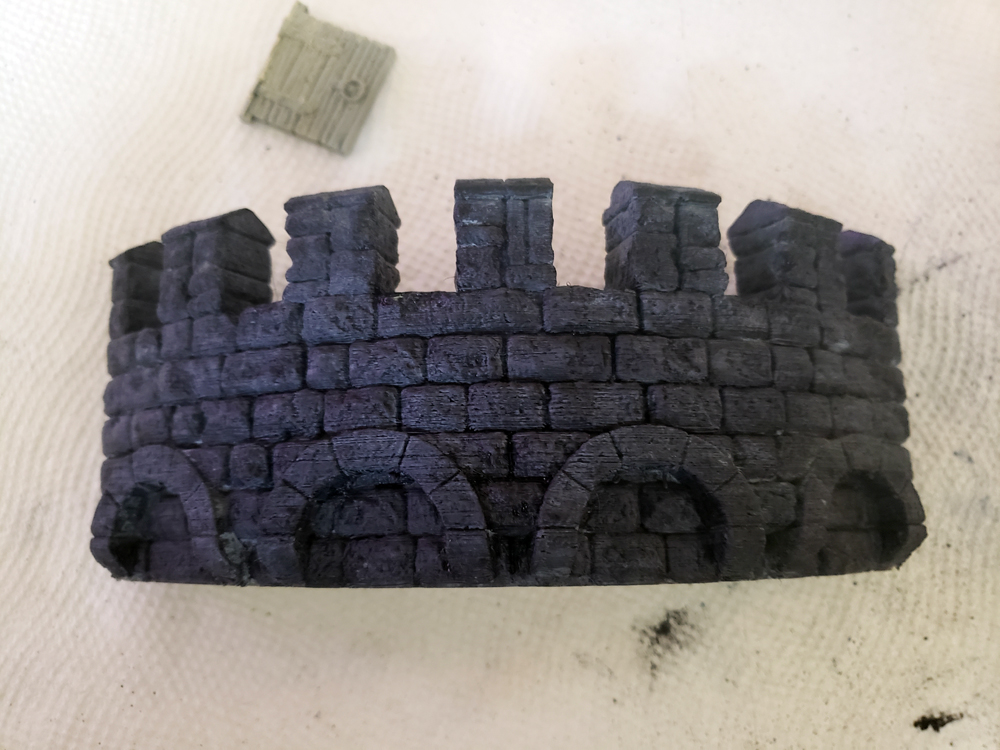
Then came the dry brushing. If you’ve never dry brushed before, it’s a pretty easy technique that has lot of uses. You can find a quick tutorial here or find more on YouTube. I used a cheap Crayola brush and dry brushed Scale Color White on the rock pieces, using a smaller brush in the areas I had painted with the E.L.F. brush. The wood based pieces I used Peanut Butter from the Fantasy & Game line. When some pieces came out a bit lighter than I wanted, I simply toned down a little of the Shadow Black with the Dispel Medium and washed it down.

For the smaller pieces and details, I made sure the window pieces had been trimmed down enough to fit in the windows before anything was painted. I also chose to paint the little pieces before assembling them into the larger ones, which I found easier. The wood pieces were done the using the same painting method and colors as the larger ones, but the metal accents were done in Metal N Alchemy Decayed Metal, as were the widow frames. I lightly ran a touch of Shadow Black over them to add to the aged look. Nicer Citadel brushes were used for the details.
With everything painted, my husband put on some Krylon Matte Finish to seal it.
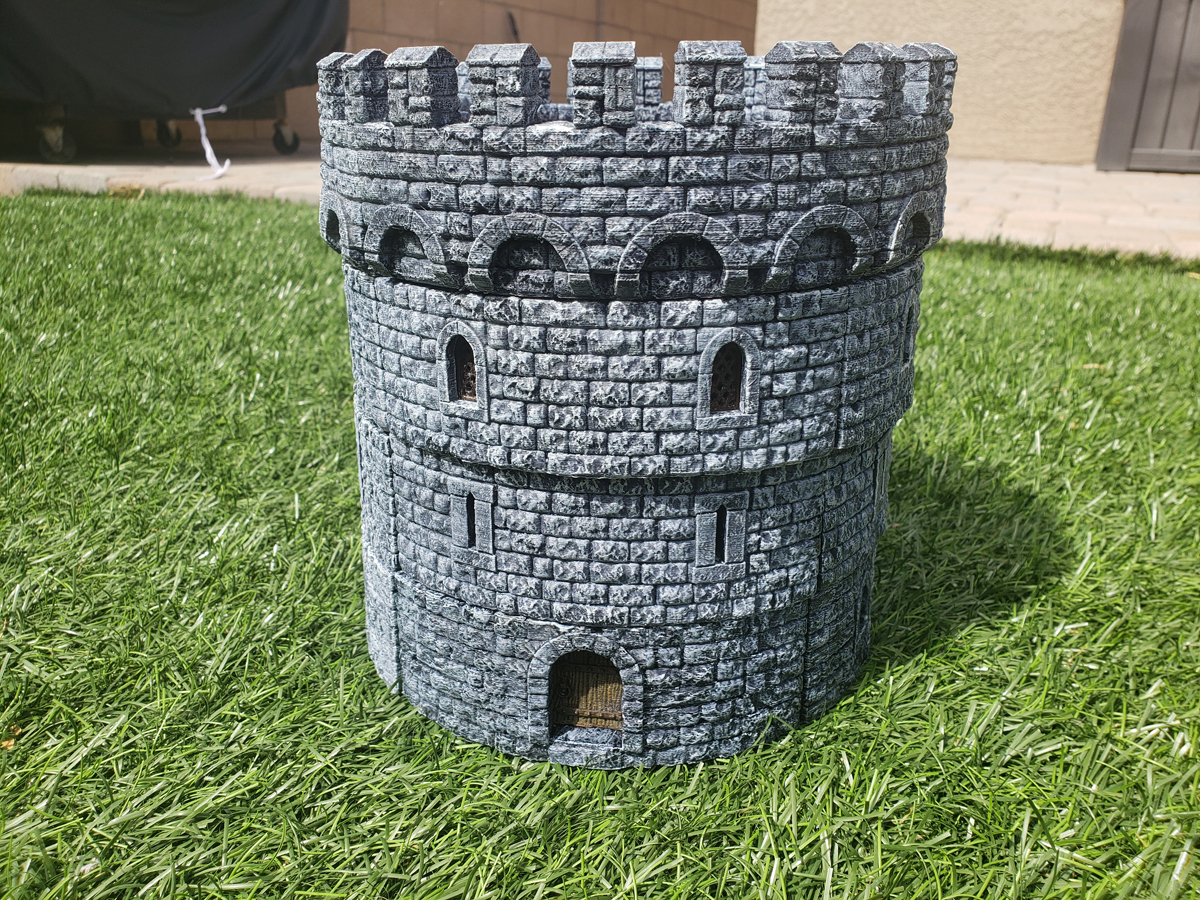
Assembly was extra fun, after all this time it was awesome to see it all come together. Most of the little pieces popped in so snuggly we don’t need to follow up with glue too.
Final Thoughts
There’s imperfections and I know it. We got better at getting consistent and clean results from the printer as well as cleaning up the supports and such to make things will fit together. I know that the top levels fit together a bit better than the bottom ones. You can sort of see our jumps in improvement floor by floor. I feel that way about everything I paint too and sometimes I got a bit more paint on the brush than I would have liked and just went with it. At some point to get better you simply have to be willing to take those imperfect first steps in order to learn, and that’s exactly what this project was. Even so, I am very proud of it. We’ll have to make some scatter terrain for the tower, and W is absolutely thrilled with the result. I’ll have to create an adventure for him and A to play in it before too long.
As a note, I really like this set of files from Fat Dragon Games and I’ve already purchased more stuff from them because I like the modular style of their releases and when you get nice prints cleaned up decently, their Dragonclips do secure things nicely.