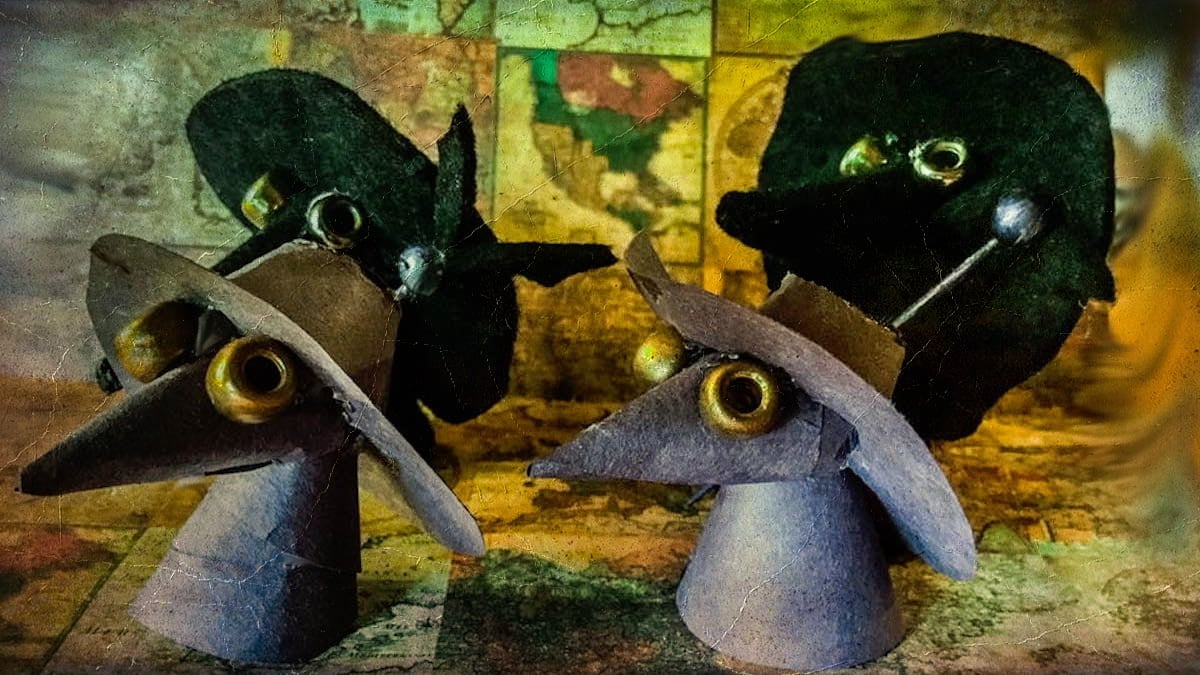
In 17th century Europe, victims of the Plague were often treated by sinister-looking doctors in long, bird-like masks. Today, they are popular again, from steampunk and gothic cosplay and art to history buffs. With the world currently focused on quarantine and mask-wearing, the image of the Plague Doctor is even timelier.
The Plague Doctor can be anything from a symbol of death and foreboding to an image of healing and support in darker times.
The reason these doctors wore long “beaky” masks was to protect them from what they believed was the airborne spread of disease, back in the time of the Black Plague of the 1600s. The long masks allowed them to place herbs, spices, or dried flowers in the tip to cover foul odors and better protect them from what they thought was “bad air.” What we know about medicine has certainly evolved, but the look of the Plague Doctor is still instantly recognizable.
Here is one of the easiest ways to make a little Plague Doctor out of everyday materials such as felt (works best), construction paper or cardstock, or even little thin sheets of craft foam. You just need to know how to draw circles.

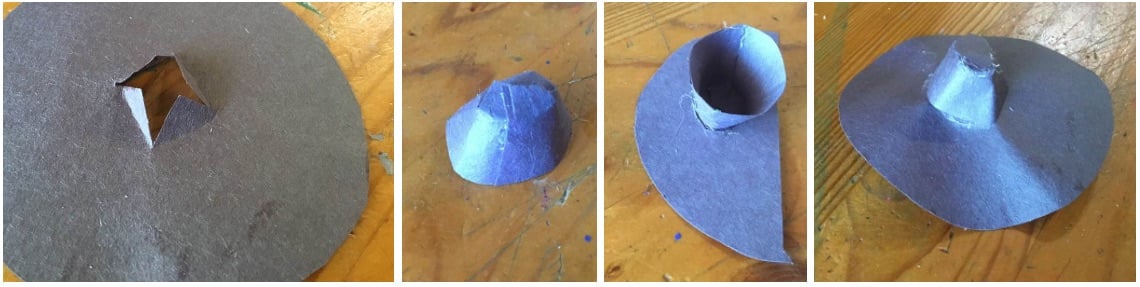
Find a small circular item like a juice glass, candle, or jar lid, and trace three circles on your material. Cut two of them in half. Cut a little “X” in the middle of the third circle and set it aside. I made mine about 3″ in diameter, but you can adjust for the desired size.
Shape three of the circle halves into little cones, one for the “mask,” one for the body, and one for the top of the hat. Tacky craft or school glue works fine for paper, or use a glue gun with felt.
For the mask, snip one little “V” notch in the open end and set it aside. For the body, snip a little bit off the pointy tip.
For the hat, snip off the top half of the cone (like the body, but much further down). Glue the remaining hat piece onto the extra half circle and cut around it to make the lid of the hat. Glue the open end on the full, uncut circle, and push the flaps made from the “X” up into it to help hold it in place.
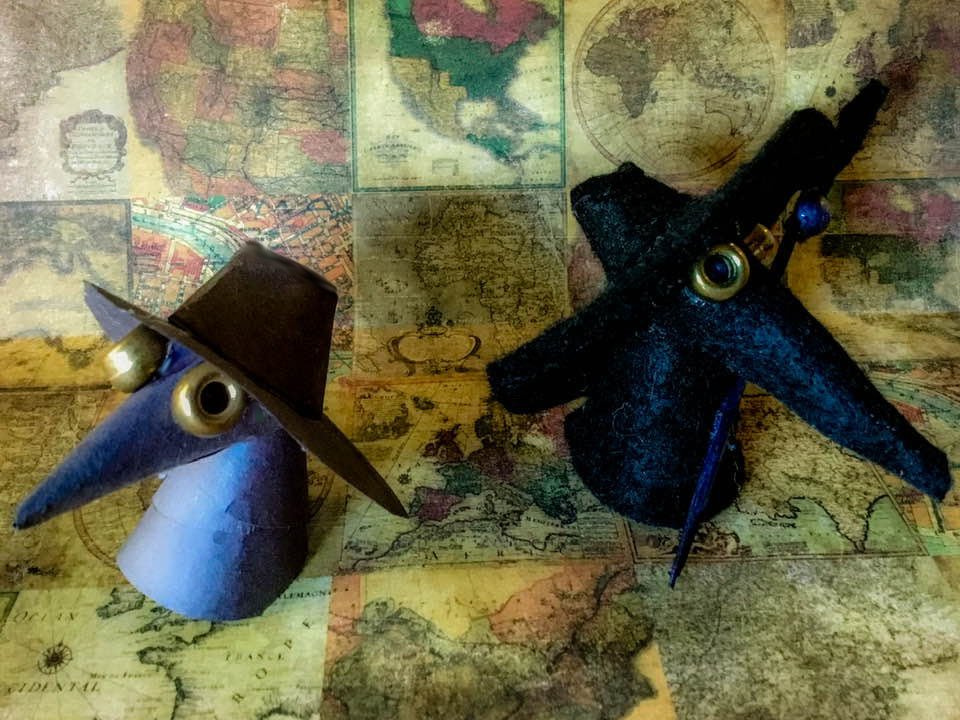
To assemble, glue the mask onto the body so the notch fits onto it. Let it dry, then glue the hat onto the place where the mask meets the body at an angle. If the hat brims seems a little big, trim around it.

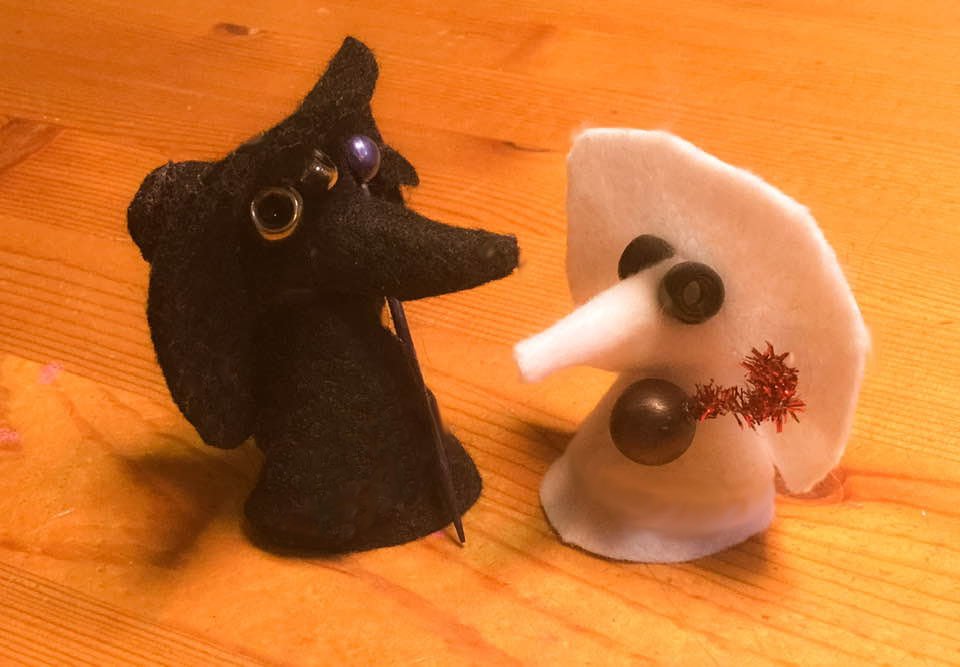
Give him some little goggles by gluing two gold or silver pony beads to the top of his mask.
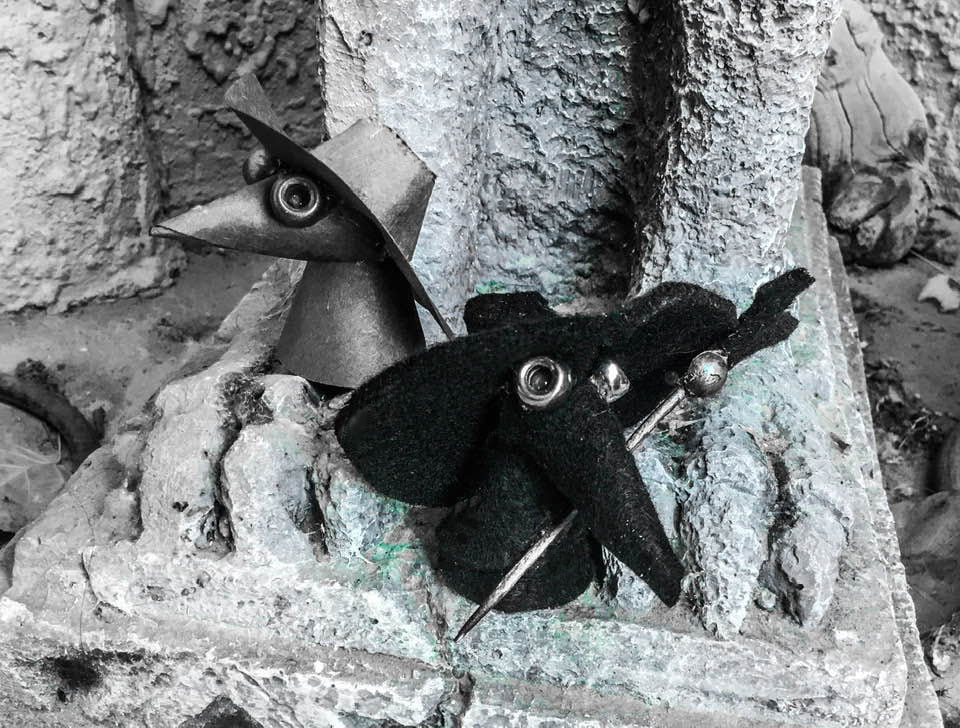
If you want, you can use a toothpick, little twig, or pipe cleaner to make a little “staff” and glue it onto his body. These work well as decorative figures but are also ideal for finger puppets.
Whether these little guys are a reminder of mortality or that there are people out there working to keep us safe, hopefully, these little doctors can bring a smile to our faces, even behind a mask.