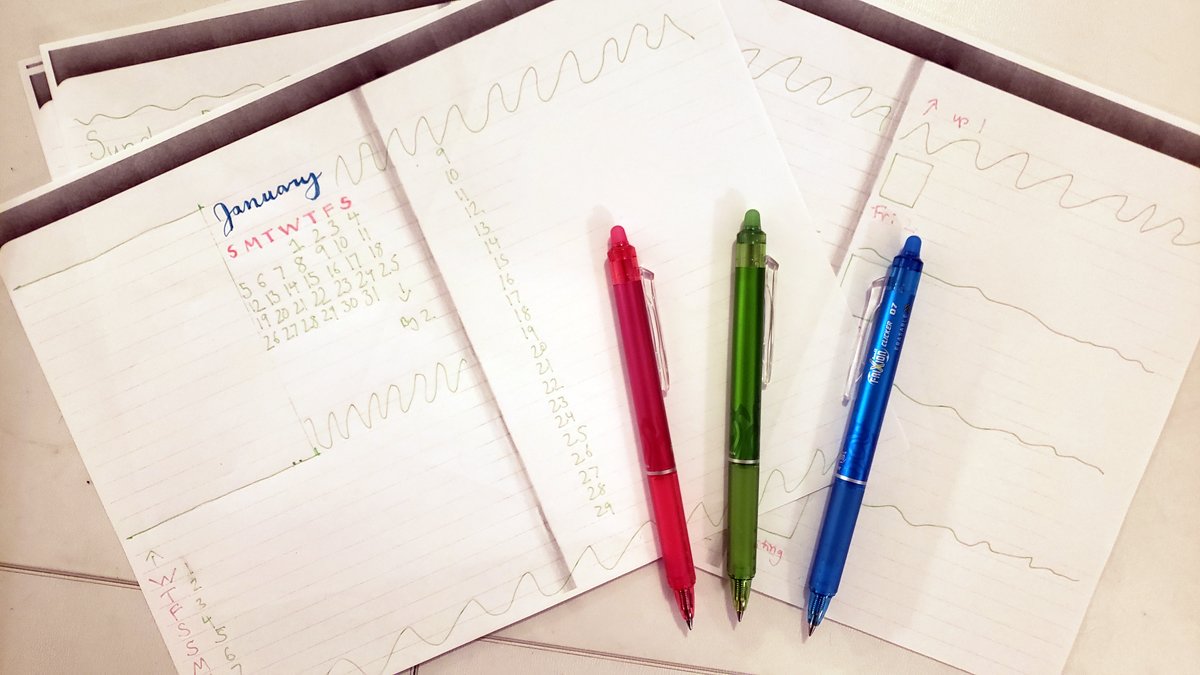
Journaling supplies from Paper House. Photo by Elizabeth MacAndrew.
Journaling is something I’ve been tempted by on and off. Every so often a stunning bullet journal style pops up on my Pinterest Feed and tries to tempt me into taking the plunge. I love the idea of a bullet journal, I’m just sort of quasi-artistic and get overwhelmed at trying to recreate what I see. GeekMom Missy wrote about “Bullet Journals for the Unartistic” last year, but what I needed was something sort of in the middle. I needed journaling ideas for the sort of artistic. I can’t do complicated free-hand art, but I can play with things like foil paper, stickers, and washi tape.
I blame Paper House and their Facebook adds for getting me started down this path, but they had a licensed Harry Potter line of journaling supplies that I discovered not long before their annual Black Friday sale (50% off site), so I decided to give it a shot. I wanted something I could use as one part planner and one part personal journal, which is why bullet journals have probably appealed to me. Paper House does not carry actual bullet journals, but I decided I could probably adapt a lined journal for my purposes. I grabbed a handful of items to start off with including a journal, some tiny stickers, lots of washi tape, and some foil paper.
As the new year approached, I decided it was time to set my journal up. The first goal was sorting out just what I wanted to use my journal for. Looking at a bunch of supplies and deciding how to use them can be sort of intimidating for some people. I knew I wanted monthly, weekly, and daily spreads, and I poked around online until I found a great list of ideas I could use to sort of narrow down on what I wanted here. Then, I grabbed my supplies, a few Pilot FriXion pens (they erase), and actually photocopied a few blank pages from my journal so that I could test out layouts without freaking out about ruining my nice journal. I was also able to trace out where I would put things like foil paper pieces or washi tape as well. You can make your journal as simple or decorated as you choose. I recommend starting small, as you can always add more stuff later on if you want to up your complexity or as your journal supply budget allows. (That cart total can escalate fast if you’re not careful.)
Between the layout ideas, I settled on an overview spread for the month that let me note important events and appointments at a super-quick glance. The weekly spread lets me put those events in a week by week order along with to-do items. I also allowed myself a writing section to keep track of my article planning for GeekMom and a random notes section, which is good for items that are not linked to a specific day but I still want to keep in mind. I also allowed myself some daily pages where I can reflect on my day and note things I’ve read and other projects I’m working on. Pick something that works for you, but here’s what I worked out if you like samples:
A few things that I noticed while planning:
I’ve used my journal for a few days now, and there are a few things I really love so far:
This post was last modified on January 4, 2020 12:03 pm
Bring springtime and color into your home with Marimekko stationery items.
The fight between winter and the onset of spring is something we know well in…
Out today is the newest Mouse Guard book, 'Mouse Guard: Dawn of the Black Axe'—and…
If you like some extra squares in your cubes, check out the new Rubik's x…
Like many others, I jumped directly into my Apple Music Replay this year filled with…