We’re in that brief period of “downtime” in our home—after the crazy, spooky fun of Halloween but before our Christmas and holiday season preparations and gift-giving time gets into full swing.
That doesn’t mean we’re not trying to think ahead to small, handmade gift items for friends and classmates that aren’t too hard or costly to create. This year, we decided to take advantage of something we currently have in abundant supply: candy wrappers.
After Halloween, even if I regulate my kids (and myself) to just a couple of small pieces a day, they go through a lot of colorful plastic and foil wrappers. I remembered a few years ago, my oldest daughter made a cool hair bow out of some Japanese candy a friend gave her, and I thought this year we would do something similar for gifts.
Here are three easy ways we have turned leftover Halloween candy (and other) wrappers into new, upcycled gifts:
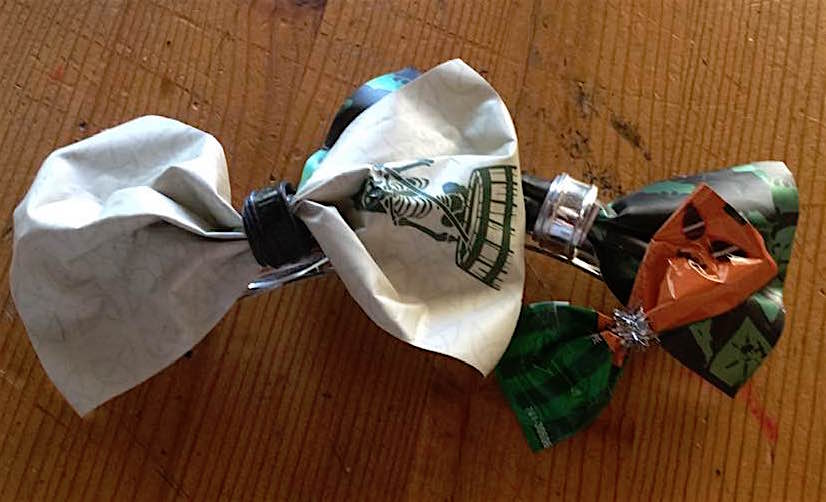
This is as easy as making those little “fan fold” bows kids have been making out of construction paper for as long as craft time has been around. Once you make the bow, secure it in the center with craft wire or a chenille craft stem. You can add a bead or small jewel embellishment to the center if you want. Use a glue gun or wire to attach it to a small, simple hair clip.
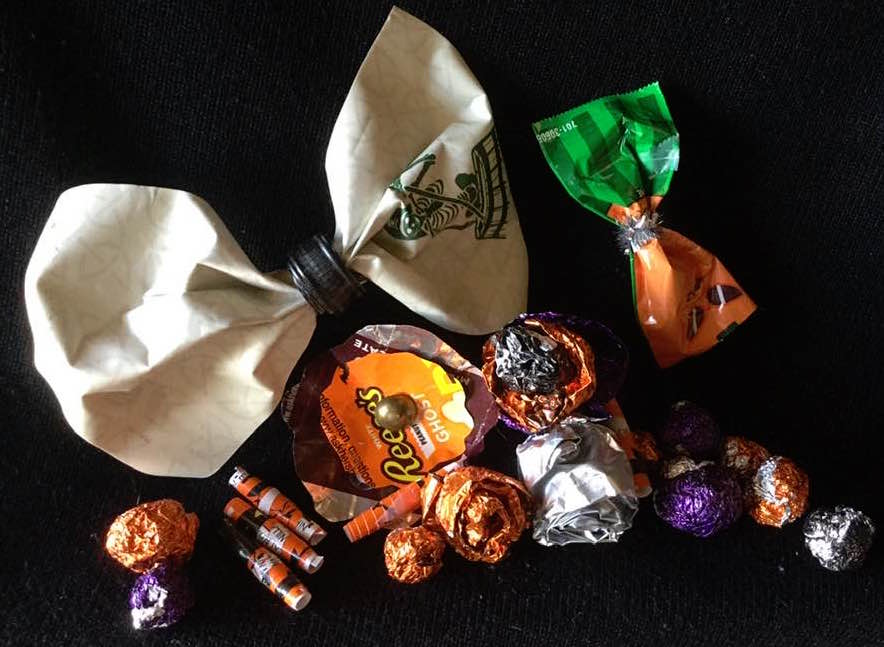
Roses are made by folding a piece of foil wrapper in half, and rolling it up for a simple rose pattern. The bottom can be clipped off and secured with a drop of glue to attach it to a hair clip or earring post. These can also work as magnets or on small pushpins for bulletin boards.
Beads are extremely easy to make. Simply roll the wrapper into a tight ball, and gently run a large needle or small screwdriver through it to make a hole. String them into place.
The flower-making method with paper wrappers we did is a simplified version of the “Comic Strip Flowers” I made earlier this year for my teen’s black-and-white birthday. Cut two or three simple flower shapes from a paper (or plastic) wrapper and stack them. Secure them with a drop of school glue between each layer, and then finish it off with a small button or jewel. Use a push pin instead of a button to decorate bulletin or cork boards.
The long beads are made with the popular method of folding or cutting wrappers into long, triangular strips and rolling them up like crescent rolls. Use a little school glue or decoupage paste to hold them in place. These look cool when combined with the round foil beads.
These turned out to be great gift ideas for us. You can make several at a time, and it doesn’t take long to save up the candy wrappers… especially if parents help by eating a candy or two themselves.
This post was last modified on November 15, 2019 6:00 pm
Bring springtime and color into your home with Marimekko stationery items.
The fight between winter and the onset of spring is something we know well in…
Out today is the newest Mouse Guard book, 'Mouse Guard: Dawn of the Black Axe'—and…
If you like some extra squares in your cubes, check out the new Rubik's x…
Like many others, I jumped directly into my Apple Music Replay this year filled with…