This spooky month, let’s do some easy DIYs based on the style trends creeping up into a lot of Halloween merchandise, starting with the retro”dark ride” look.
This was also a trend from the groovy black light era that featured poster art and other items to bring out the effect.
Dark rides have been around since the 1800s, with small attractions like haunted train rides, tunnels of love, and more. According to the themed attraction news source, Blooloop, the first ride to pop up in a theme park was in 1835 on Coney Island, called Old Mill Ride, which was basically a sort of flume boat ride. Later, the now long-gone Pretzel Amusement Ride Company patented the single-track dark ride in 1928… and look at how far dark rides have come today. Elaborate, immersive, and even trackless experiences like Star Wars: Rise of the Resistance in Disneyland and the new Mario Kart ride in Universal Studios are considered dark rides. That is a long way from a little track around a haunted forest or mill.
Still, the old, creepy haunted feel of dark rides remains appealing. Think about the continued popularity of the Haunted Mansion or old mine train rides.

The retro spooky connection to dark rides has also been getting more popular over the past few years. Back in 2006, there was a Dark Ride horror film, Knott’s Scary Farm (Knott’s Berry Farm’s Halloween event) has featured a haunted maze called Dark Ride for several seasons, and there are comic books and theme park merchandise all with the old school dark ride appeal. Not to mention what we can find in our local Halloween décor sections.
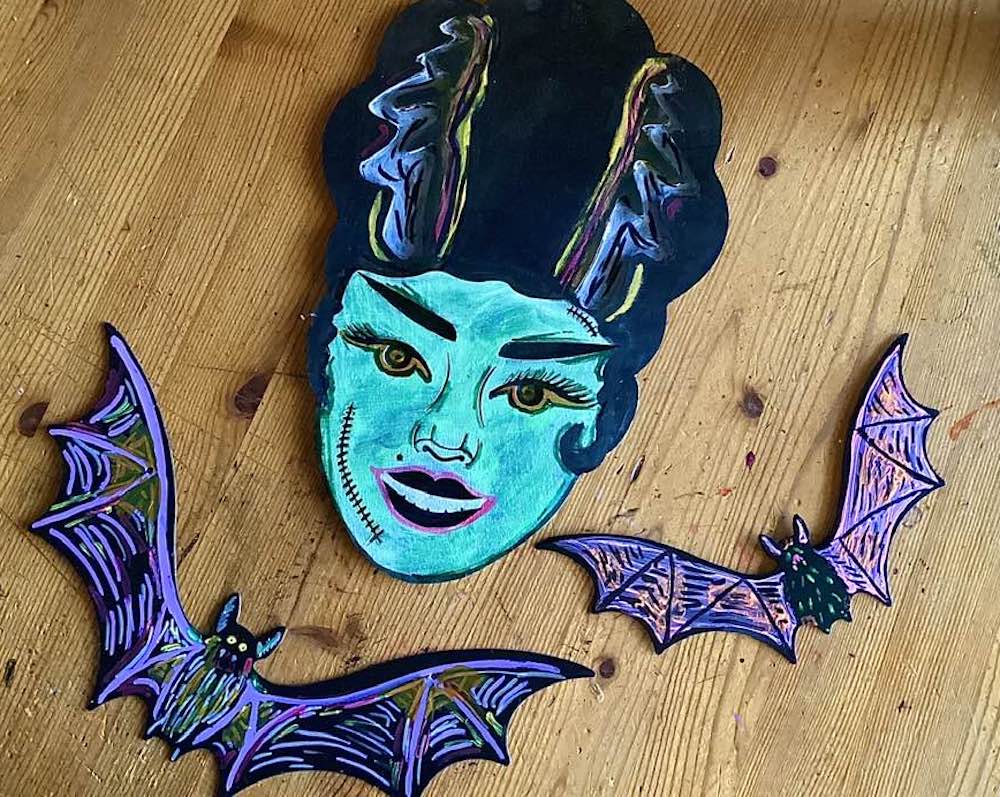
The trick to the dark ride look is contrasting fluorescent colors against a black or dark background. This is how to pick up the colors best under black lights, but it also lets them be bold and bright under regular lights.
You can get the dark ride effect on any plain item, too.
First, find a plain, flat item to turn into dark ride material. Dollar stores, thrift stores, craft stores, and grocery stores all have cheap items ideal for this treatment. If you don’t want to buy anything new, make some cutouts on black card stock or construction paper.
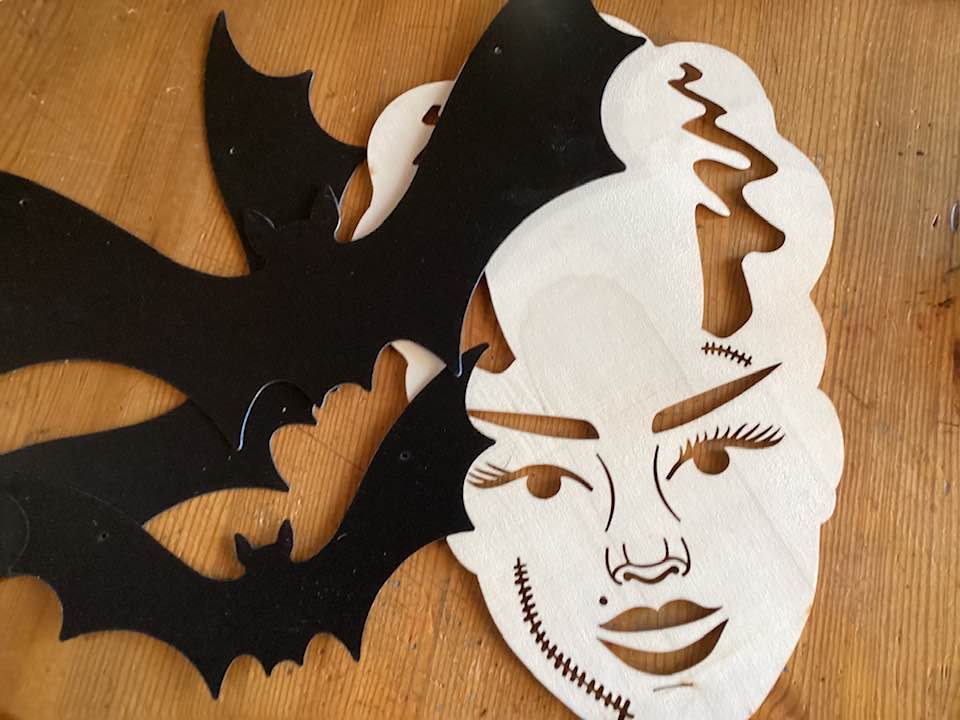
I used a simple wood cutout from a dollar store and black bat cutouts my daughter found in a discount bin someplace this summer.
First, make sure the background is solid black or dark blue. Bright against dark is key, remember?
Now, get some paint, paint markers, or gel pins in bright fluorescent colors. Here are the main colors I recommend:
- White
- Yellow
- Orange
- Bright pink
- Florescent blue
- Florescent green
Other colors can be used, but these work really well. Think “glow in the dark” effect colors.
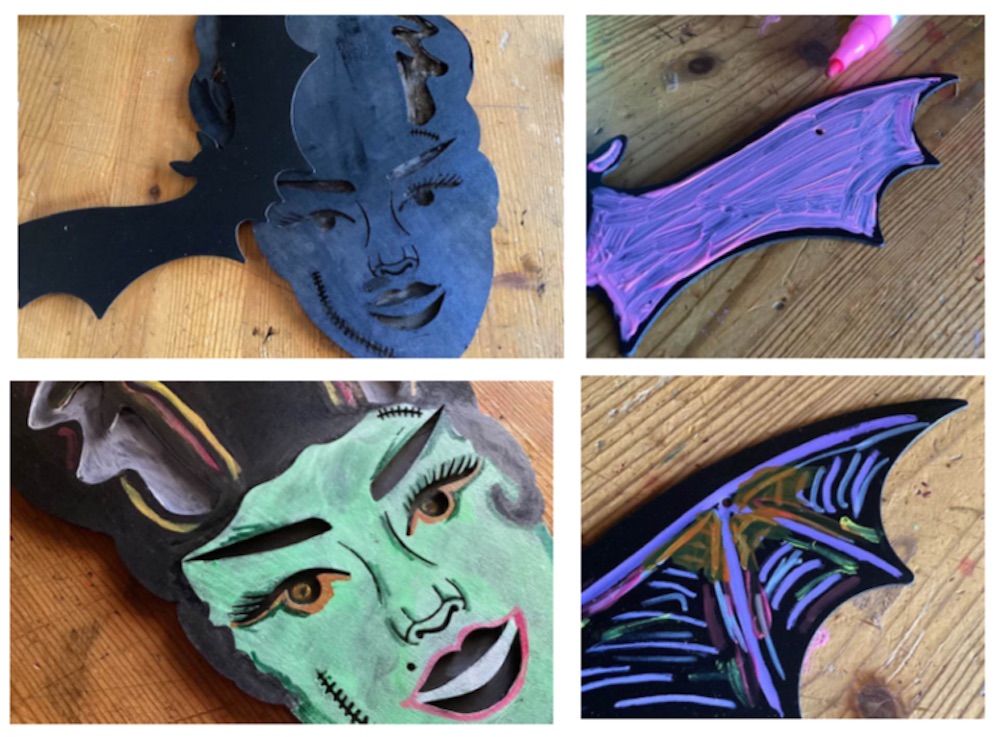
Start with the bigger spaces you want to fill and paint them first. It is okay to keep a brushstroke look to these designs, as the black creeping through is part of the effect. If you want to paint a whole space, leave a big margin around the edge black. It gives it a cartoon feel.
Now, paint some bright details: eyes, wings, fangs, flames, spider webs, or whatever you can think of. It doesn’t have to be fancy or too complicated. We are going for carnival-style, not renaissance impressionism. Keep adding colors and strokes to make a colorful florescent scene ready to try out against a black light.

If you would rather not go too bright, leave the majority of the space dark and highlight the edges and a few inner details.
Black lights, little battery-operated portable ones, can be found even in supermarkets during the spooky season, but if you don’t have one, these colors still give you a good, retro, dark ride feel in daylight.
Once done, hang or paste them up and be ready to turn your peaceful house into a cool, retro, neon-inspired dark ride event.
And don’t forget to keep your arms inside the vehicle at all times.