It’s been a bit since I posted one of these, but for a pretty decent reason: we had to troubleshoot some printing errors with our FDM printer and a number of failed prints. To make that long story short, the issue ended up being humidity causing moisture in our filament. Making the whole experience extra frustrating was some challenges between when we had available time to test things out and the number of things we had to rule out before it got sorted out. In all honesty, this is the kind of hobby where there’s a lot of learning along the way at times, but we do level up those skills as we progress. Luckily, we are now back to printing cool things again and, this time, I have a fun dice tower from one of my favorite makers, Fates End.
As in my previous articles, I will preface this by noting that none of the products I will reference were provided to me by any sort of sponsor or company. Some we selected on our own and others were recommended to us or were mentioned by someone in the gaming community.
Printing

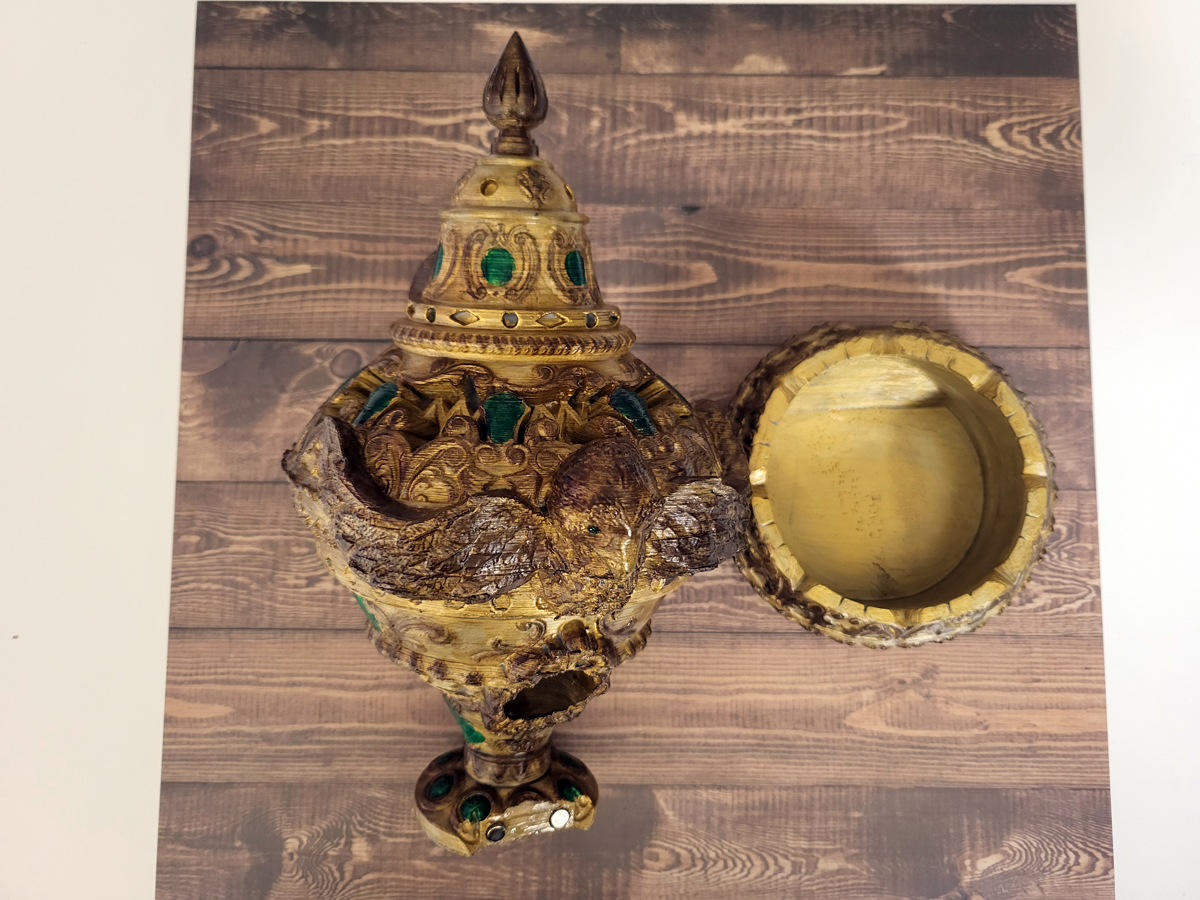
I previously printed another item from Fates End Furhaven RPG files with a Spell Card Holder. This time, I was selecting one of their character class dice towers. I have a little tradition with the now two groups of kids I DM for that whenever a player has a birthday, I print and paint them a dice tower based off of their character’s class. Recently, one of my clerics had a birthday, so I selected the Cleric’s Incense Burner Dice Tower to print and paint for them.
These files are designed to be printed supportless, so once we had sorted out that filament issue, our Creality CR-6 SE was ready to go. There are a lot of intricate details in this one, but our printer was clearly up to the job. This is a larger piece, though, and when it all came off of the printer I knew my cleric was going to be super excited. My husband is the main printer in the family, so these are the settings he used:
- Time: Dice Tower: 3 Days. Dice Tray: 16 hours.
- Filament: SUNLU PLA Grey 1.75mm.
- Printer settings: 0.4mm nozzle, 0.16mm layer height, 0.4 mm line width, 1.2mm Wall thickness, 0.84mm top/bottom thickness, 10% skin overlap, 15% infill, 30% infill overlap, 50mm/sec print speed.
Painting
In our house, painting is usually the area where I really get to step in and shine. I know I still have a lot to learn when it comes to painting things for tabletop projects, but I always feel like I’ve gotten just a little bit better or gotten to try out something new with each project. In the end, you simply can’t get better without letting yourself go through the learning process, so I might as well step up and start learning.
I decided I wanted this to be really metallic-looking, so a lot of this was created with metallic-based paints. This is the list of paints I used and who makes them:
- Holy Charm Primer
- Metal N Alchemy Elven Gold
- Metal N Alchemy Decayed Metal
- Inktense Green
- Nuln Oil
- D&D Prismatic Paints Gloss Varnish

First, I put down the primer. One of my favorite brushes for priming is simply a cheap Blending Eyeshadow Brush from e.l.f. cosmetics. I feel it does a really good job of getting in all the cracks and creases while being big enough in size that the job doesn’t feel like it will take forever. One of these days, I may try to branch out into spray primer, but right now this is where I am.

Next was the painting. So much gold paint. I based everything in Elven Gold with an XL Citadel Base Brush. In the few places where the base brush didn’t get into the cracks, I used an Army Painter Wargamer Regiment Brush to get into the smallest of crevices. With the base done, it was time to drybrush.
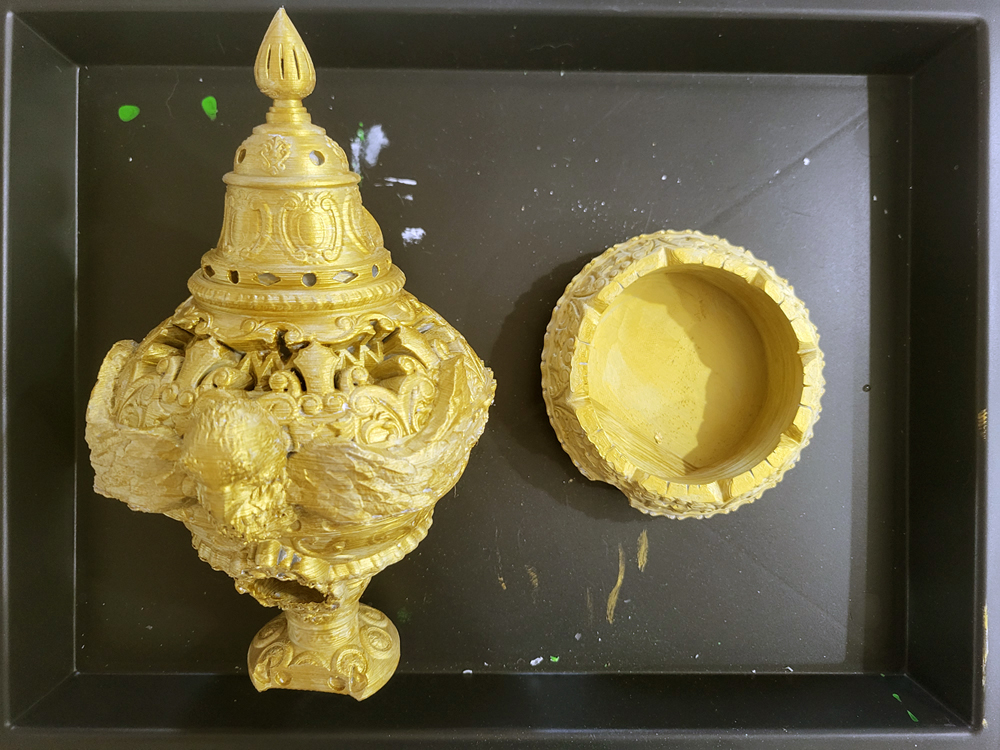
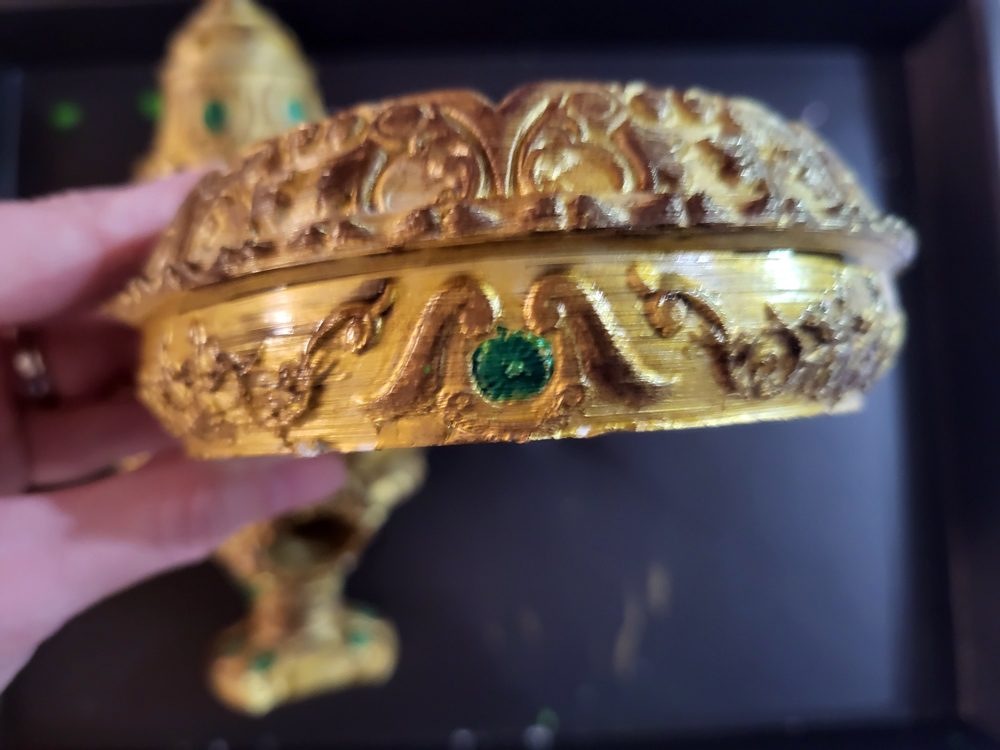
I used Citadel Drybrushes in small and medium for this part depending on how detailed the section I was drybrushing was. Any of the sections that popped out as well as the top was where I drybrushed on Decayed Metal so that there was a nice distinction that let those details come up. The eagle was also done in Decayed Metal, and I came back around later and drybrushed a touch of Elven Gold on the eagle beak to get those nice layers since I wanted a little bit of that worn and aged look to things.
What really did the trick for the worn metal was actually the Nuln Oil. I get why it’s such a popular choice; it helps sink into the crevices to create those darker sections but also pulls the shine into a much more worn metal look and I really liked how that made things turn out. The green gems (and eagle’s eyes) were done with Inktense Green applied with the Army Painted Wargamer Regiment Brush. This is a trick I learned from the owner of our FLGS: gems look really cool if you paint inks on clear resin or filament, but if you don’t have clear or using clear isn’t practical, you base the gemstone in metallic gold and then use ink on top. Gold paint has a lot of shimmer to it, and that shimmer will come through the ink and give off that extra sparkle. Follow it up with a gloss varnish. Since this whole thing was basically metallic, we sealed it in Rust-Oleum Clear Satin Enamel. To make the gems really stand out, I gave them an extra pop by going over them with the Army Painted Wargamer Regiment Brush and D&D Prismatic Paints Gloss Varnish. Once everything was painted, we glued in the little magnets that allow the dice tray to attach to the tower.

If you are new to painting and want to learn to drybrush as I mentioned or pick up some other painting techniques, I like Lyla Mev the Mini Witch for some tutorials that aren’t too overwhelming.
Final Thoughts
I’m pretty proud of this one and how it all turned out. The big test came when I presented it to the cleric player in question who was absolutely thrilled and kept checking it out by testing his dice with it. In fact, he came dangerously close to spending all of his high rolls playing with the dice tower and was then rolling lower when it was his actual turn. It got some cool compliments from our FLGS owner too, and it always feels great as a new painter when someone who sees a lot of cool stuff admires what you made. I had a lot of fun painting this and, clearly, my player absolutely loves using it. As a bonus, I got to start playing more with effects like Nuln Oil, so I felt like everyone won and I will certainly be continuing to print more of Fates End stuff. You can check out their other printables as well as the files for the Cleric’s Incense Burner here.


