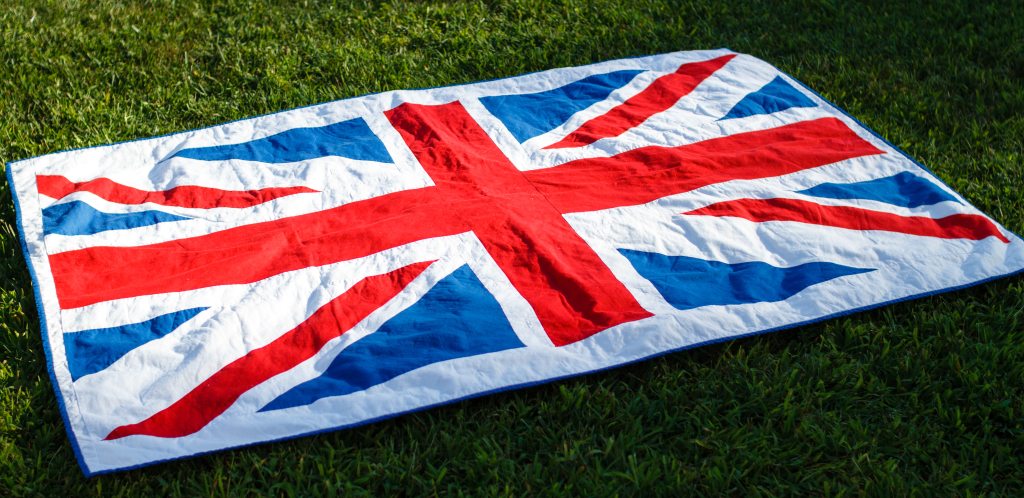
Theme parks are adding new content and attractions on a daily basis, but one thing the Disney parks are getting some positive guest treatment for is the return of an older favorite that first rolled down the night streets of Disneyland 50 years ago: the Main Street Electrical Parade.
Disney’s first showing of an electric parade celebrated the opening of Disney’s Polynesian Resort in October of 1971, but the famous parade itself came to Disneyland in 1972 as a way to keep people at the park after dark. It started by using small Christmas lights, but the most recent version featured more than 600,000 electronically controlled LED lights.
Whenever something nostalgic like this returns to a major park, there is always plenty of merchandise that comes with it, but let’s be honest: it is usually pretty pricey.
Of course, you could always just hit a “dollar store” and make a personalized polka-dot tribute to the parade to give as a surprise gift for Mother’s Day, Father’s Day, graduation, birthdays, or pretty much anything else.
First, scour a dollar store or thrift shop for any small lawn or garden statue, like a little lawn gnome or animal figure. You can even upcycle one you already have hiding away in a shed or garage.
I’ll be using a $1.25 plastic flamingo that cost less than the can of energy drink I purchased at the same place.

First, make sure it is dust and dirt free, then spray paint or brush paint the entire thing a dark color like black or cobalt blue. Once dry, it is time to add the illusion of lights… by painting dots!
Find some bright-colored acrylic paint and add your dots. Start with any edges and paint the dots around these first. For example, on my flamingo, I painted around the edges of the wings, tail feathers, and beak. Now, fill in the rest of the piece carefully with smaller dots. They can be random or drawn in carefully laid out rows.

Yes, but it doesn’t “light up” does it?
It will with one extra step. Once the paint is dry, go back over these dots with some glow-in-the-dark craft paint, which you can purchase in different colors. If these stay out in the sun during the day, they can glow at night for a little while. This is where you really get the “electric parade” feel.

To keep them from chipping, spray the completed piece with some acrylic clear coat.
Attach a simple “surprise note” by cutting out a circle on a black piece of cardstock or construction paper. Paint some yellow or gold dots around the edge. Draw some decorative swirls designs along the top and bottom, and fill in your message with more gold or yellow “dotted” letters. This will pay tribute to the famous face of the big drum float at the start of the parade.
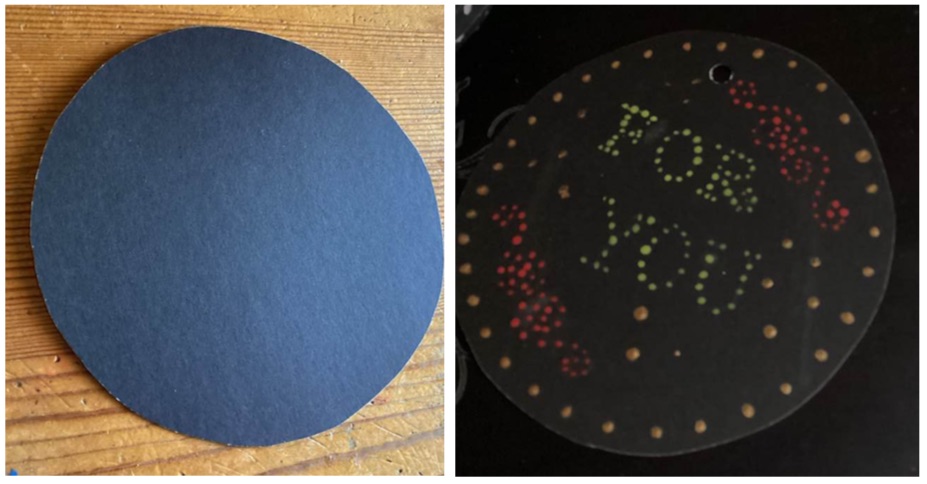
Use a hole punch near the top, and tie it around you’re the lawn gift with a ribbon or yarn.
Now, you can celebrate a classic favorite within a more reasonable budget. It should make the face of any recipient “light up” as much as the parade itself.
That is certainly worth the effort.