Since French inventor Georges Claude first dazzled guests at the Paris Motor Show in 1910 with his neon lighting invention, the neon sign has been a beautiful mix of commercial art and pop culture.
It can be bright and celebratory like a nightclub or carnival, nostalgic like old diners or service stations, or a little more sinister, like the old motel signs glowing through foggy nights in scary movies.
Neon signs are still popular today, not just as roadside attractions, but also as legitimate art pieces, and there are more and more sign museums popping up around the country celebrating this craft. Newer, more sustainable LED “neon light” strips have helped make it easy to create neon for personal art projects.
Here’s a way to create a little fake basic neon sign using a small string of battery operated LED light string and a box.
These won’t be perfectly straight or detailed, particularly if you are a new crafter, but they are fun little glowing props.
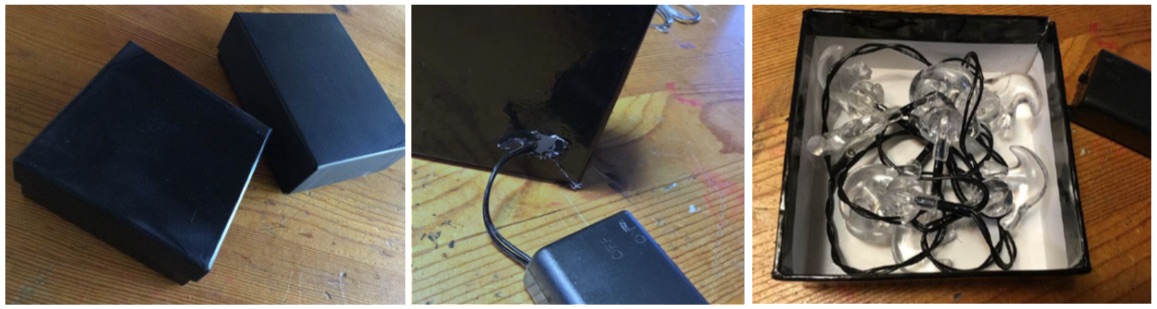
Find a small and sturdy flat box, like the kind of gift box you would use for jewelry. Cut a small hole (about a half-inch in diameter) in the corner of the bottom piece and put it aside.
The box top will be the sign, like this:
I first saw this technique at Disneyland Park the first time I went stood in the queue for the Space Mountain attraction. The panels around the area were made to look like a starry sky, but when you got closer it was revealed the “stars” were large black sheets of paneling with holes punched in them. This allowed a lighted area behind the panels to shine through and look light bright stars against a dark sky.
That easy and clever concept is still popular, and is essentially what we’re going to do with our signs.
Neon glows best against a dark background, so if the box top is white or light color, paint it black or another dark hue.
Trace the outline of the box on a plain piece of paper, and draw or print out a simple design or word.
Lightly tape the pattern over the box, and use a small utility knife to cut through the box where the pattern is. This is something adults or older crafters should do. Remove the paper, and use a small set of scissors to make the cuts just a little bit wider (not too much).
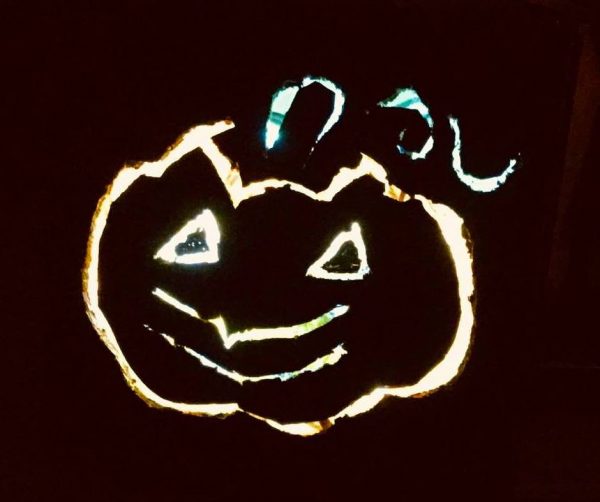
Think of it as if carving a pumpkin, but on a flat box. Hold the box up to the light or a window several times in the process to see if the light is shining through like you want it.

There are two things I learned while deciding patterns:
First, the pattern will look pretty messy on the back, as the cardboard layers will tend to separate when cut. Line the back with some clear packing tape to hold the design in place when finished.
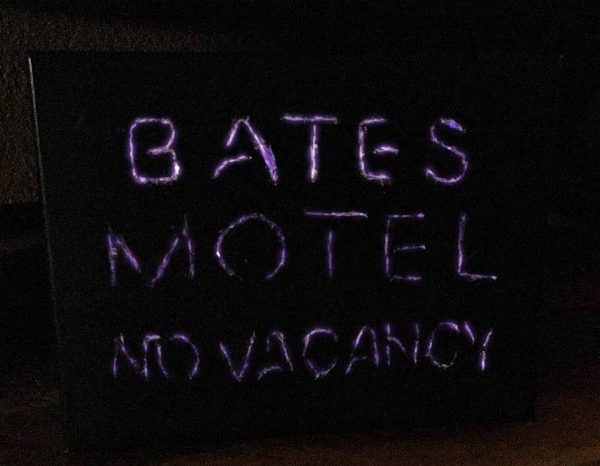
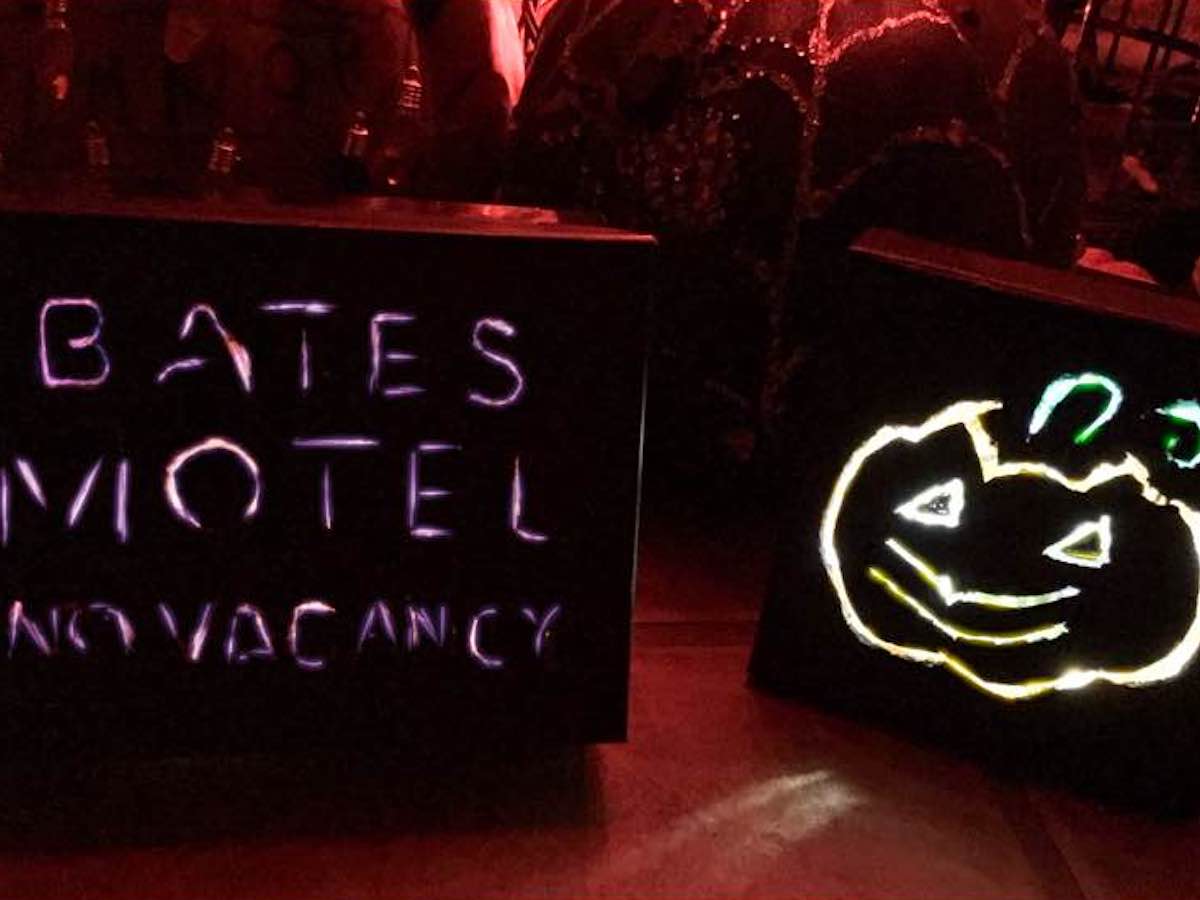
Second, because it can get messy, keep the pattern simple, simple, simple. A ghost, pumpkin, heart or crescent moon is fine, but don’t start out with a not a full on werewolf, landscape or face. An initial or just a small world, like “boo” or “love” is fine, but too much text is messy. The “Bates Motel” sign in my demonstrations turned out okay, but it took much more work than I expected. Younger crafters might not like spending that much time on these. Just things to keep in mind.
If you want another color besides white, use a different colored light string or pace a thin sheet of tracing paper, vellum or clear plastic over the back of the design. Use felt tip markers to create the color you want.
Hold the design up to the light to see if the color you want is there. If not, add more color over again (or remove the tape and use a different color), until it is the sign you want.
Once finished, string the lights through the hole in the bottom of the box and so and gently coil them around so the lights are pretty evenly distributed in the box. Take the finished “neon” sign and place it over the top.
These can be displayed on a small picture frame holder, or poke a small hole in the back to hang it on a wall.
It might not be “real” neon, but it will serve the same purpose of capturing the attention of those who pass by, and making any space a little more inviting.