Image from GeekMom Ruth
While I strongly encourage you to stay at home as much as possible, most of us do need to go out from time to time. And since you need to wear a mask, it might as well be a festive one!
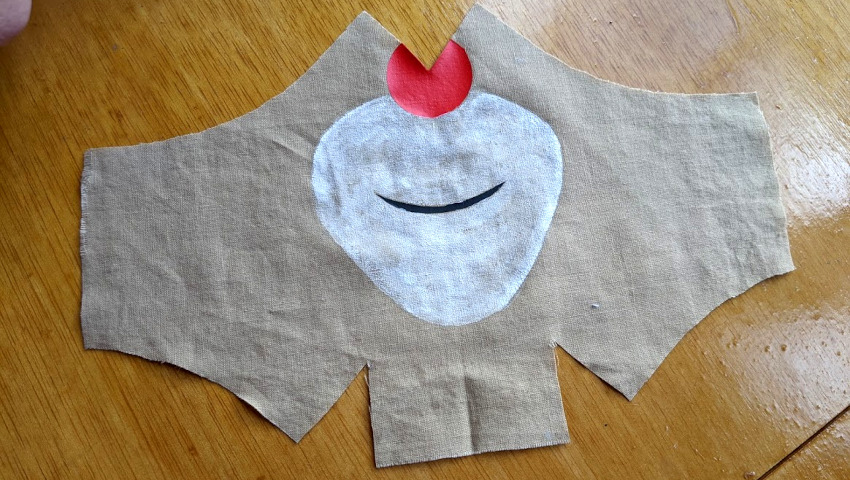
You can use whatever your preferred mask pattern is. I generally like pleated masks with a nose wire, but for this one, I wanted a large, flat space. Using a batwing-style mask pattern, I did end up with the dart over the nose, so you can decide whether you like the look of that or would prefer to go with a different mask style.
(Amazon also has a set that includes the battery holder, 5 red LEDs, the conductive thread, and a needle and threader.)
Cut out your mask layers. Make a simple reindeer face on the outer layer before sewing anything together. I didn’t have a paler tan heat-transfer vinyl (HTV), so I chose to use paint for part of the face and HTV for the nose and smile. Note that if you choose to combine these, the HTV may not stick well to fabric paint, so apply your HTV and then paint around it.
I make three-layer masks, so I attached the electronics to the middle layer with the battery holder between the middle and outside layers, which adds an extra bit of fabric before there are hard electronic pieces pressing up against your face. If you make two-layer masks, sew the electronics to the inside of the layer closest to your face.
Sewing with conductive thread is no different from sewing with regular thread. You only need to remember two things: connect positive to positive, negative to negative. And never let the two lines cross. That’s it!
If you look at your battery holder, there are two + signs and two – signs. Pick one pair for your LED. Use the other pair to secure the battery holder to the mask. (You can use regular thread for the stitches that are only for security.) Your LED also has a + on one side and a – over the other. Center the LED so it will be under your red nose. Then use conductive thread to sew a line from the + on the battery holder to the + on the LED and another line from the – on the battery holder to the – on the LED. That’s it! You’ve made a washable electronic circuit. (Yes! Your Rudolph mask is washable, as long as you take the battery out first.)
Finish sewing your mask like usual and enjoy your day as Rudolph!
This post was last modified on December 10, 2020 4:04 pm
Trans rights are human rights. In a world where trans rights keep being taken away,…
I really didn’t want another story about a young adult attending a magical school, but…
Bring springtime and color into your home with Marimekko stationery items.
The fight between winter and the onset of spring is something we know well in…
Out today is the newest Mouse Guard book, 'Mouse Guard: Dawn of the Black Axe'—and…