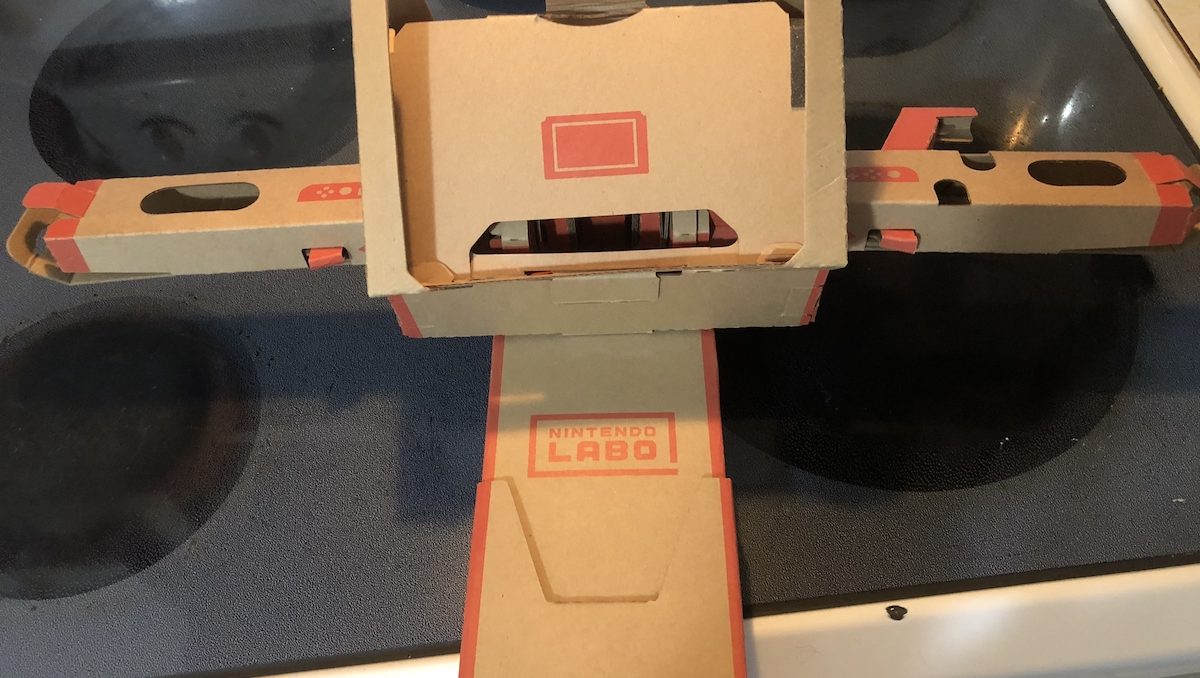
The motorcycle kit, finished product. Image by Corrina Lawson
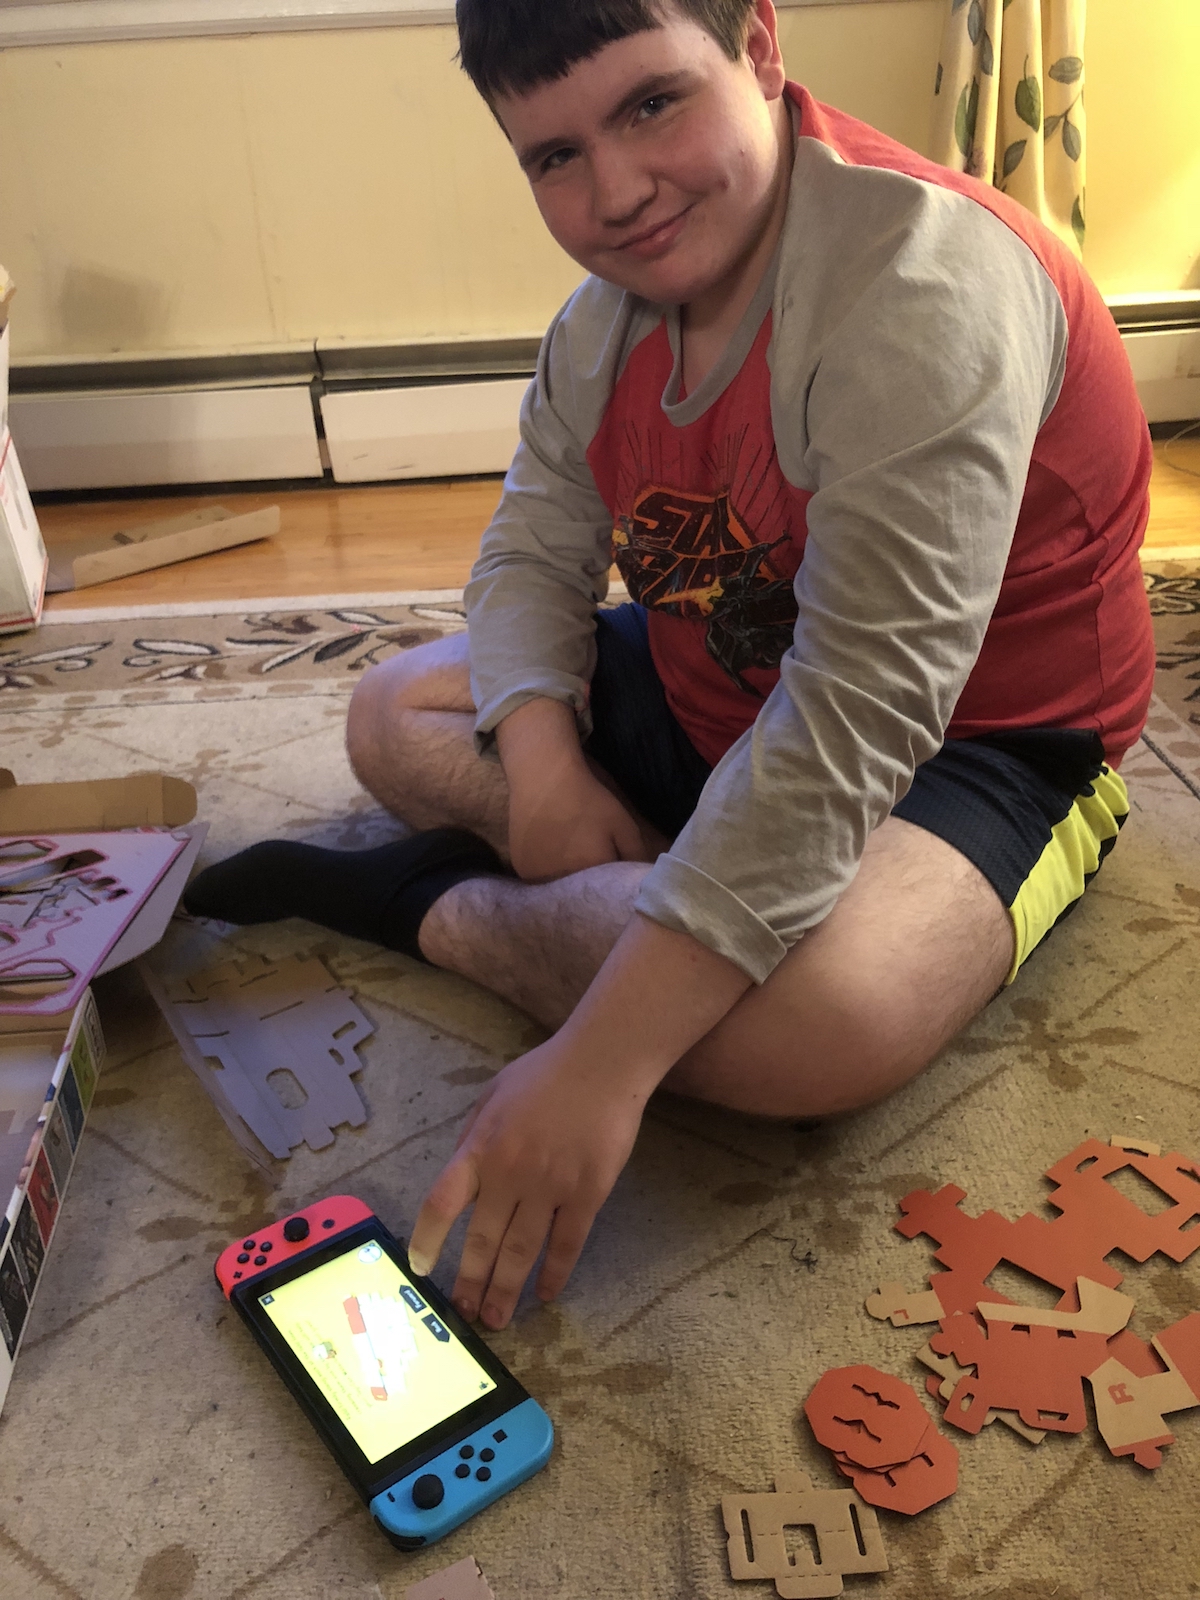
Continuing my series of “Building Nintendo Labo,” this week we’re going to focus on the Nintendo Labo motorcycle kit.
As we built this kit, my fascination with how Labo was developed intensified because, thus far, I cannot tell exactly how we’re going to use the cardboard pieces until I start building them. I can only guess they reverse-engineered the pieces, taking how they wanted them to fit together and deconstructing how to make that happen.
We did this over two nights with a total time of just under three hours. Yes, three hours. Why? We took turns building different pieces and my helper is careful and detail-oriented. I’m careful but not detail-oriented, so my tendency was to rush ahead.
However, I do not recommend rushing ahead. I didn’t find how the pieces fit together to be intuitive at all.
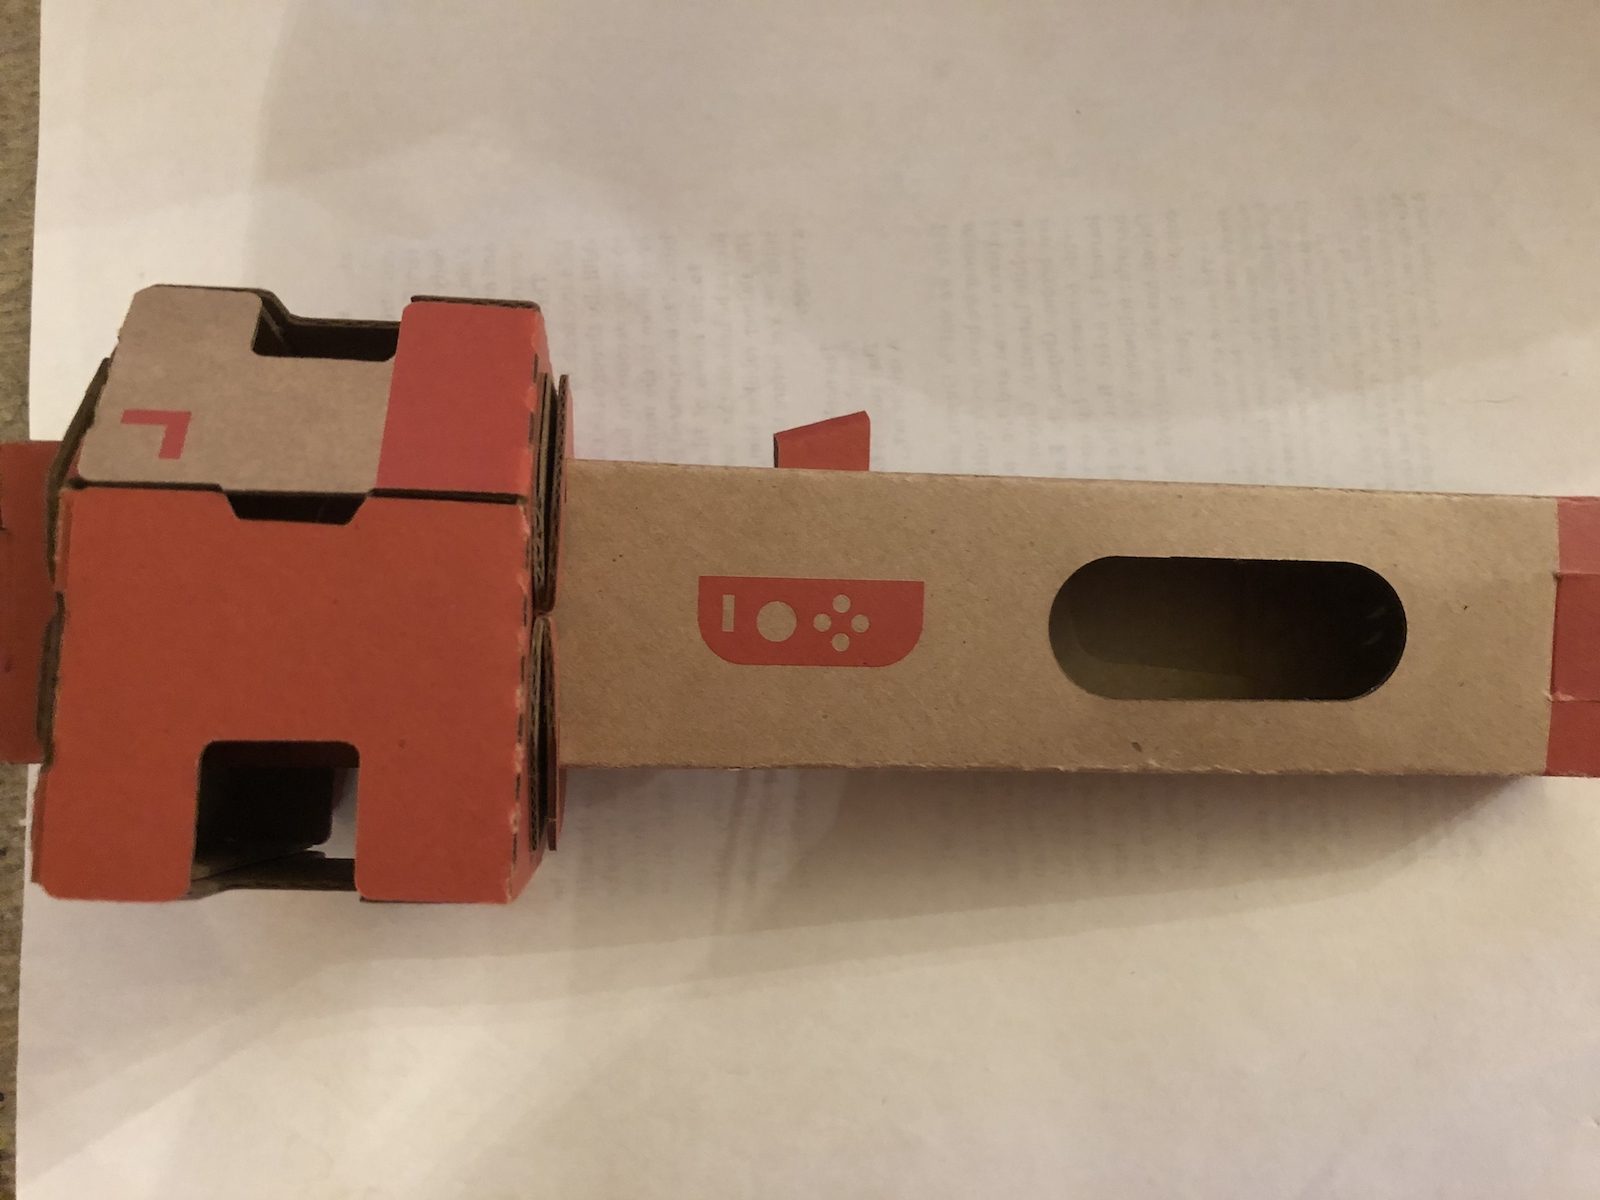
The Labo instructions are terrific because they keep you from getting ahead of yourself. The first part of the build starts with the handlebars and just two cardboard sheets. There are pieces to these parts that need to be punched out before starting. Hint: it’s easy to see them if you turn the piece over. The punch-outs are easy to spot and can’t be confused with the folding parts.
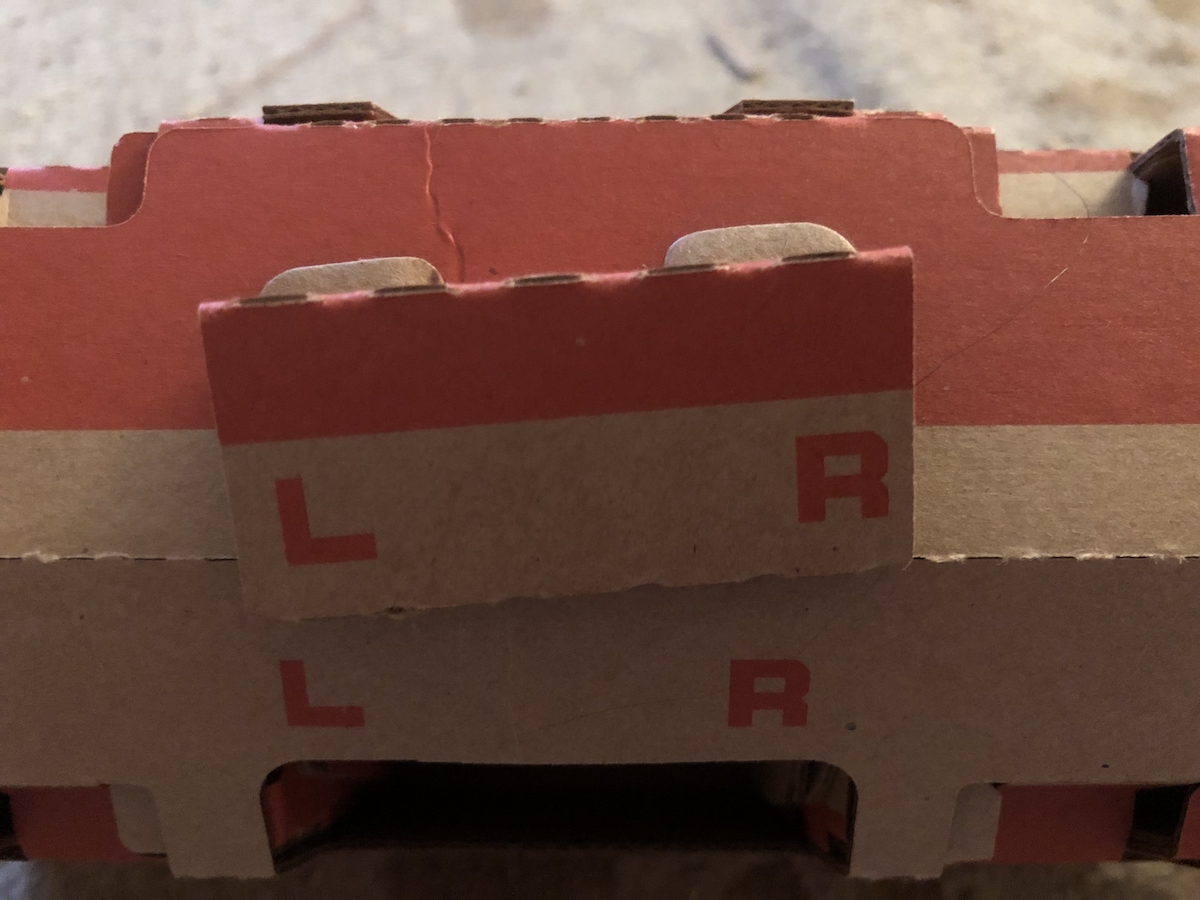
The right handlebar takes four of the cardboard pieces. Once that’s done, it’s time to do the left. Our total time for this was two hours. That’s because the little parts representing the handlebars and the brake have to be slotted into the handlebar properly, so they’ll interact with the Joy-Con.
We stopped here the first night.
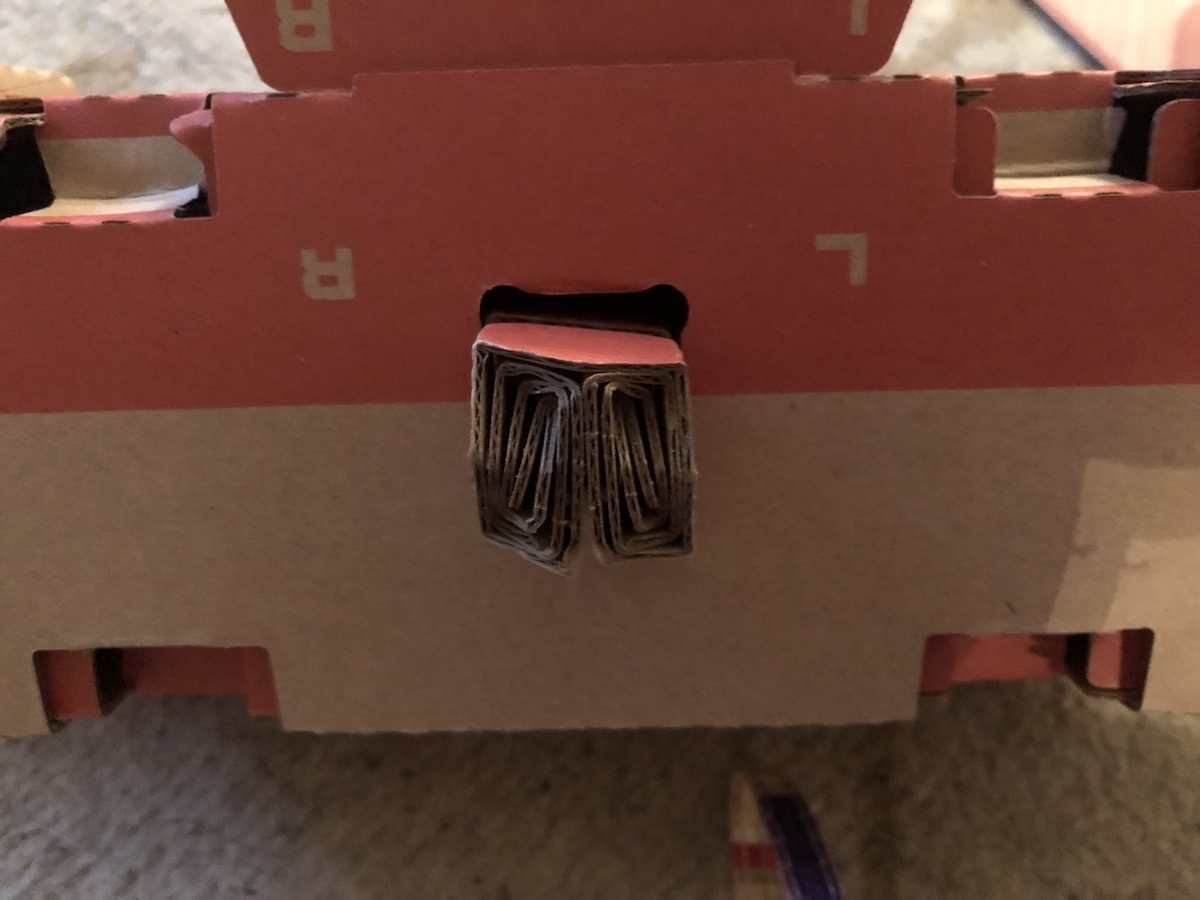
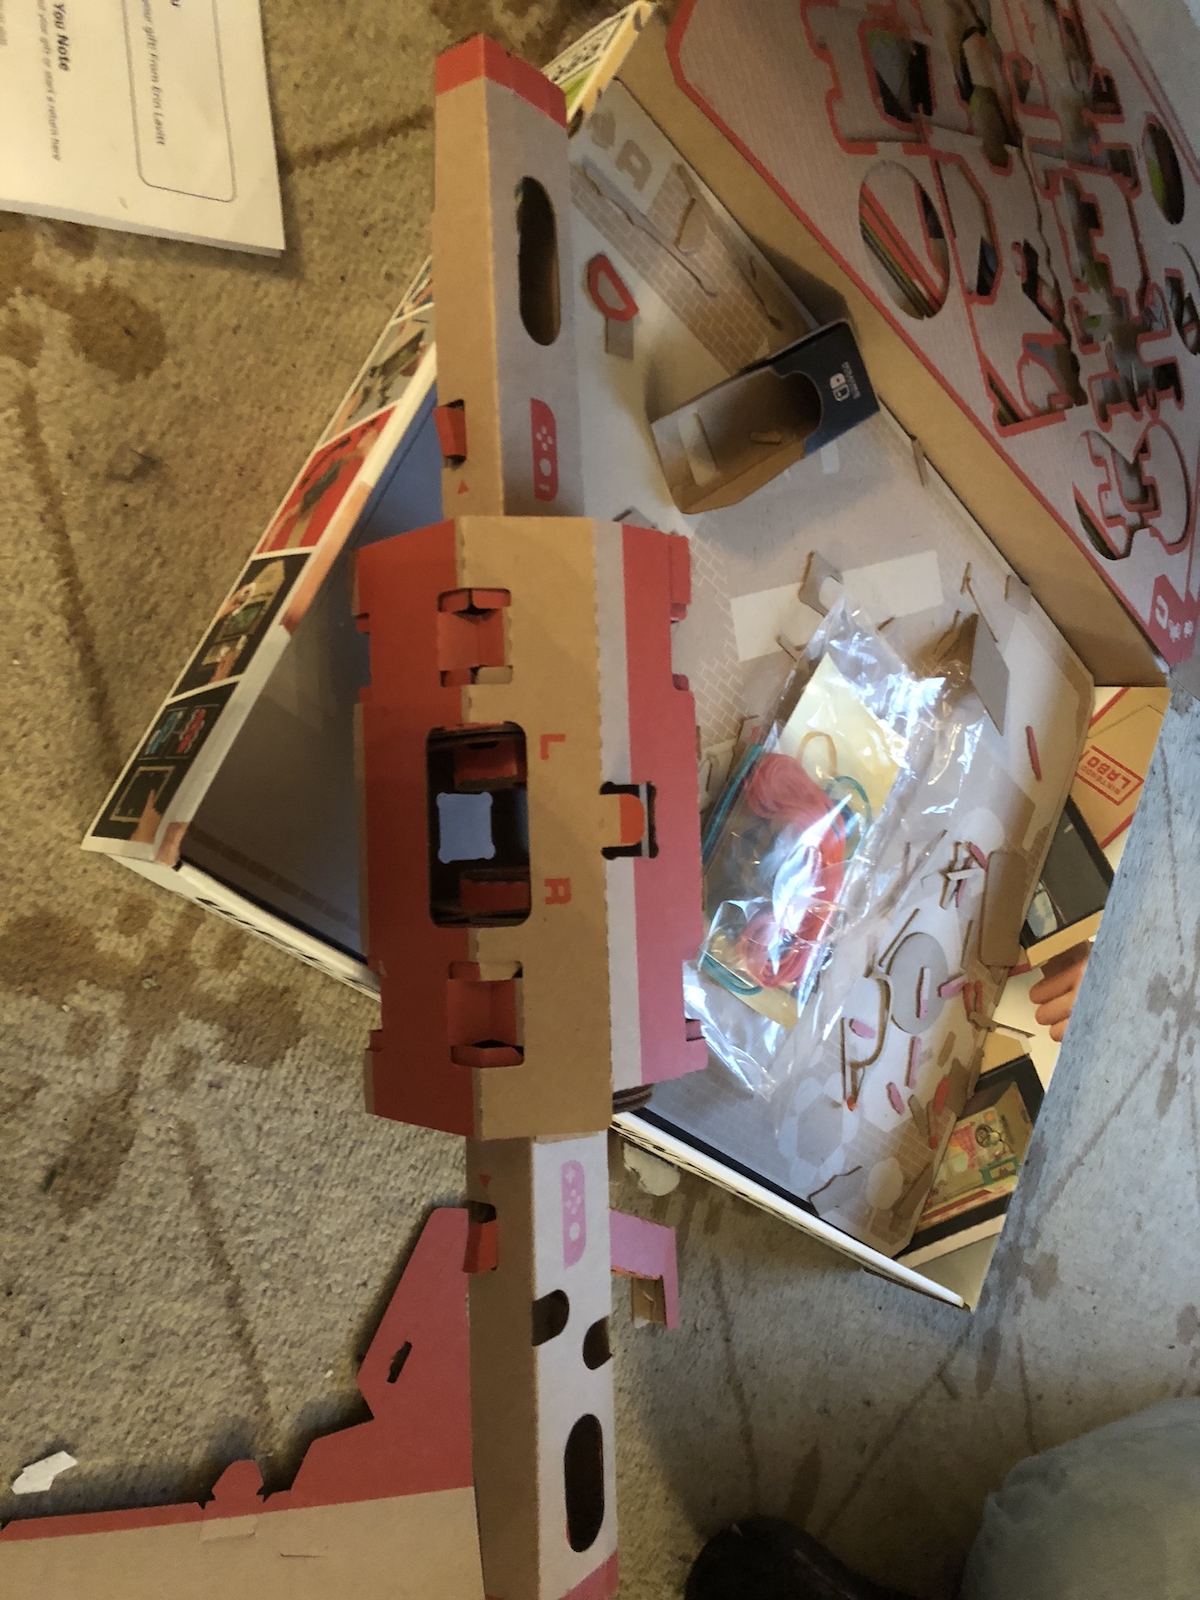
The base was the trickiest part. The easiest part was the biggest piece in which everything else is slotted. I think it’s a rule of Labo construction that the smallest pieces take the most effort while the big ones go together in a few quick steps.
The tiniest piece was the hardest. As you can see from the photograph above, that cardboard piece had to be folded in on itself, then pushed through a tight, tight slot on the top of the base.
The rubber bands that are part of the base defeated my son. It took my smaller fingers to slip them on the right tabs. Younger kids may be more adept at this part.
Yes, even when you get this far, there’s more to do. The handlebars have to go into the base, there is a holder that also needs to be attached, and the holder for the Switch has to be locked in. Still, after taking one night to do the handlebars, steps two and three were all accomplished the next night when we felt we were almost done and refused to stop. (But, yes, it took longer than anticipated.)
Something I did not know before playing this game with my kids: they suck at driving games. Which means they didn’t want to play with the Labo motorcycle for a long time.
The best part of that, however, was that I do NOT suck at driving games and, after they had a few tests runs in which they finished last, they gave the game over to me. I stayed at the beginning level but ended up in first by the end of that.
The Labo game allows the player to adjust the speed by the throttle of the handlebars. You go faster by twisting the right handlebar, slower by letting it fall back in place. (Now I saw the reason for the rubber bands.) It is an interactive experience, much more so than using a controller. The only thing missing is actually moving. (Then again, considering how likely a crash is, it’s probably best the Labo kits don’t go quite that far.)
I had as much fun making this kit as I did playing with it. One of the perks of Labo is that building the kits becomes a cooperative experience. While my son doesn’t love driving games, he does love spending time with me.
Next up, we will finally get to the piano and attempt cat mode.
This post was last modified on May 10, 2018 6:42 pm
Trans rights are human rights. In a world where trans rights keep being taken away,…
I really didn’t want another story about a young adult attending a magical school, but…
Bring springtime and color into your home with Marimekko stationery items.
The fight between winter and the onset of spring is something we know well in…
Out today is the newest Mouse Guard book, 'Mouse Guard: Dawn of the Black Axe'—and…