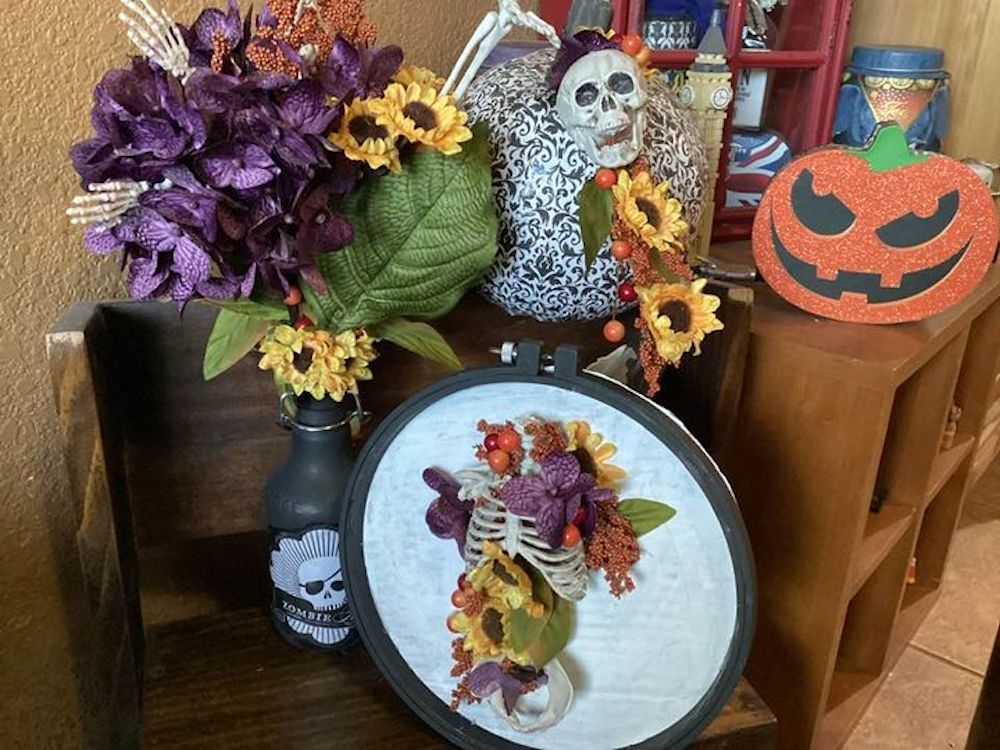
Even as Halloween is closing in fast, there is still time to make a quick display for the work space, table or bar top, entry way or any other small area you want to “spooky up” a bit.
With one small plastic skeleton, some silk flowers, a few upcycled items, and a little effort, you can make three little décor items to display separately or in a group.
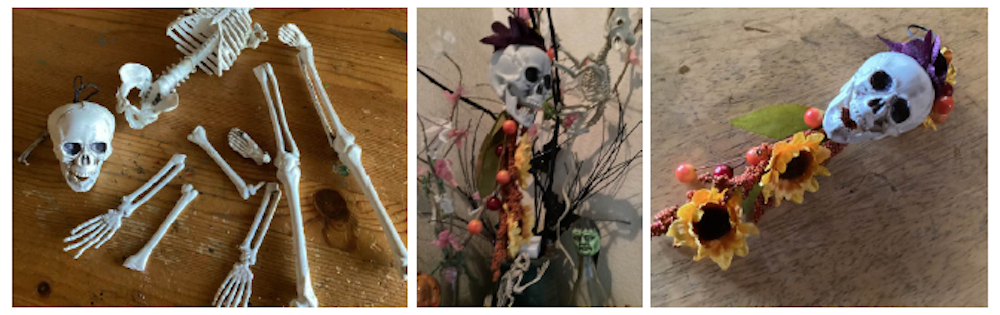
You’ll need one cheap plastic skeleton (about 12″ to 18″ long). I picked up one at a supermarket for less than five dollars, so they are pretty easy to find.
Tell him you’re sorry, and then rip him to pieces like a mad scientist. Separate him into three parts: the skull, the torso, and the limbs. Each of these bony pieces will make a different item.
Let’s start at the top.
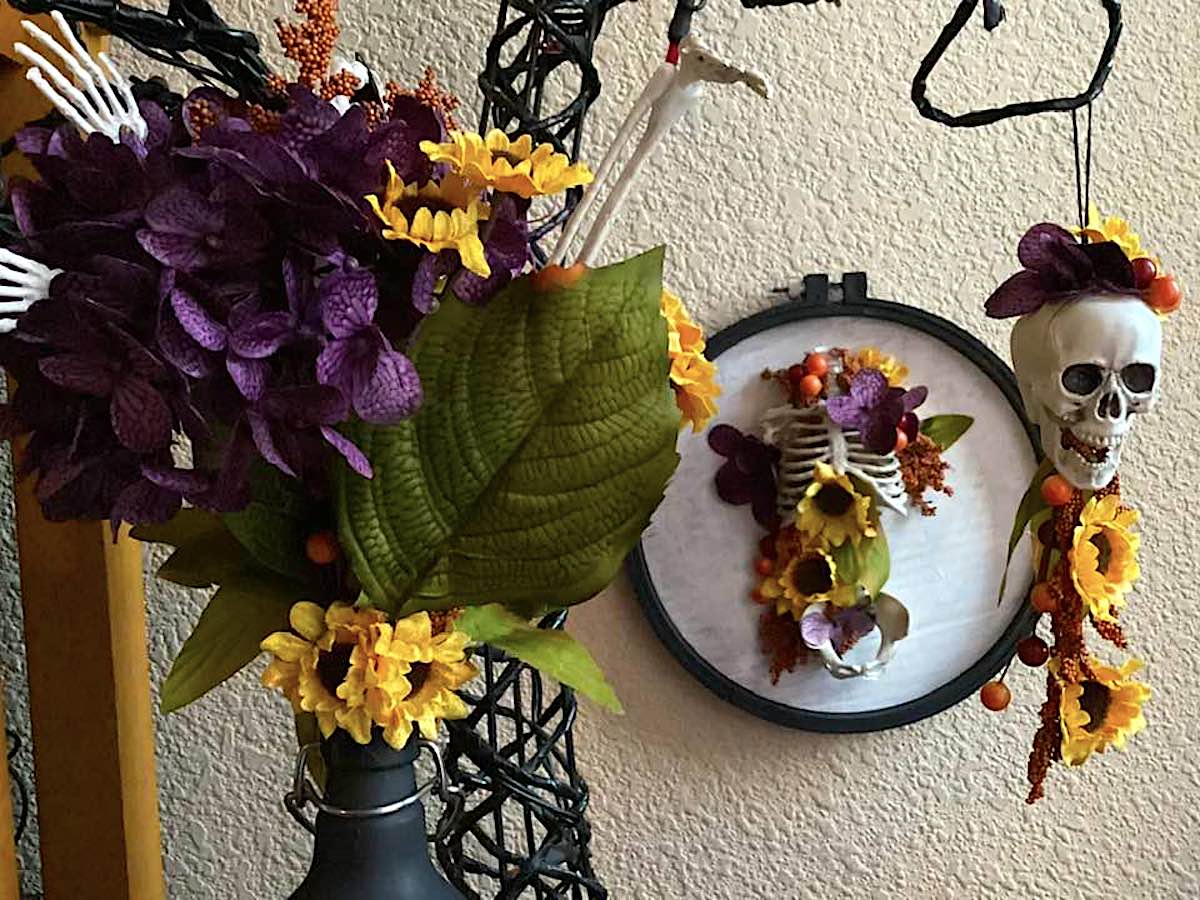
The Skull: Hanging Tassel
Most all of these little skeletons come with a loop in their head to hang, so take advantage of that item. Glue some small dollar or craft store flowers (any type you want) around the top of the skull, and glue some ribbon or long vines and flowers from the jaw. Simple!
Now, move down the body to the ribs and pelvis.
The Torso: Framed Floral Display
Find an old small picture frame (no larger than 10” on any side), and paint it black. Attach a piece of white art canvas or cardboard (cut to fit) to the back of the frame. Glue the skeleton torso right in the center of the frame. Use some flowers and leaves to interweave through the rib cage and pelvis, and glue them in place. This will give a nice mix of bone and flowers. This one really looks cool when it is finished.

Finally, find the limbs.
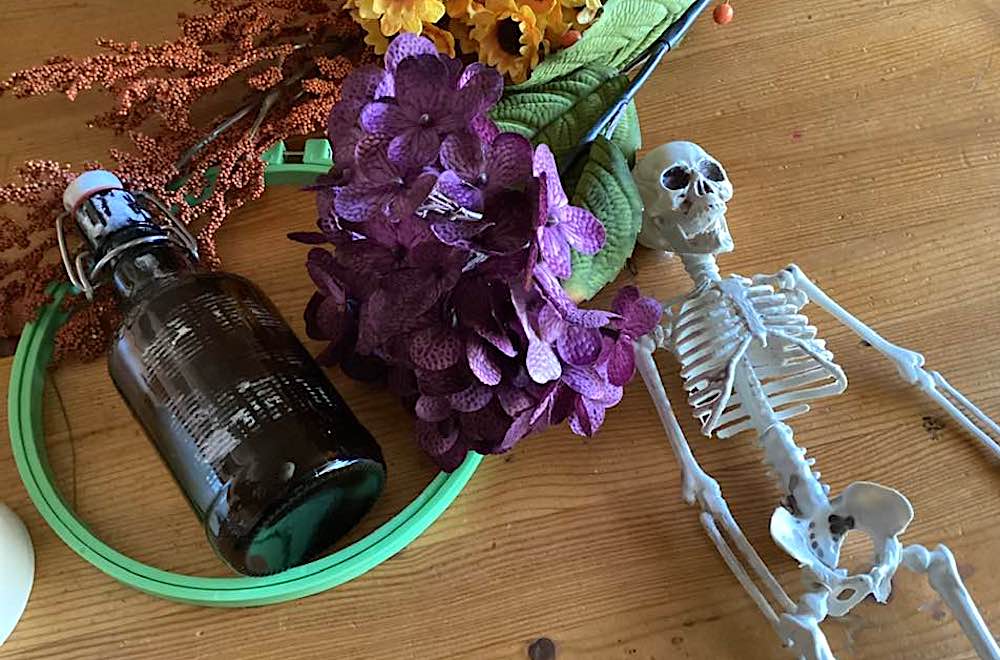
The Arms and Legs: Bony bouquet
Use an old small glass jar or bottle and paint it black. You can leave it plain or add a vintage looking spooky printable label. Some skeletons make it easy to cut or break the legs and arms in two sections: the humerus and femur on their own, and the lower arm and leg bones with the hands and feet attached. This will give you four long bones to use in the bouquet. If not, four longer limbs will work fine.
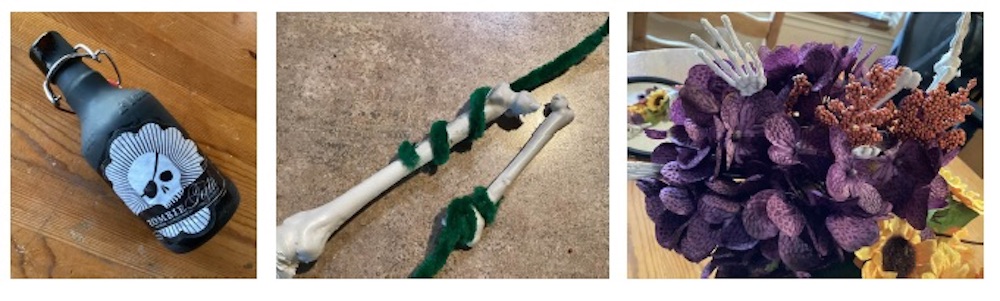
First. Place the flowers in the jar how you want them. If you want a lot of flowers use something with a fairly wide mouth, like an old pickle jar. Next, use floral wire or pipe cleaners (chenille stems), and coil them around them around one end of each bone. Floral wire can be stronger, but if you have plenty of flowers, plain pipe cleaners work fine. Glue the wire on the bones, so it stays in place. Next, add the bones to the flower display, and arrange them how you want.
All three pieces are done, or you can add small silk or plastic insects, jewels or other embellishments.
Finally, find a small area to display them.
The skull can hang from a window or light fixture. You can also use a small tabletop candleholder, you can sometimes find with little votive candle displays. Old doll stands work well for these, as well. The frame can be mounted to a wall, or set on a desk or table with little plain frame holder. The bouquet, of course, you can place on any flat surface.
There it is, very easy and not too expensive. Ready for Halloween or Dia de los Muertos…bones and all.