Halloween decorating and décor is becoming more and more elaborate, but some of the cooler seasonal items and spooky effects aren’t in everyone’s budget.
Sometimes little imagination can turn a simple, inexpensive finding into a spook, cool Halloween prop or decoration. This October, we’re going to raid some discount, second hand or dollar stores to make some turn “cheap” finds into spooky or classy creations, starting with …paint-by numbers.
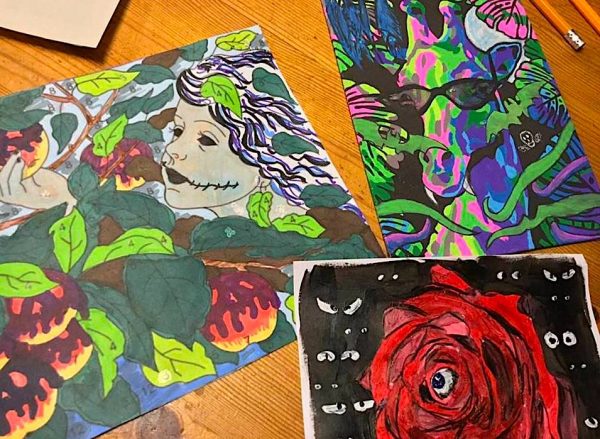
One of the popular decor item ideas is the spooky portrait wall hanging. Sometimes, these are lenticular (giving the illusion of depth or movement), or just creepy looking pictures of something otherwise familiar and everyday, like a portrait of landscape.
This idea will take an otherwise “everyday” picture, and give it its own spooky makeover. Paint by numbers are a perfect place to start, as the kits can be found as cheap as just one or two dollars in some stores.
This idea came to me when my husband bought me a couple of dollar store paint-by-number kits as a silly gift. He purchased one, a giraffe, because the colors vaguely reminded him of the ads for the vampire comedy series What We Do in The Shadows.
Well, since the giraffe was already halfway there, I decided to make him a vampire giraffe. All it took was changing a couple of the colors, and adding some spooky details, and here is the result:
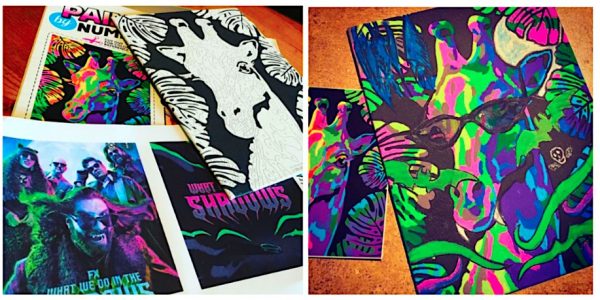
Goofy, yes, but it certainly opens up some spooky potential.
First, find a paint-by-number kit. The images can be a simple and unassuming as you want them to be. They are going to evolve a bit after they are finished. These kits will already have paint, the canvas and a brush. A printable paint-by-number image is also fine, if you already have paint to good markers.
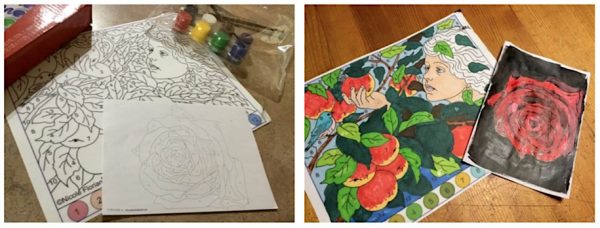
Paint it according to the directions. If there are some colors in the main design you want to change, mix a couple of the colors already in the kit on a paper plate. With my giraffe, I wanted to get rid or all the yellow and orange, so I mixed each of these colors to make different shades or green and pink.
When the basic, non-spooky painting is done, look at if for a little and think about how it could be turned into something you would find in a haunted house or ghost story.
Does a person or animal need some weird fangs, horns or creepy eyes? Can we add a weird background house or character. This is all about you and your imagination. For my giraffe, I added some vampire fangs, a few hanging and flying bats in the area, a cool pair of “vampire” shades, and a nice full moon, and he’s a vampire.
This first attempt may not be the most detailed, but it definitely gives you some ideas of the fun that can be had with an already existing image.
If the colors you want are not already in the kit, use some basic craft or acrylic paints. Otherwise, there is no need to purchase any additional materials.
If you want to add stickers, cutouts or other items (googly eyes, or costume jewels for example) to bringing it life, that is fine. Check out my post from January on turning old greeting cards into new art for some tips.

Place these around the house in October, and see if anyone notices something that may be just a little, or a lot, “off”about it.
Get started and have fun, as there will be more spooky ideas coming this month.