Last week, I shared some easy doodling and simple drawing tips for Spring Break that can result in some fun special effects. This week we’ll take a smaller approach with some “little canvas” painting ideas.
One way I kept painting interesting for my kids when they were younger was by working on smaller canvases. By “canvas” I mean any drawing surface, from construction paper to cardboard.
Smaller size doesn’t mean you can’t try some interesting and fun techniques with acrylic paints. Here are three all levels and ages can try:
Mini Paint Pouring (Fluid Art)
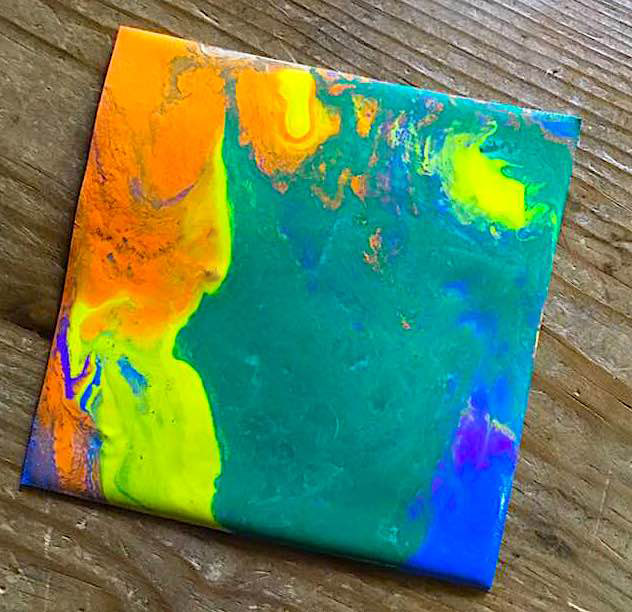
There have been several art demos for paint pouring on YouTube lately, with some artists doing colorful, fun effects on big canvases. Unfortunately, this can take a bunch of paint and space, and be pretty messy. This is something that parents don’t always have the time to do when working with smaller kids.
Bring this down do little images no larger than 4″ X 4″ and it can still be fun.
Cut some cardboard into small squares for your canvas, and place them on the center of a paper plate. Tack it down with a little piece of tape, to hold it in place.
Get out a small paper or plastic cup for each color you want, and pour a little of the acrylic paint in it. When you see most paint pouring, they are using some type pouring medium to help the paint flow. When dealing with a small enough surfaces, Mod Podge or plain school glue with a drop of water can be used in place. Pour a little in each cup and mix the paint and glue with toothpick. I used about mix of two parts paint and one part glue.
Now, let kids use their imagination and play with different pouring techniques. They can pour big drizzle areas over the top, our pour small ripple puddle by continuing to pour one color slowly on top of the other.

To help these colors cover the whole canvas, pick up the entire plate and tilt it around. The small size and rims of the plate help keep the mess factor down. Let it dry completely. This may take overnight, so be patient.
This method will probably make the heads spin of more seasoned artists, but it works just fine for kids and hobbyists.
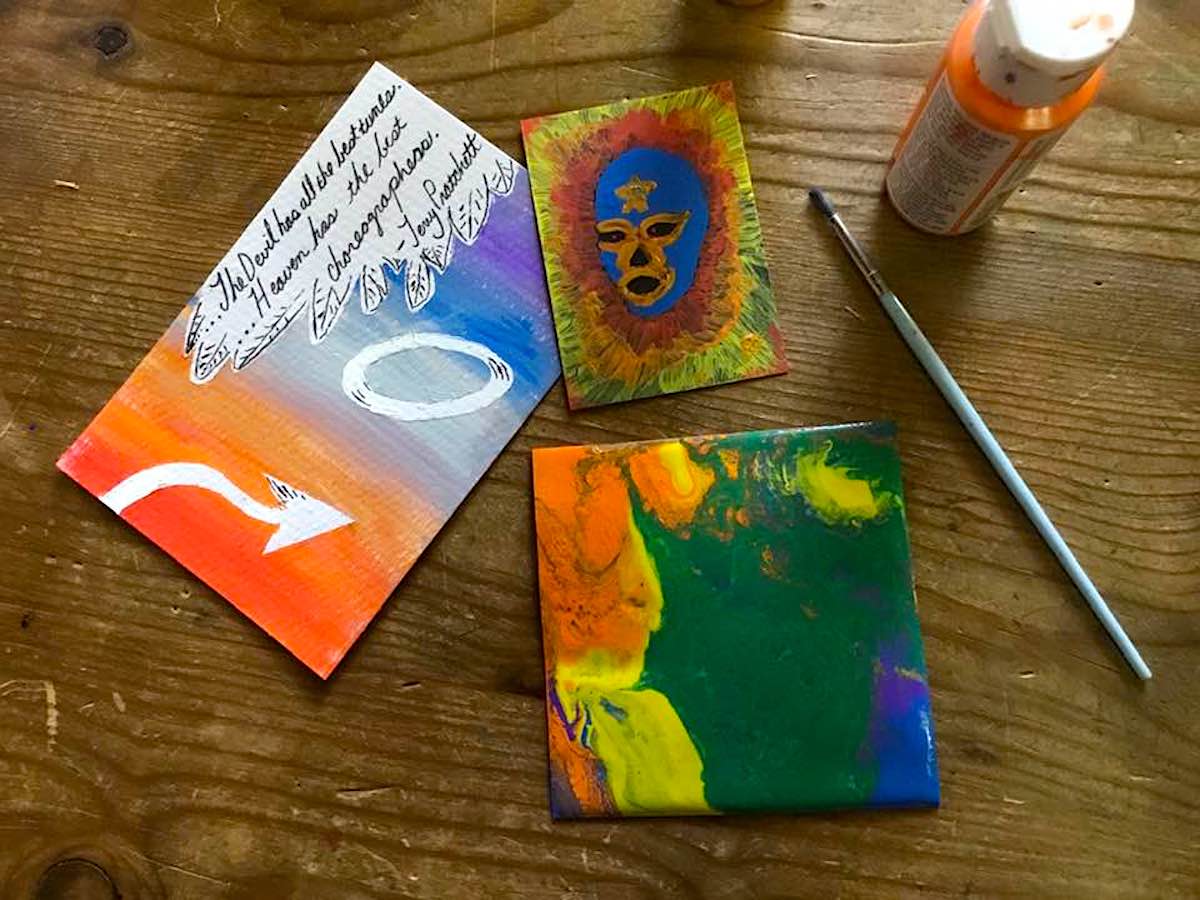
The Cutout “Silhouette” Postcard prints
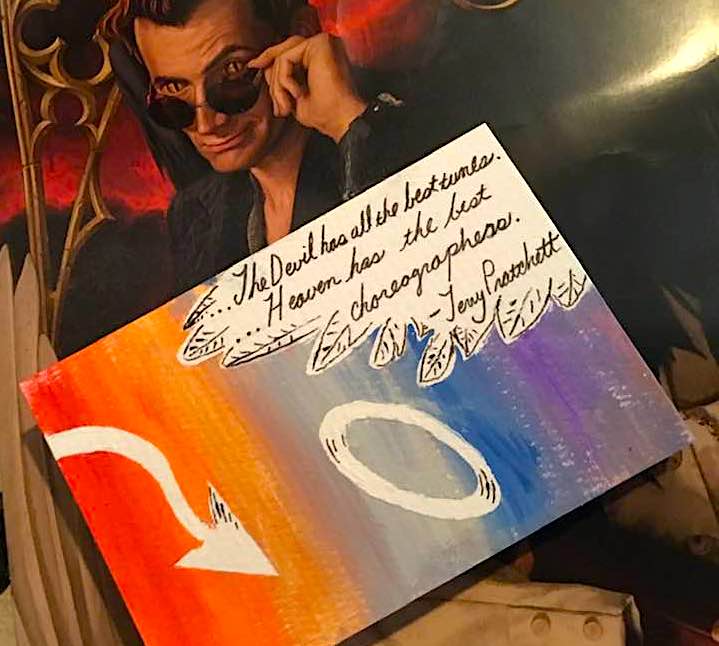
I found “half-size” prints to be more desirable than 8″ X 10″ or larger, and when kids are painting on a piece of drawing paper or cardstock, you can double the amount of paintings you can do.
To make a “silhouette” either find and cut out a shape or picture from a magazine or draw your own. Younger artists might want to use easy geometric shapes like triangles or circles. Use a school glue stick lightly to tack in on the paper where you want. Make sure the edges are all secure, so paint can’t ooze under it.
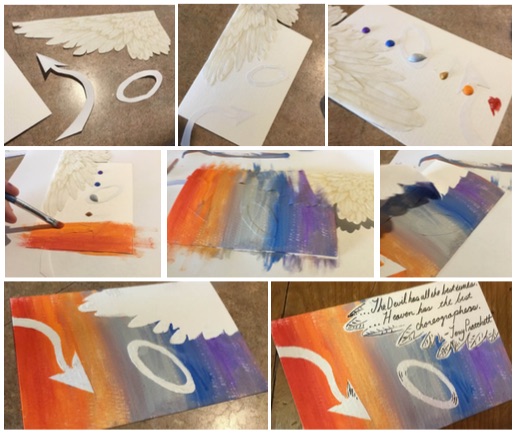
Don’t use too much glue, or this will be hard to peel off the paper. If you have a little canvas square, this will be even easier to peel, but it is often easier and cheaper to find thick paper like cardstock or watercolor paper.
Dab a few different small color dots of paint in a line down the paper from top to bottom. Use one brush and start at the top, them paint slowly from side to side going down the paper a little more each time.
This will blend the colors on the paper, and will cover the cut out completely. Peel off the cut out to reveal the silhouette.
Leave it as it is, or use a thin paintbrush or maker to draw some details in the “blank space.”
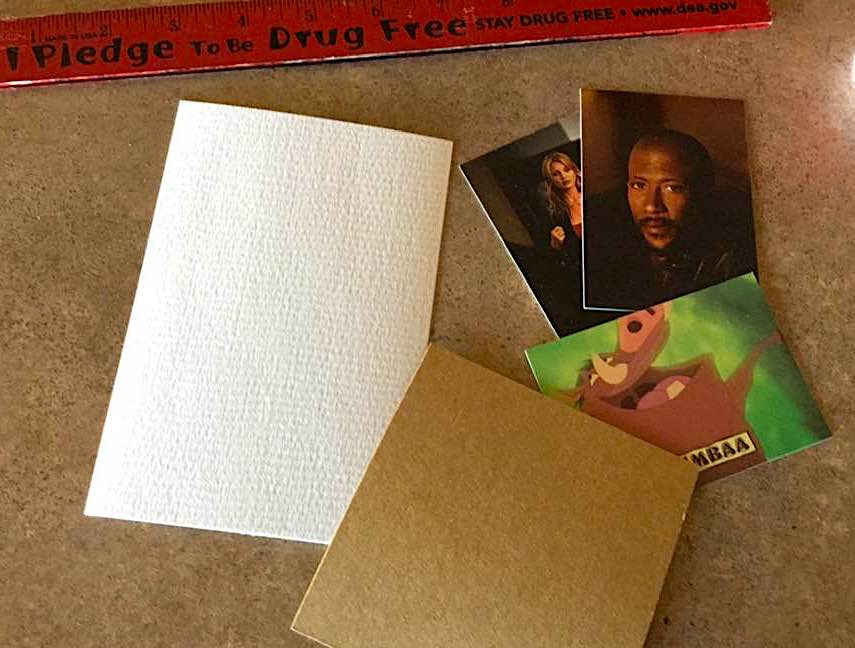
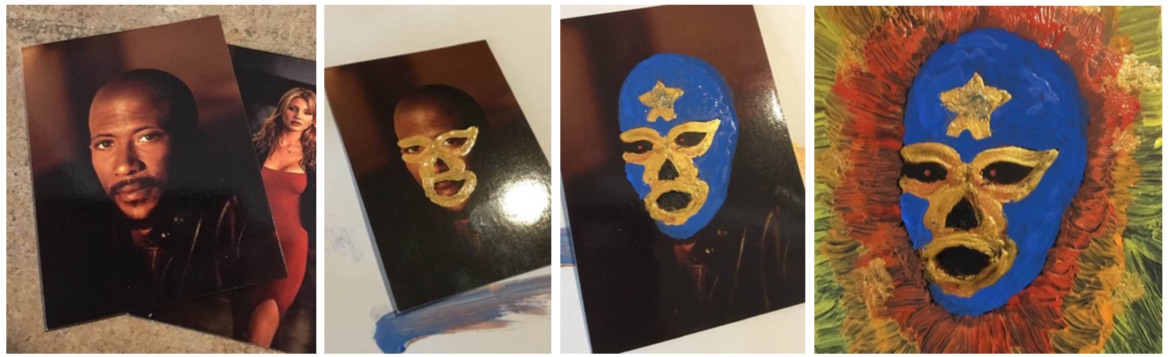
Trading Card Makeovers
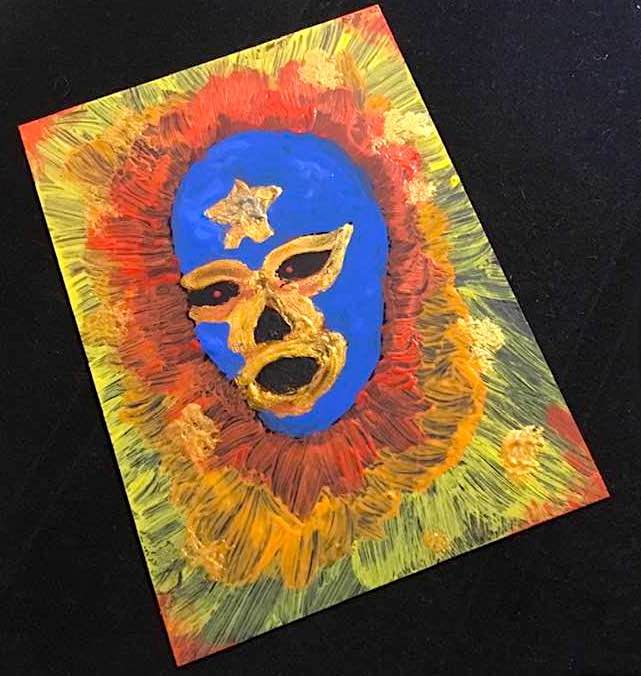
The fun trading card makeover will create a completely different design on an everyday picture.
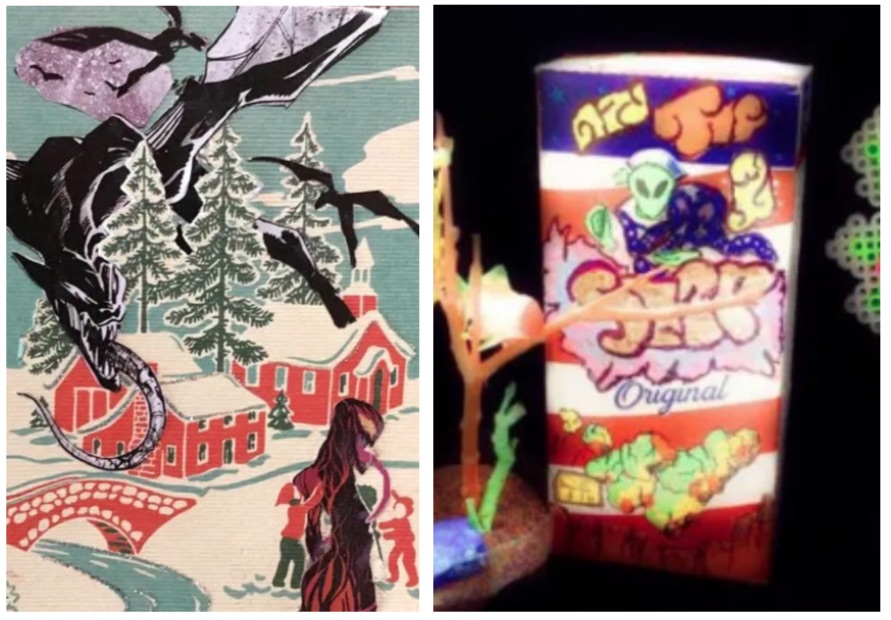
This process is similar to two ideas I have used in the past: the “alien product” idea like those seen at Meow Wolf: House of Eternal Return, and the “upcycled Christmas card college.” Take something plain, and make it weird and new.
Find an old trading card (one that isn’t of any sentimental or monetary value, preferably). One reason I chose trading cards is unlike pictures from a paper or magazine, they are already a nice, uniform shape, and are thick enough not to bubble up or warp when painted.
Using thin brushes and plain acrylic paint, use the photo or drawing on it as a template for creating a new painting. For example, take a picture of a “regular person” and make them monster, alien or superhero. I like finding plain portraits, because they make perfect templates for practicing facial shapes and features. It is also fun to find a classic cartoon image and turn it into something new.
It is that simple.
This is a fun way to use those trading cards that clutter drawers and boxes, and create little original pieces of art they can use for one-of-a-kind decorations or gifts.
Master Yoda once demonstrated the power of The Force by proving “size matters not.” The same holds true with these little drawings. Even when the surface is small, they can still hold some very big, imaginative ideas.