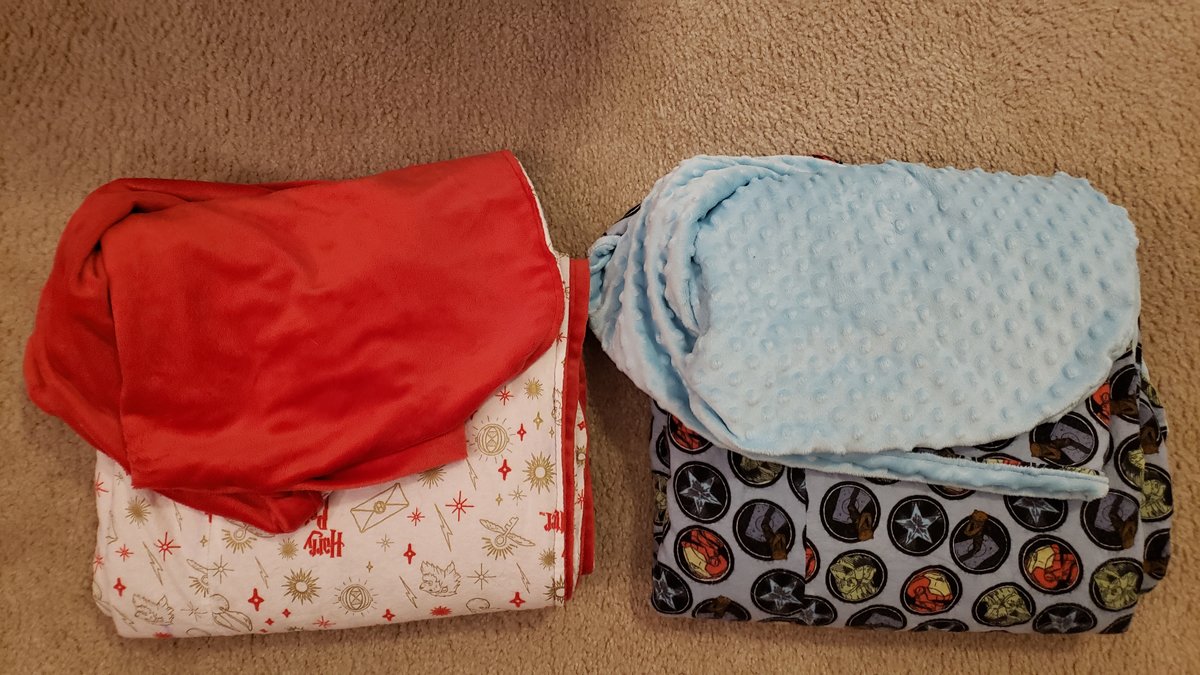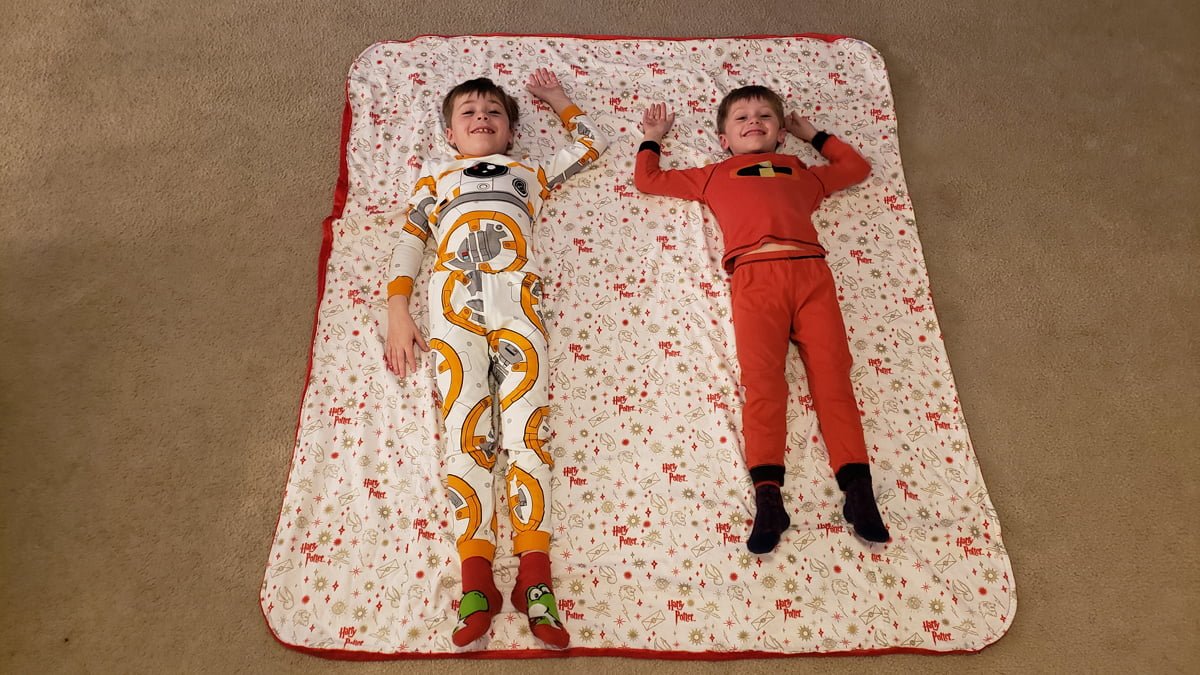
In the past nine months or so, I’ve gotten back into sewing as a hobby. It sort of took a back seat when my kids were younger, but now that they’re older (nine and six), I’m less concerned with them doing dangerous things with sharper sewing tools, and I feel like I can set things out and sew again. I’ve mostly been working on making fun plush creatures, but one of my favorite pattern sources, Choly Knight, offers some non-plush projects like this free double-sided cuddle blanket pattern. I’m not sure when the idea first came up to make these with my boys, but sometimes they do show interest in my sewing machine when I’m working on making a little plush critter. A blanket is a much easier project to take on than a plushie, and we all love snuggly blankets in this house so Black Friday weekend found me in the Jo Ann fabric aisle with my boys picking out the fabric to make some blankets of our own.
Choly Knight lists this as a fairly easy pattern which can work for people in the beginning stages of learning how to sew. The advantage is you are sewing mostly straight lines. The trick is they are bigger lengths of fabric that have their own challenges (the completed project is big enough for an adult). I’ll go over some of what we learned in making these together.
Things beginners should know:
- Fabric isn’t cheap. While there are other fabric sources that are not Joann, that one was the most convenient and did not require a minimum yardage purchase or shipping costs, so my price listing will be for the Jo Ann rates. For this project, you will need two yards of minky which run about $15 a yard. The flannel is narrower so you need more of it and depending on if you go for a licensed fabric design or not, you’ll end up paying around $9-$13 a yard for four yards of fabric. Doing the math in your head runs this project at about $66-$84 for the fabric portion. I highly recommend you wait for the fabric to go on sale or use a coupon to pull the cost down like we did even if you’re buying the two fabric types at separate times.
- Wash the fabric first. Some fabrics shrink a touch in the wash and you want to measure and cut them after this shrinking, not before.
- Minky is a stretchier fabric so I used a needle meant for stretch fabrics when I made mine.
- Flannel wants to cling to itself and minky likes to shift around. The hardest parts I found was lining up the two fabric types and pinning them together. The better you line things up, the easier trimming the rounded corners will be. You also avoid the fabric bunching as much.
- You will probably spend the most amount of time measuring out fabric and lining things up rather than the actual sewing.
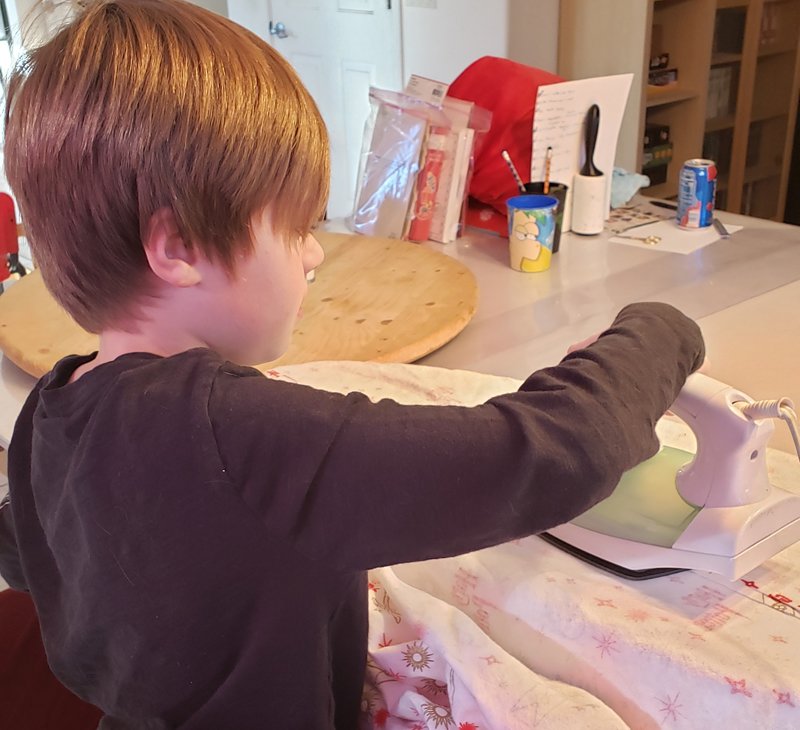
- Do the pressing with an iron. It may seem like it just extra time when you want to move forward, but things come out nicer. Also, note that minky is more synthetic so pay attention to how hot you set the iron.

Doing the project with the boys was a little trickier, but I didn’t need them to do everything with this first project. I can ease their way into independent sewing over time. I did the fabric cutting and smoothing although they were able to help with marking, pinning, and seam pressing. I also found that they felt comfortable working the pedal. I would set up the bobbin and let them do the pedal part, or I had them working the pedal while I sewed, paying attention to when they needed to pause so I could pull out a pin. They did a really decent job with this. I might have let them do more if minky wasn’t such a shifty and stretchy fabric. You have to make sure you aren’t tugging on it too much or you suddenly start to feel like you have access amounts of minky that isn’t lining up with the flannel which can create bunching. We had a few slight bunching situations, so I didn’t get to let the boys try that as much as I wanted to. Once you’ve sewn around the first time, the bunching issue is under control so you might consider letting your kids try their hand at doing the second go around. If they get a little off, a project like a blanket is pretty forgiving of small errors. We choose not to do the stitch in a ditch section. I had done it before with a blanket that was a gift and found that the less precise your lining of things up was earlier, the more likely you find fabric bunching if you do this section.

Ideas on where kids can help if they are new to sewing:
- Pinning the fabric.
- Ironing (with supervision).
- Operating the machine pedal if they are good at being safe and paying attention.
- Putting thread on the bobbin.
- Measuring marking, and cutting with supervision.
- Sewing the second part.

The boys loved their end results and were thrilled at how comfy and cuddly the blankets were. Both blankets are on their beds helping them keep warm. I found that the next time A, our nine-year-old, got a handmade gift, he really seemed to have a better appreciation for the time and work that such a thing required after having more directly experienced it. Overall, I really liked the pattern and would use it again to make blankets for ourselves or others as gifts. The boys even want to know if we’ll make blankets again. I might consider trying to do a lighter weight version by swapping the flannel for a cotton print and seeing how that will go. I admit that this sewing adventure with the kids I focused a lot more on safety and being familiar with what the machine does, but I’m thinking we might take some of the flannel scraps and try another project where they can do more of the sewing next time.
Have you tried sewing with your kids? What were some early projects you liked making with them?


