
I was so thrilled to check out Click & Grow’s largest gardening system, the Smart Garden 9! This has been a long review process, since I wanted to do a full growing cycle so I could give you a complete picture. Bear with me while I set the stage for this review.
I’m a gardening geek. Many of you who have followed GeekMom for years — essentially since the blog’s inception in 2010 — know this. One of the first posts I ever wrote was about container gardening while living on the Florida Panhandle, and as a military family member, having to start from scratch at each new house has been an ongoing challenge in my gardening endeavors.
I now live in Colorado Springs, Colorado. For those who are unaware, Colorado Springs averages over 6000′ in elevation, and is a very arid, on the northern border of the desert climates that more people associate with Pueblo and Albuquerque.
Colorado Springs is a tough place to garden outdoors. The higher elevation combined with the arid climate make for not only a short, cold growing season, but other challenges exist due to the higher UV radiation and lower oxygen and carbon dioxide concentrations (there is 25-30% less atmosphere over our heads than at sea level). In addition, the soil is sandier and less-nutrient dense than areas to our east, so very few things will grow well if simply planted into the natural ground.
What does this mean for me? Two things: (1) the need for container gardening, even in my backyard and (2) the need for indoor seed starting to give a healthy “head start” to my plants before going outside around Memorial Day. The Click & Grow Smart Garden 9 system will help with (2).
For the 2018 growing season, I had learned that I could convert my Miracle Gro AeroGarden Harvest model into a seed starting system by investing in a special insert that holds 31 peat seed-starting plugs. This worked like a charm, and I was able to give a healthy five-week head start to my seedlings.
Not long after these particular seedlings went into the ground last spring, GeekDad was contacted by the Click & Grow company from Talinn, Estonia. We received an invitation to test the Click & Grow Smart Garden 9 and help announce their new Plant Pod Subscription service.
Click & Grow has some philosophies that will interest many of our readers. The company believes that it should be easy for everyone to grow abundant, nutritious, and delicious food. Some of their “wall garden” products are designed expressly for this. For those who don’t agree with many American companies’ philosophies about food availability, Click & Grow is a wonderful alternative worth exploring.
I was happy to try out the Smart Garden 9. I delayed planting until last fall (after my summer outdoor garden was finished) and we observed a full seed pod growing cycle. And here we are!
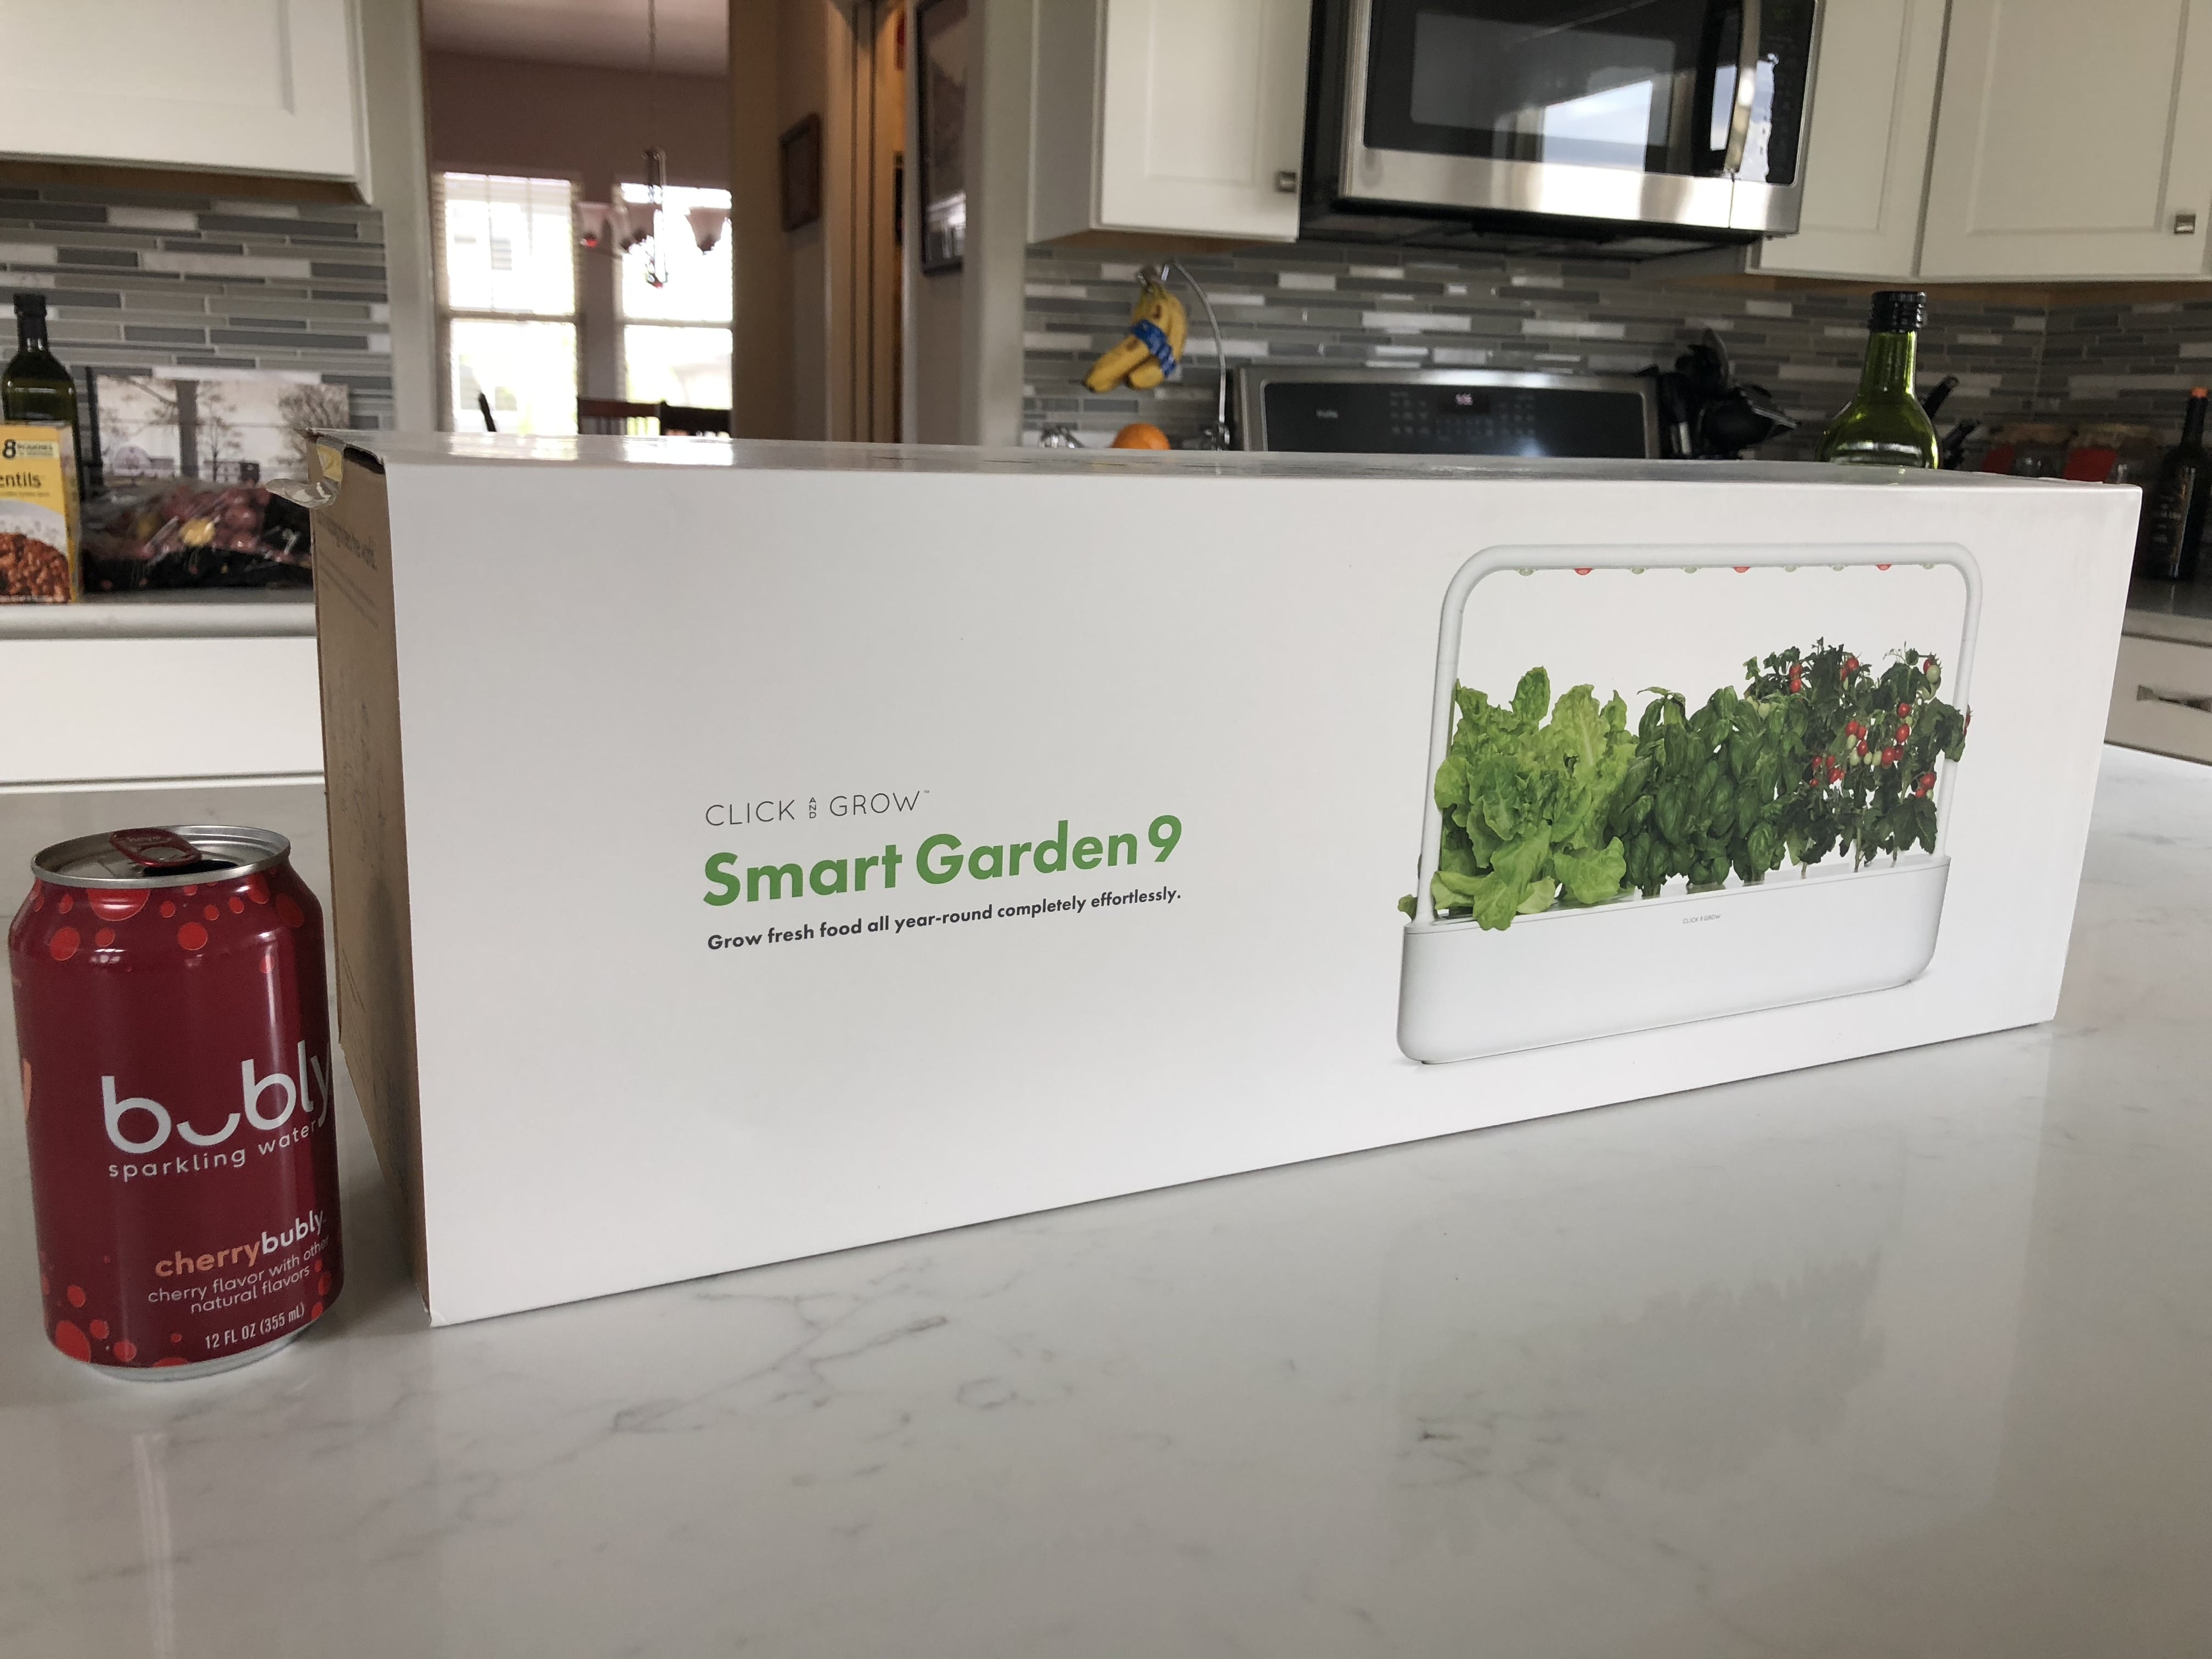

What Comes in the Box
- 1x Smart Garden 9 growing unit
- 4x “lamp extension arms” that are used to raise the lighting if your plants grow tall enough
- 9x seed pod holders with clear dome lids
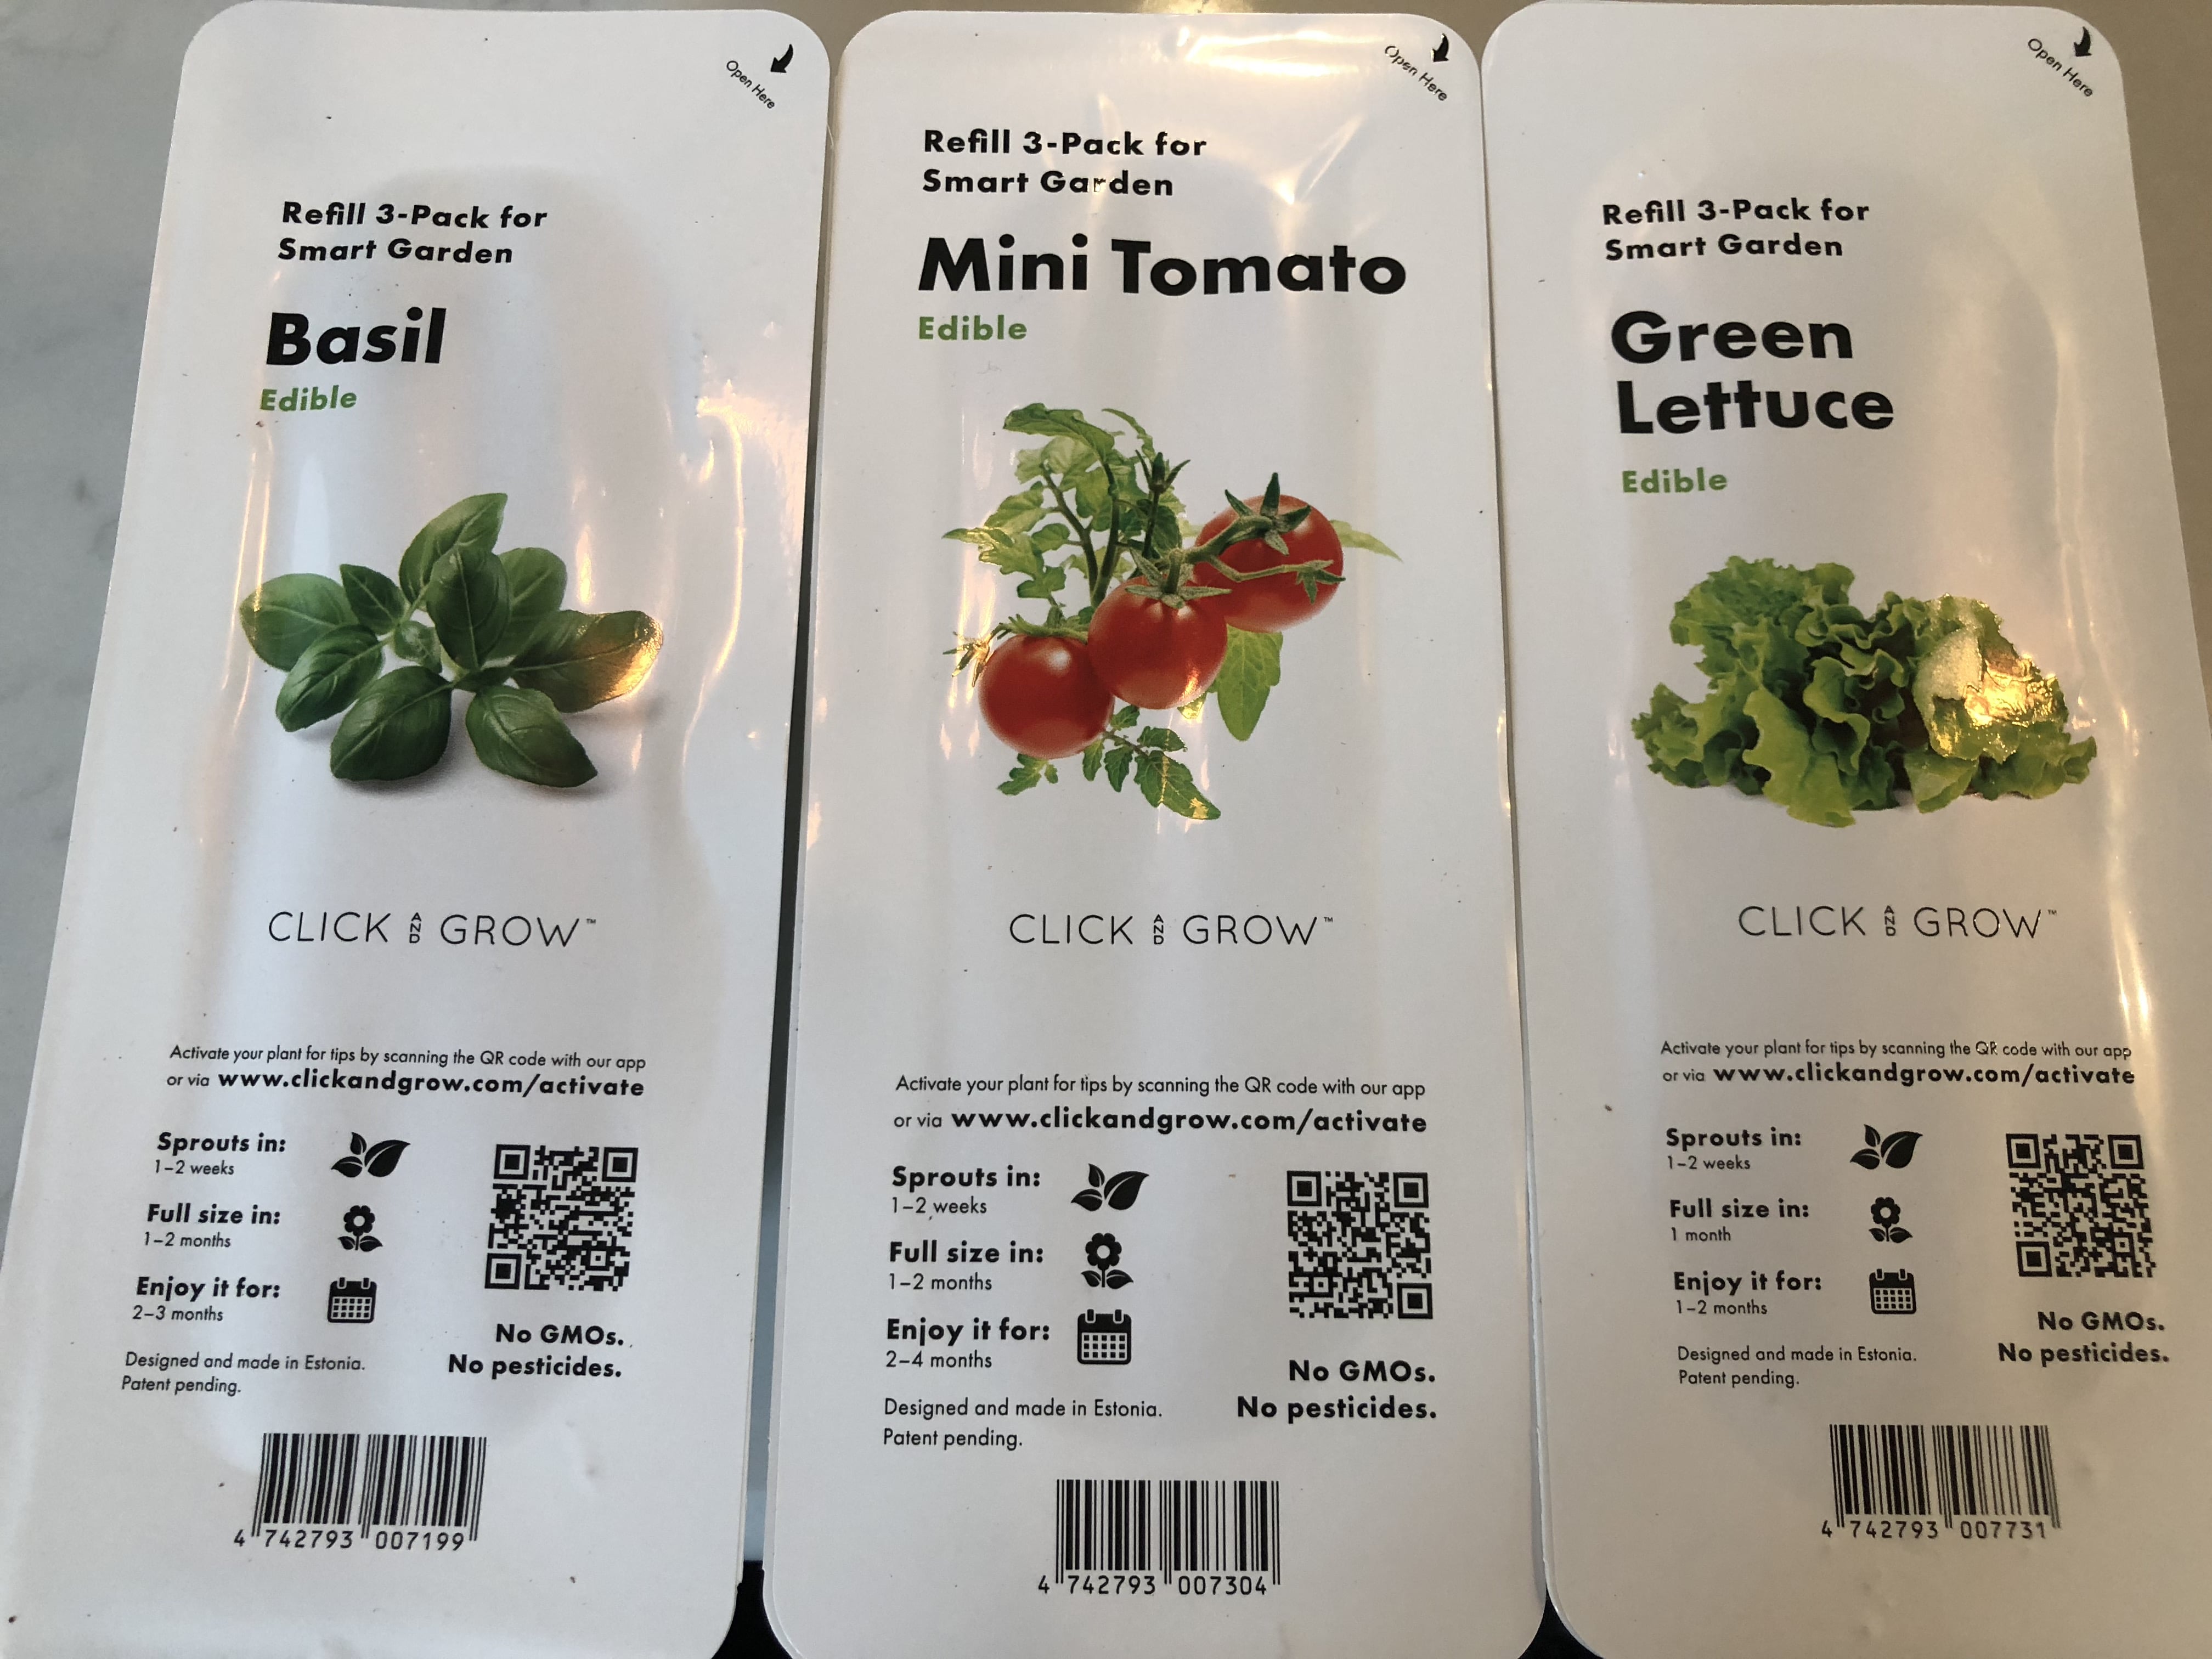
- 9x pods consisting of three each of: mini tomato, basil, and green leaf lettuce*
*You don’t have a choice of the type of seed pods when purchasing one of these gardens. I wish we did. Sorry!
Setup
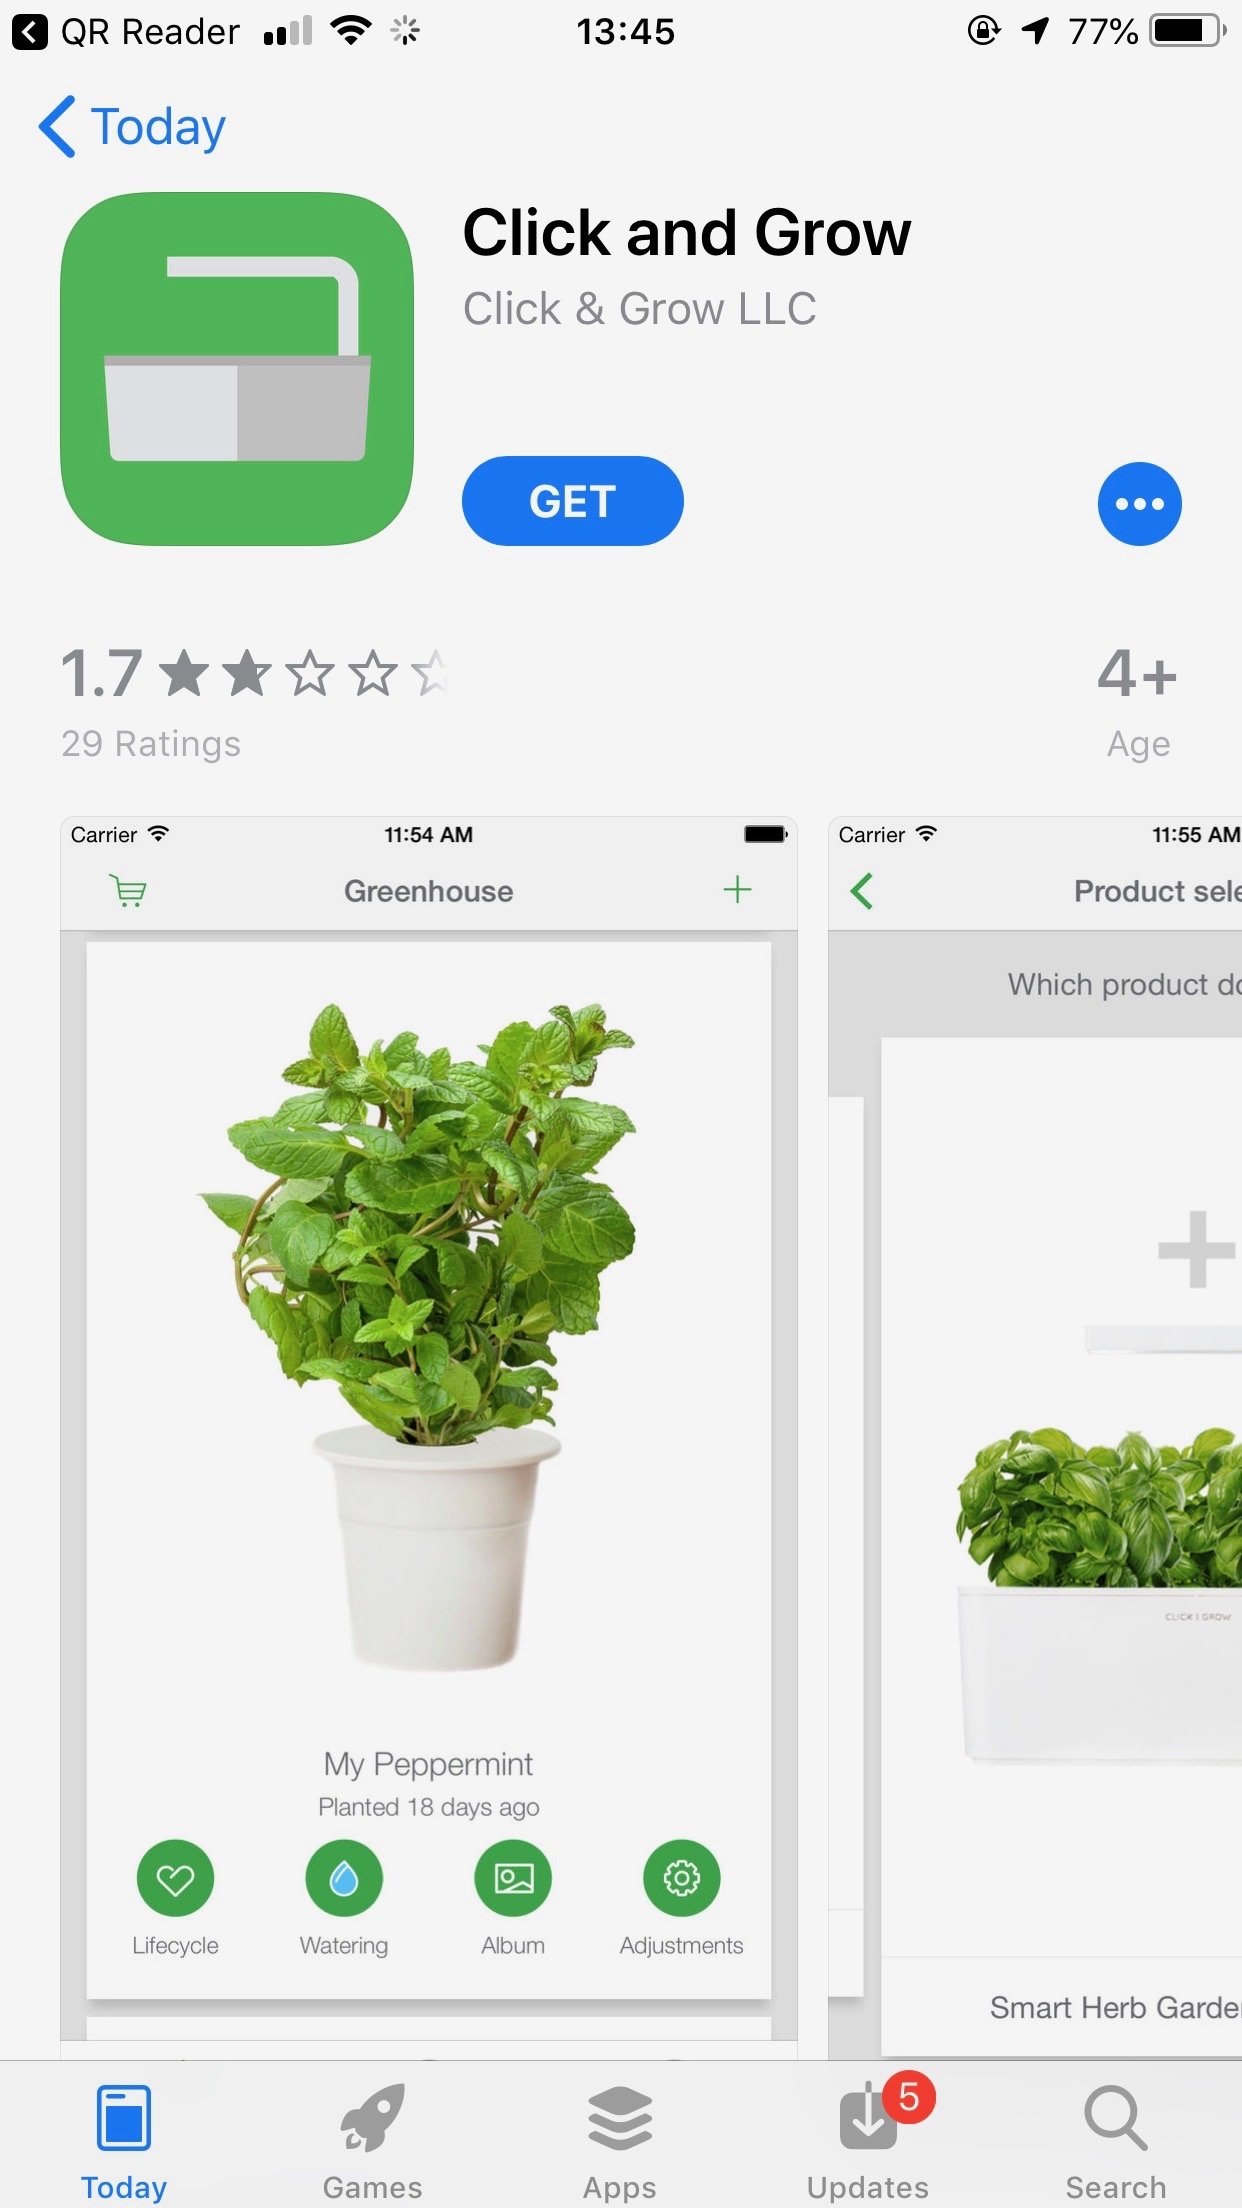
After following the directions to assemble the Smart Garden 9 system, I’d recommend downloading the Click & Grow app before going on to the next assembly steps.
The app lets you track the progress of your plants’ growth, lets you take photos while growing, and gives you watering reminders. I’ll speak more to this app later in the review.

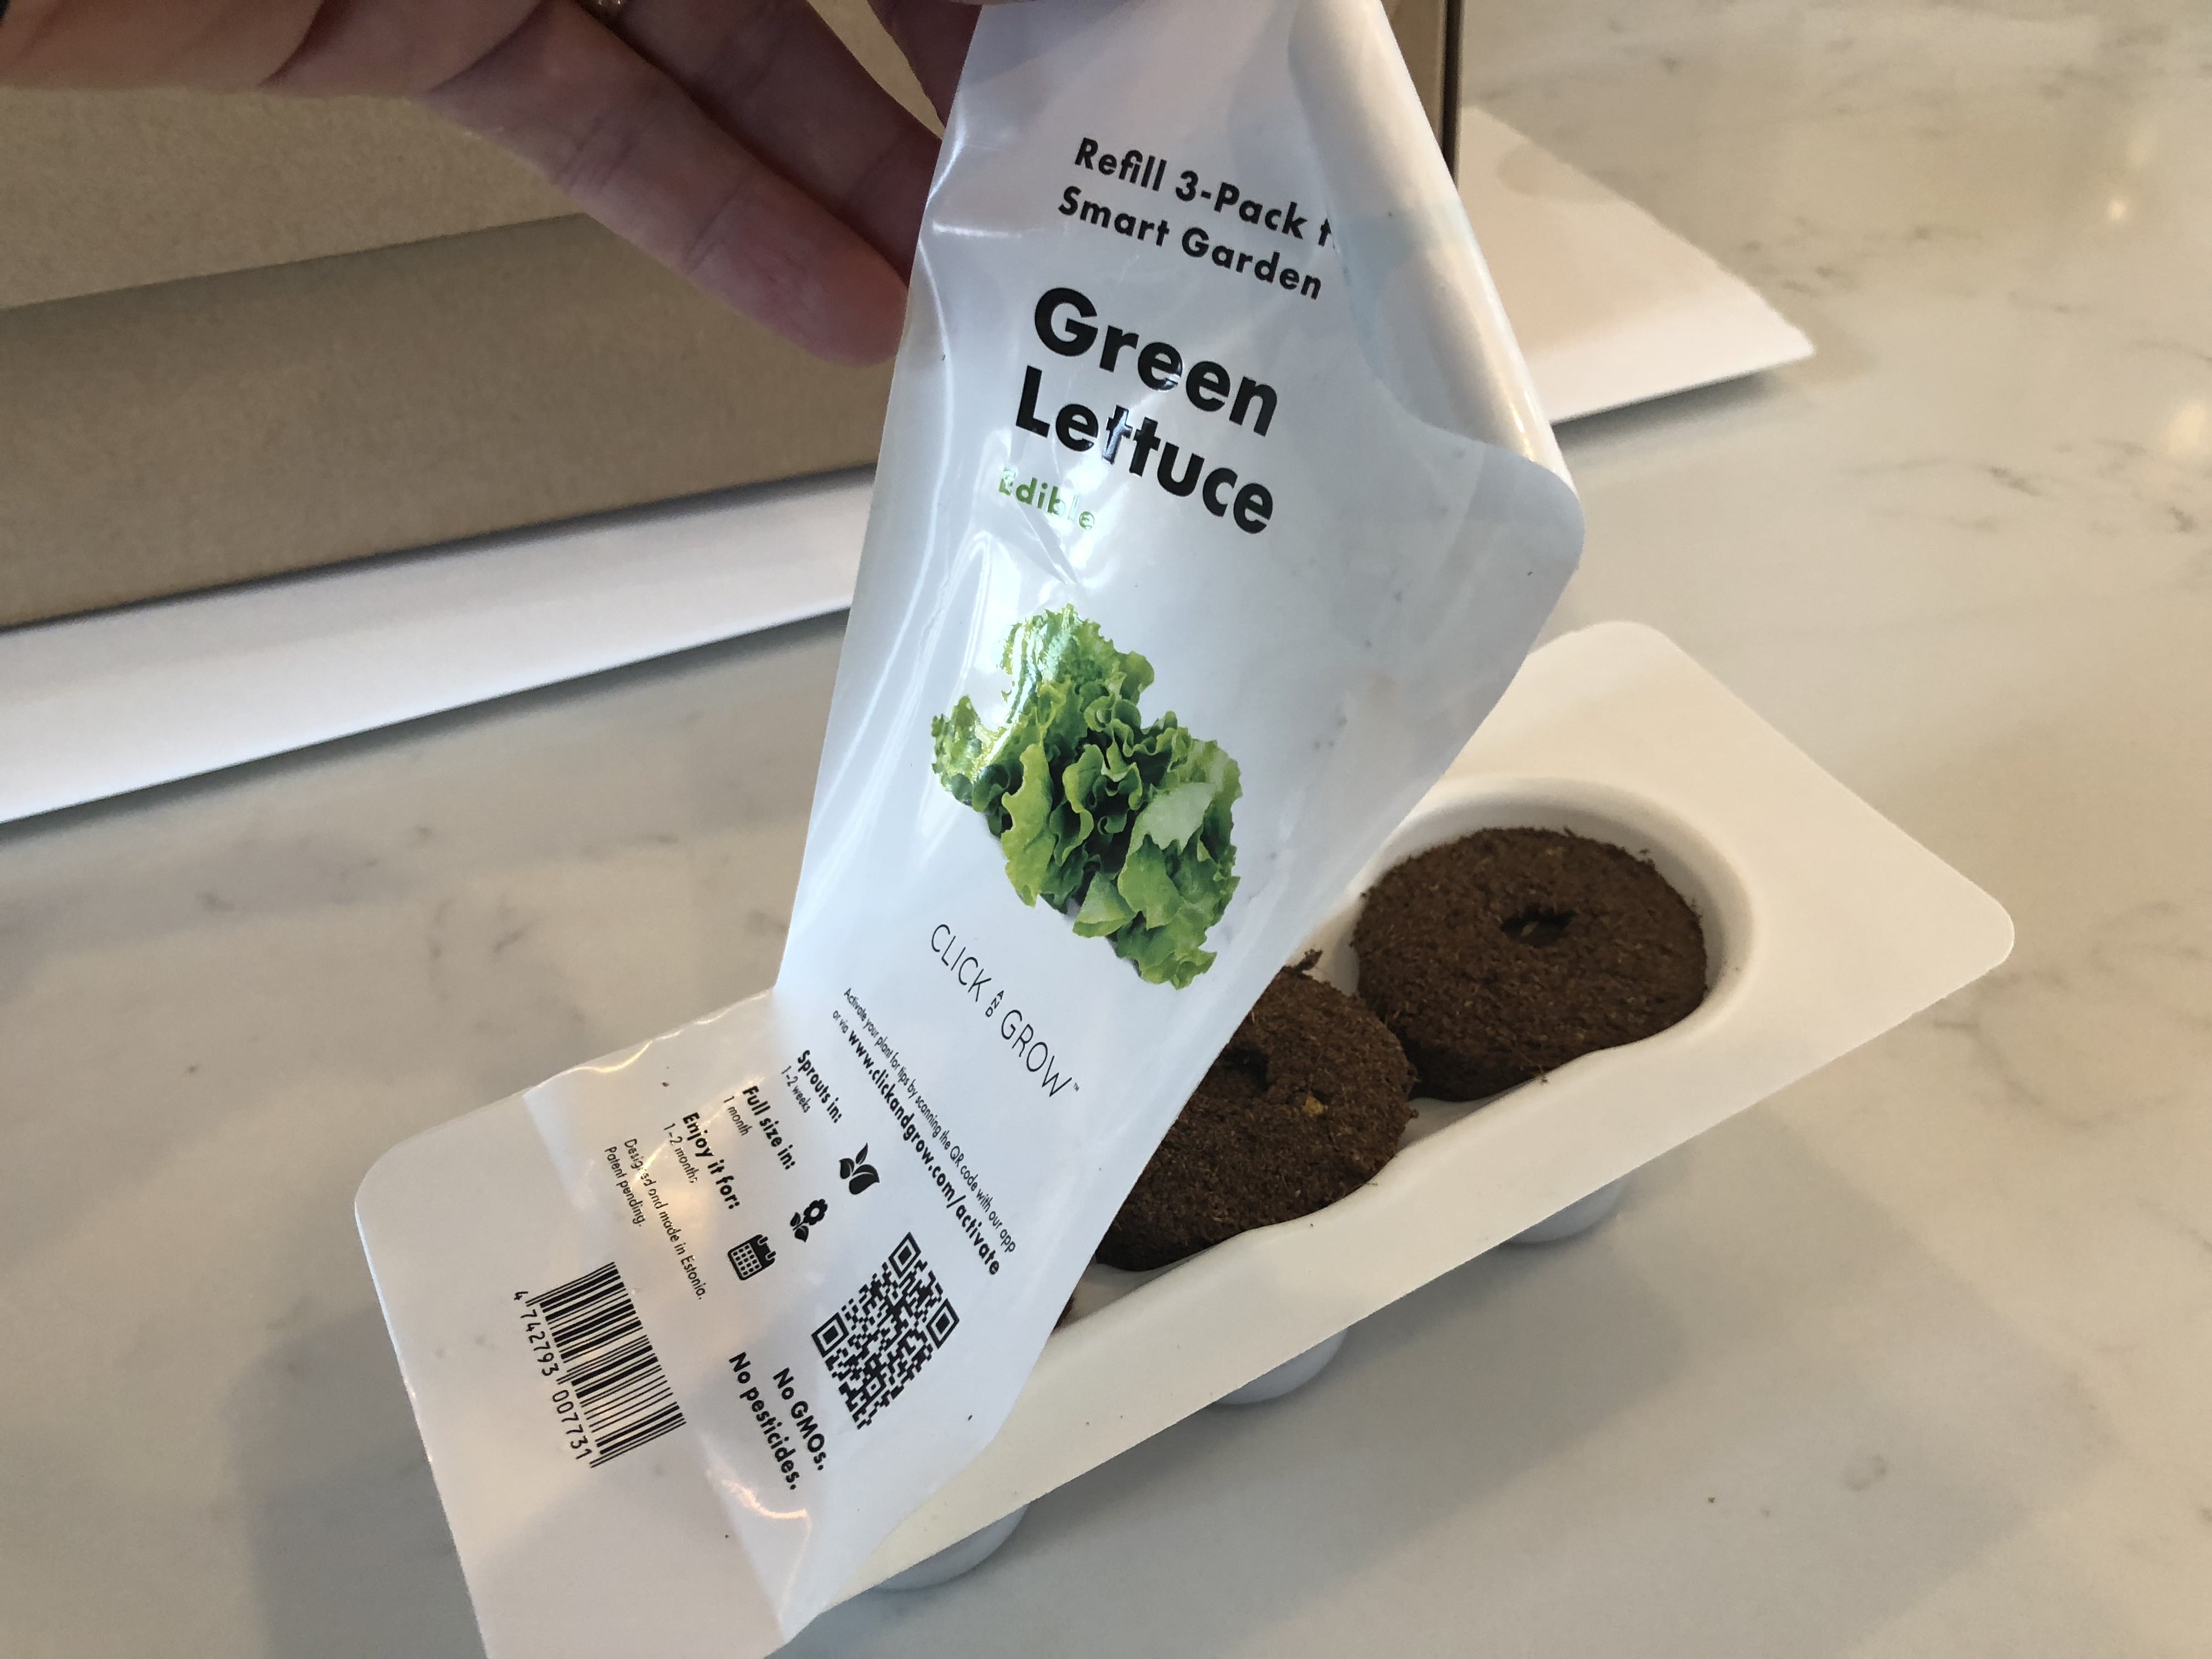
The app will walk you through the installation process, but to be honest it’s REALLY EASY! Just pop the seed pods into the seed pod holders, put a clear dome lid on top, and fill the Smart Garden 9 with enough water for the floater to rise to the level of the top of the seed pods. When the seedlings are as tall as the clear domes, remove the domes.
The app will ask you to name your plants and set the planting day. “Tomato McTomatoface” didn’t fit, so I just went with “Basil-ey,” “Lettuce-y,” and “Tomato-ey.” From this point, the app will track the Smart Garden 9’s progress for you.


Observations While Growing
General Observations: The Smart Garden 9 is definitely the biggest indoor garden unit I’ve used. There are now AeroGardens of comparable size (and cost). You will want to choose your location for the unit wisely (and I will address that more in the Light section below), because moving it with a full water vessel will be heavy and somewhat daunting, since the the unit isn’t quite watertight.
One of the things I like about the Smart Garden 9 is its linear nature. You have easy access to each of the plants in the vessel. Some of the AeroGarden models may have pods in the center, and if you make some poor choices in how to arrange the plants, you might be picking through your taller plants to access the shorter ones. Not the case with the Click & Grow.
The Click & Grow App: The app is meant to augment your growing experience. Maybe because I’m an experienced gardener, I didn’t really need this as much as a beginner gardener might. The app has some cool features, including:
- Ability to set the watering interval for pop up notification reminders to water the Smart Garden 9
- Guide to “normal” growth: you can view what your plant should look like during the life cycle of the chosen plant. For example, the lettuce has a one-month cycle, and the tomatoes have a four-month cycle. These are the normal timelines until harvest.
- Photo album: You can take photos of the growth in process and the app will arrange them into a time series for you. I didn’t do as well at this as I should have. I took photos outside of the app, but the album only works when you take the photos in-app.
Over the course of my plants growing, I didn’t use the app much. I received the weekly watering reminders, which was helpful because I had to put the Smart Garden 9 in a room that isn’t used as much. However, it’s been a growth process for the company (see what I did there?) and last fall the company had to take down the app altogether to make some improvements. I don’t think a new one has come out yet, as of 29 January the company says the app hasn’t been updated. I’m not sure if the app is currently available for new users if you haven’t downloaded it already.
Because of this change to the app, my watering reminders have been hit-or-miss.
Light: The lighting consists of a row of alternating* red and white LED lights along the top bar. This article explains more about why red lights can be beneficial for plant growth. When you plug in the lights, it’ll be on an automatic timer such that the lights will be on for 16 hours and off for 8. If you don’t like the lights illuminating the room in the middle of the night, you might need to unplug-and-replug the unit at the time of day such the cycle is to your liking. I had to make a point to unplug-and-replug the unit at 6am so it would turn off near bedtime. That worked like a charm for us.
Another observation is that these lights are bright. Of course that’s good for the plants, but it will definitely illuminate your space. I would have loved to have the Smart Garden 9 in my kitchen with my other houseplants, but the lighting caused a glare on the TV in our family room (in a great space) so the unit was exiled to our dining table most of the time.
*Actually, the lights aren’t really alternating red and white. It’s “white-red-white-white-red-white-white-red-white.” Typing this reminds me of Russ Cargill in The Simpsons Movie. I’ve gone mad with power.
Watering: The Smart Garden 9 has a large vessel for holding water. This helps put plenty of time between having to water the garden. Great for vacations, that’s for sure! As with most indoor gardening systems such as this, you may not need to add water to the seedlings in the first month or so, but as the plants mature, especially vegetables such as tomatoes and peppers, it’s important to check the vessel at least twice per week.
One of the things that stumped me at first was the question, “Where do I add the water?” Once I had fully assembled the Smart Garden 9, I couldn’t find a hole expressly for the water, such as what the AeroGardens have.
It turns out there isn’t one. To water the system, you simply pop out one of the seed pods and pour in the water. It’s harmless to the plant and actually quite easy.
There’s a simple floating bobber to indicate when the Smart Garden 9 needs more water. If the bobber is floating (in other words, poke at it and if it’s bobbing), then there is still water in the tank. If you poke it and it remains rigid, it’s time for more water. Very straightforward.
As mentioned above, the app can be programmed with watering reminders. Once the app is running in a more stable manner, this can also help you.
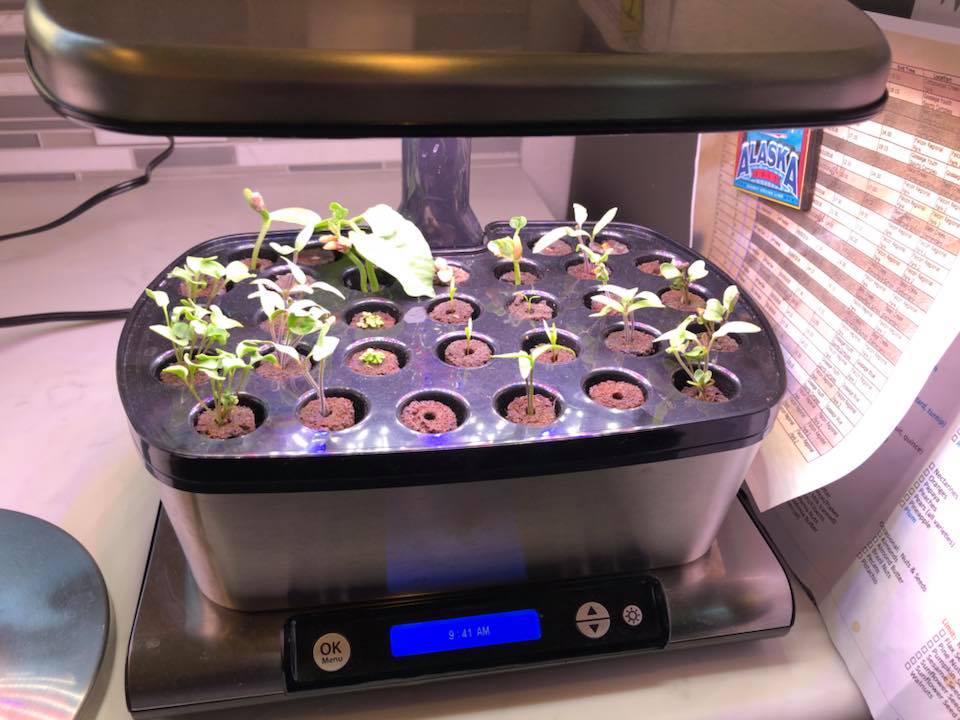
Growth: The beginnings of the growth process were fabulous! The first seedlings sprouted within 48 hours and in 6 days I was able to take off some of the clear plastic domes. The early growth was absolutely gorgeous!
In less than 4 weeks the lettuce was ready for its first harvest…many more would follow.
Something that alarmed me was the white filamenty mold that grows around the bases of the seed pods. Living in Colorado, mold was the last thing I expected to see here. I checked with the Click & Grow help community and it turns out that the company fully expects that you might see the mold on the plants…and that it’s harmless.
As the plants grew larger, there were signs of stress and evidence of living at a higher, drier environment. I’ll address that more in the next section.

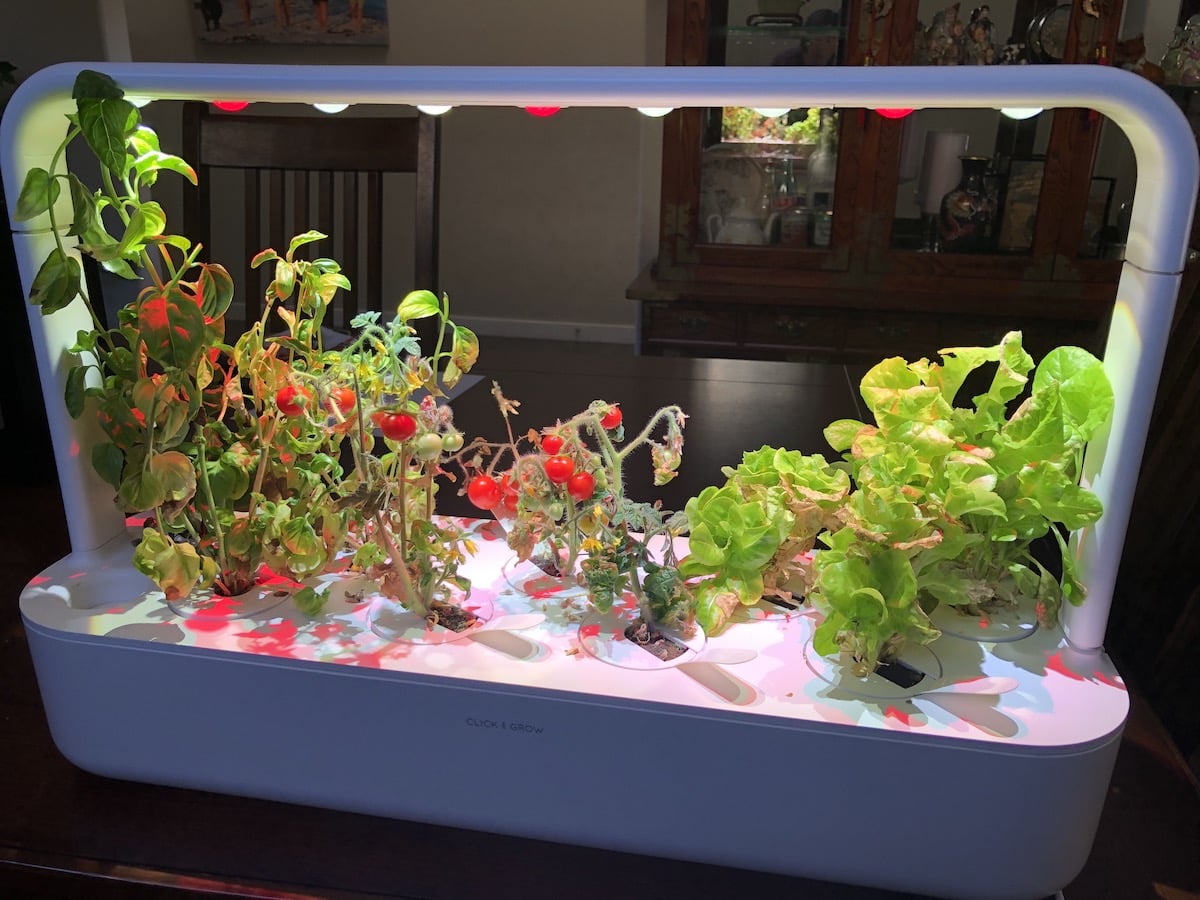
Maturity and Harvest: My own fully-grown Smart Garden 9 looked nothing like the image I presented to you at the top of this review. The basil and lettuce did decently, but the tomatoes were anemic and the majority of the flowers fell off. As of today, I’ve produced about 15 small tomatoes between all three of the tomato plants. I have harvested the lettuce and basil several times. Click & Grow’s seed pods contain all the plant food that’s required for a full cycle from sprouting to harvest, so I didn’t modify the growing medium at all.
I fully harvested the green leaf lettuce 4 times total: about once per month. The three lettuce plants I had provided enough for two dinner salads for my family each time.
I certainly blame the very dry climate for some of the differences. The leaves turned brown on the edges very readily, and when my house gets a bit colder in the winter, I didn’t adjust the thermostat to keep them happy. So there are signs of stress when the dining room gets down to temperatures in the low 60s. Particularly for tomatoes, this is a low average daily temperature. Tomatoes prefer average temperatures of 70F or greater for best growth.
These seed pods aren’t meant to last forever. Most of the edibles have a 3-4 month life cycle, and flowering ornamental plants can last a little longer than that. Over time, the seed pod’s plant food will dwindle, and you will see signs of suffering from this. This company’s business model tends to rely on you buying more seed pods, which I will speak to more in the next section.
What’s Next?
I’m now at the end of the seed pod life cycle for the batch of pods that came with my review unit. I’ve been exploring options for what to do next. While it’s easy to visit the Click & Grow store at their company website or in their Amazon store for a la carte seed pod replacements, there are some other ways to keep the growth coming with the Smart Garden 9.
Seed Pod Subscriptions: As is the trend with things like pet food, baby diapers, and razor blades, why not set up a subscription for your seed pods? By doing so, you can save up to 30% on the pods compared to a la carte pricing (thus bringing their prices down to something comparable to AeroGarden’s replacement pods).
On the Click & Grow website, it’s easy to set up a standing subscription. You can customize how often you want your replacement seed pods to arrive, and decide what pods you want. You can change or cancel the subscription at any time.
I feel this would work best if you are certain of which pods you always want, and it’s also important to point out that the seed pods only come in sets of 3 or 9.
Experimental Plant Pods: This is more my style. While there are some very interesting seeds available through Click & Grow, on my mind right now is seed-starting for my outdoor garden. I will be growing things that aren’t available with Click & Grow’s seed collection, such as broccoli, jalapeño peppers, and full-sized tomatoes. So I have already ordered the Experimental Plant Pods, ready for any seeds you want to use.
The catch with the Experimental Plant Pods is that they’re the same price as the seed pods that are ready to plant. A 9-pack of these pods will retail around $27. Compare this to the AeroGarden refill seed sponges that retails at a fraction of this cost: 50 for $14.
Final Thoughts
I can think of many situations for which the Click & Grow systems are perfectly appropriate: winter gardening in cold climates, beginner gardening, and seed starting. I’ve had an AeroGarden system for the past 5 years and the biggest differences between the two that I’m seeing are in (a) the watering frequency, (b) the application of the plant food, and (c) the cost. The Click & Grow is more convenient in all of these areas.
The cost is a big concern for me. Whereas buying a packet of seeds for $2 can yield you dozens of plants, in the cases of systems like the AeroGarden and Click & Grow, you’re paying considerably for the convenience of year-round controlled gardening. For those who feel they lack green thumbs, this is perfect. For someone who lives in a tough growing climate, as I do, this is also a great reason to make this investment.
The Smart Garden 9 retails for $199.99, and the seed pods vary in price, with most of them costing $9.95 for 3 pods. The seed pod prices will reduce if you buy in bulk or take advantage of their subscription program.
GeekMom received a complimentary sample of the Smart Garden 9 system for review purposes.


You don’t need to take out a pod to water your plants. Just pour the water in the bobber hole. It pours right in!
I’m trying the experimental pods too, but I wonder if it’s possible to “make” a pod out of potting soil? Or, will the aerogarden pods (which are less expensive) fit in the Click and Grow? Just wondering.
Thanks for reading! I know the company will tell you that the pods have their special soil blend + fertilizer formula, which I feel does make a difference. My garden seedlings grew like gangbusters compared to the Aerogarden mini-plugs I had growing side-by-side. I recently planted the seedlings so I have the empty pods. I will need to try it with my own soil for next year.
This was very helpful. It is Christmas gift planning time and I was having a hard time trying to figure out what to get my kids who have kids. This looks to be the perfect gift. My kids have kids who are both young, younger and not quite so young who enjoy the outdoors. They both have parents who are constantly seizing teaching moments. Being able to watch their own food grow I think will be fun and a unique family gift. I was trying to decide between the two manufacturers and this blog helped me to make up my mind.
Thank you for taking the time to write it and post the pictures. Your honesty is appreciated.