
Earlier this month I gave my old “Jack the Pumpkin King” a makeover, which included replacing his nasty, weathered head with a nice new pumpkin.
Instead of throwing the old head away, I used it for another, project inspired by Tim Burton: a Sleepy Hollow scarecrow. This is more a little more sinister than Jack, but much easier to build. Here’s what I did:
First, I sprayed the pumpkin with a few shots of little black spray paint to give is a dark, weathered look.

It took one large post-size stick I found on a desert walk. Commercially made posts that look like thin tree trunks are available at some craft stores if you aren’t near a place to hunt for branches and sticks. The hunting and gathering method is a more fun..and much less expensive…especially if doing this with kids as a family project.
Next, I made some “ribs” by nailing a about four short, thick limbs on the front of the pole, the top one about a foot below the end of the the main post. I tied some grey yarn around them to cover up the shiny end of the nails.
To make his head secure, I placed a makeshift u-bolt around the post, and pushed the ends through the back of the pumpkin head. Make sure to have one person hold the pumpkin in place while another pushes the bolts through and gets the nuts tightened. Secure the nuts with a glue gun, if you’re worried about it staying in place. Once more, a give the exposed nuts in the back a hit or two of spray paint, so they don’t stand out too much.
I took foot-long pieces of pool noodles each, and placed some long, willow branches I found though the hole. Make sure the branches are long enough to go all the way down the length of the noodle, so they don’t bend.
I duct taped the arms in slight upward “y” shape just around where the top “rib” was placed, and disguised the tape and bright color of the noodles with some more paint.

The next part was giving it a cloak. I used about two yards of thick of cotton fabric, made a slit down one half of it, and draped it over the arms like a parka. I ran some some yarn through the cloak at both ends of the noodles to hike them. I tacked the top of the cloak together under the “chin” of the pumpkin with yarn as well.

I “weathered” the cloak more by tearing and cutting the edges, to make it look a little ratty. I also hit it with some brown and black spray paint, and haphazardly sewed some brown hemp cord in a couple of places. Over time, the natural elements should do their part in making the parka look more weathered.
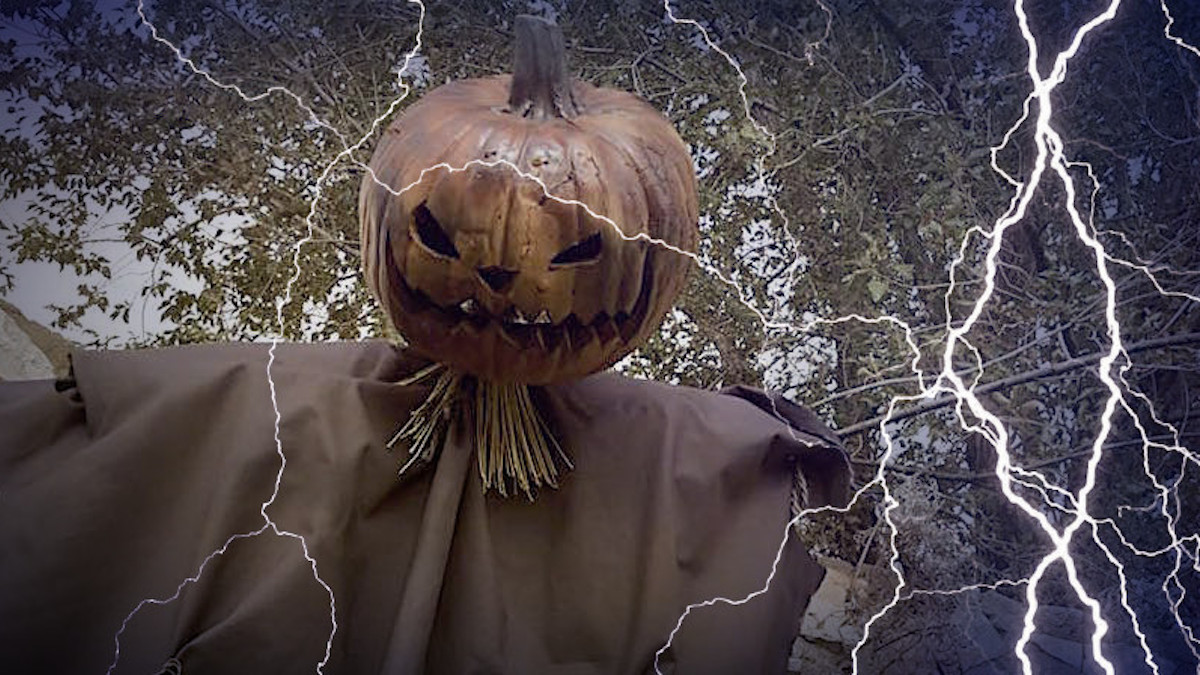
Finally, I placed some straw, and around the pole where the neck would be, and held it in place with a rubber band, and hung some craft moss off his arms, as a finishing touch.
Place him among the trees or bushes, or in a corner so he can lurk in the shadows, or await visitors throughout the season.

Next week: We’ll make a little something to help light your scarecrows’ way in the dark.