The Nintendo Labo Toy-Con kits are one of those items that you have to play to appreciate their true potential. When presented with the kits at a Nintendo press event earlier this year, I admit raising my eyebrows. Why would we want to make cardboard accessories for the Switch?
The answer: because it’s fun.
My teenage son, 18, had the same skepticism when we sat down to build the first project from the Labo Toy-Con 1 variety kit that Nintendo sent us to review. Spoiler: he is excited to build the rest of the items in this kit, especially the piano.
Step One: Setting Up the Build
We picked a floor as our flat surface for the build in order to have space to spread out. Those with creaky backs may well prefer a table.
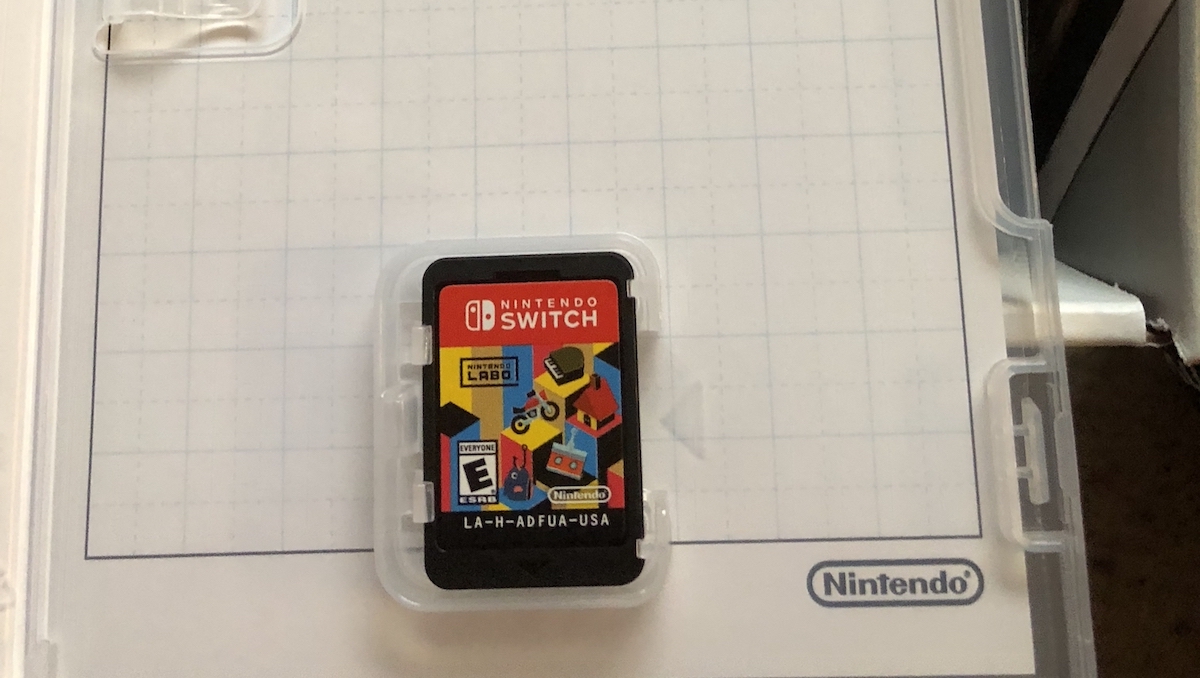
First the basics: opening the kit and uploading the Labo program into the Switch.
Our Switch needed system and joy-con controller updates before it would open the Nintendo Labo program. It only took a few minutes but if you have impatient little ones, you might want to do this part before they’re involved.
Step Two: Practicing The Labo Build
All the instructions for the build are contained in the program.
There are no written instructions. Instead, there are 3D instructions on the Switch touchscreen that allows back-tracking and fast – forward at will. The touchscreen allows you to manipulate the instructions and change the perspective, even flipping the image over. The instructions begin with a quick tutorial build of a joy-con controller holder. I recommend everyone do this their first time because it allows you to get used to the instructions and how the cardboard folding works. We backtracked several times during our test run.
One advantage of the visual instructions is that younger kids who haven’t developed reading skills can still build these kits.
Overall, from time inserting the disk to finishing the practice run, it was 10 minutes.

Step Three: Building the Nintendo Labo RC Car
Because we’d just practiced building the joy-con controller, our RC car build went relatively quickly and easily, totaling about 15 minutes. The kid followed the instructions carefully. I’m the doofus who folded something I shouldn’t have and had to fix it.
The only niggle? The decorative antennae that comes with the RC car fell off the Switch.
Step Four: Playing With the Labo RC Car
Once we inserted the joy-con controllers onto the car, it was time to play.
We started on the hardwood floors and that worked well until a piece of the cardboard got stuck in a space between the wood. You can see that start to happen right at the end of this short video.
Then we moved to our kitchen floor (vinyl flooring) and that problem was solved. You can either control the car in easy mode, in which only the two controllers are on the touchscreen, or you can open that screen up and access more controls.
Conclusions on the Nintendo Labo RC Car Build
Granted, my son was a bit older than the target age for the Labo kits but he had so much fun building the RC car that he’s eager to try the next build. The best part was working with him on a project together.
I’d highly recommend this as a joint parent/child activity.
My older son, 22, came home from college the night we built the RC car and he spent about a half-hour playing with it, so it obviously has some universal appeal.
So, skepticism vanished, and fun was had. I expect there will be even more time spent playing on the more complicated accessories. My son is keen to build the piano next.