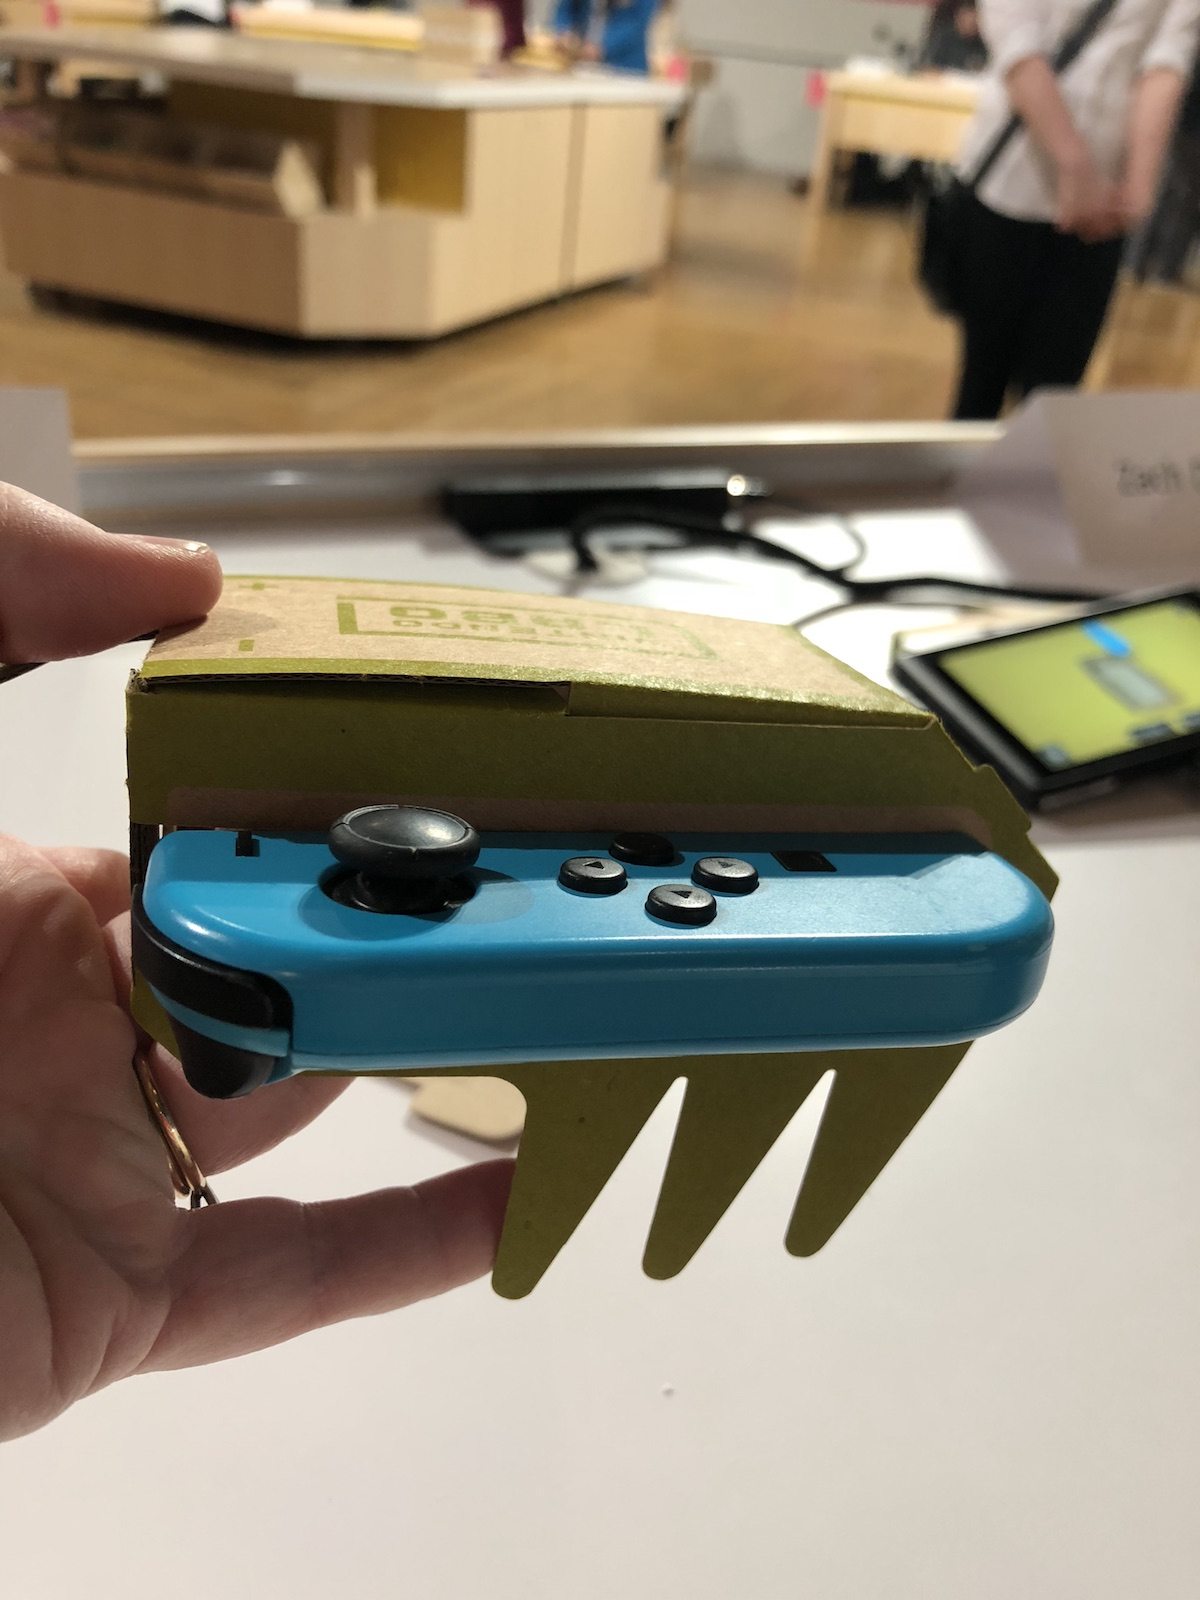
On Friday, at a press event sponsored by Nintendo, I tried out the Nintendo Labo products that will be on sale to the public on April 20th.
What is is Nintendo Labo exactly? Basically, the line consists of cardboard DIY kits to use with the Nintendo Switch. When the kits were first announced, the products were so unexpected that I lacked a firm idea of how they would work.
My overriding impression after a hands-on tryout? Fascinating.
Nintendo is absolutely serious about the “Make. Play. Discover” slogan attached to these products. Nintendo Labo is not something designed solely to make the games more interactive. It’s not something solely designed to allow parents and kids to have fun making the kits together. It’s not solely designed for kids who want to go off and try all the bells and whistles of how the input/outputs of the Labo creations can interact.
It’s designed to do all those things.
This is not a case of “make the thing so you can have fun playing it.” It’s a case of each step being an important part of the process and fun of using the creation and Nintendo is aiming them right at parents and kids, especially those who like making things together.
What should you know before you decide to buy the kits, with the variety kit priced at $69.99, which includes the RC car, piano, fishing rod, motorcycle and house, and the more complicated robot kit, which is priced at $79.99?
The Make Portion Takes Time
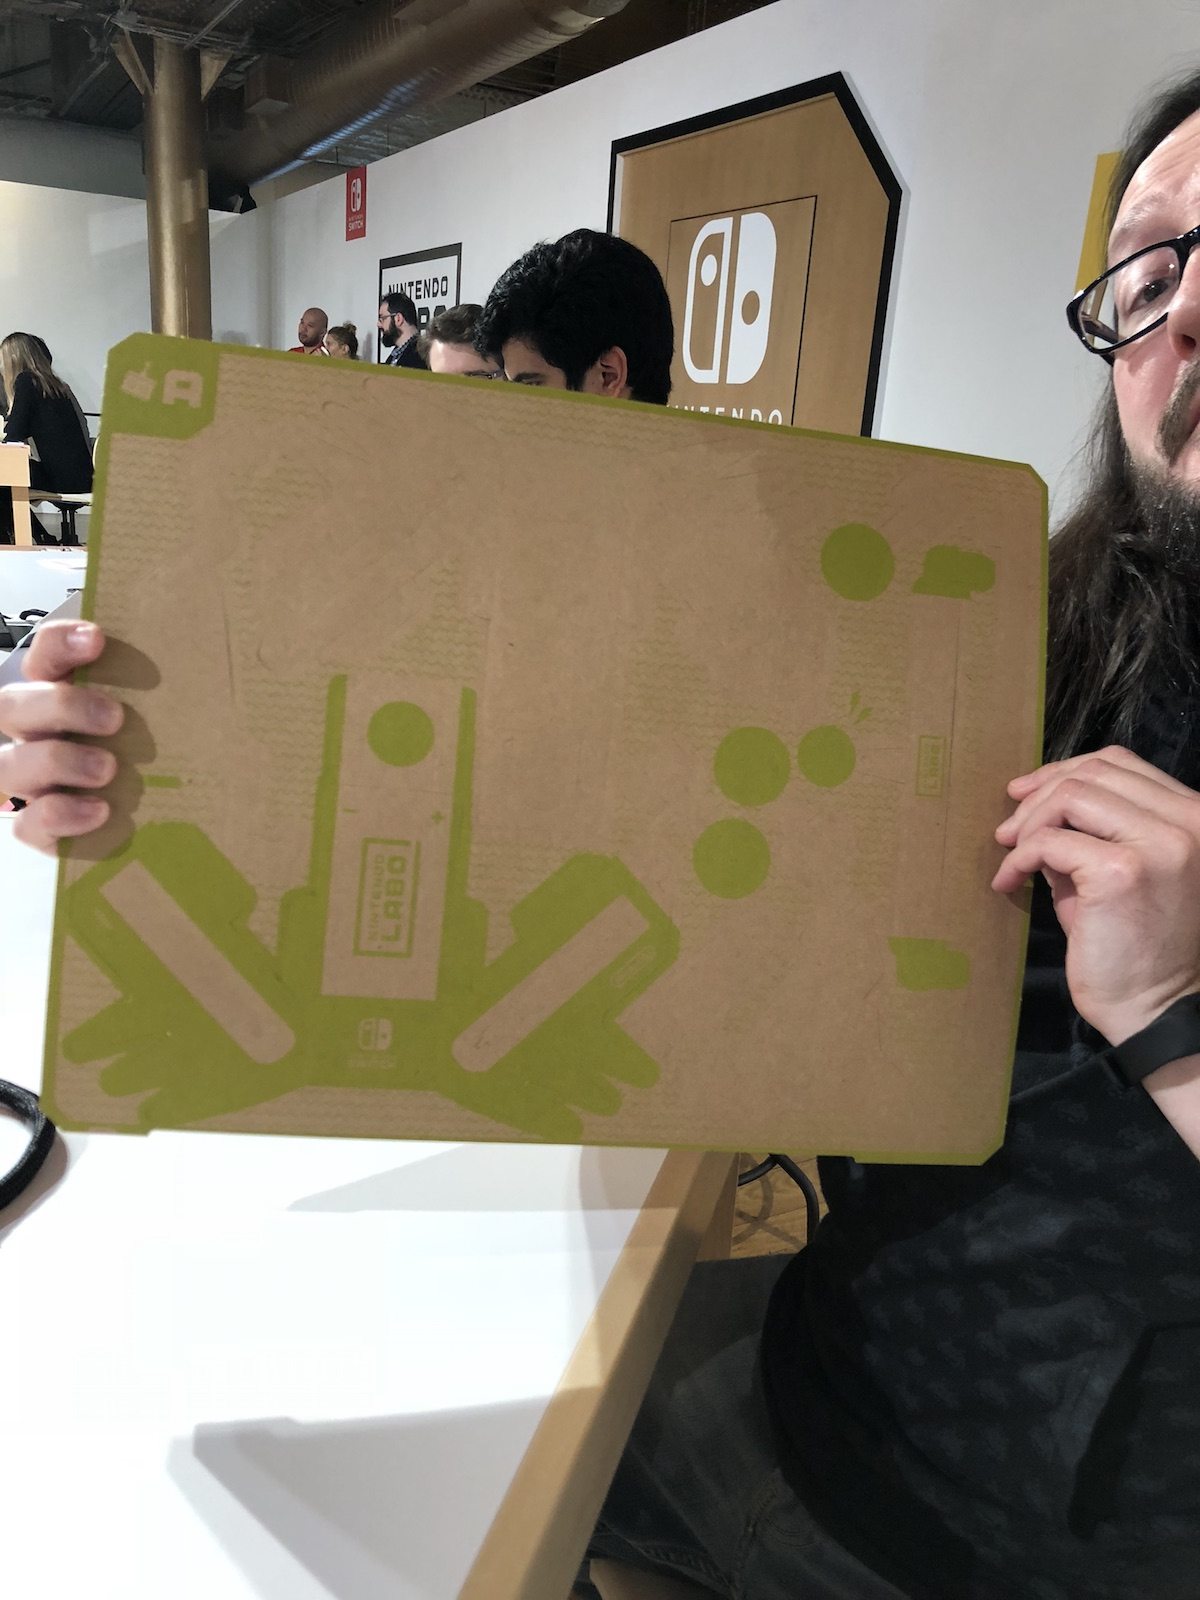
The easiest of the kits to make is the remote control car and it took GeekDad Z and myself approximately twenty minutes to put ours together. (Granted, we were making two of them.) I’m sure that time could be shortened with practice. The instructions were displayed on the Switch so if you’re familiar with all its functions, they are easy to read and comprehend.
The good news is that while the instructions are necessary, the kits are intuitive. If you ever put together those cardboard bricks with the pre-determined folds, this is a similar idea, except the Labo kits contain more complicated shapes.

Even so, this is not a “put these together just to play them” kind of kit. It’s a kit designed to show how builds are done, and the more complicated of the Labo creations will take 40 minutes to an hour. GeekDad Z and I put the fishing rod together and it took two adults approximately 40 minutes to punch out, fold, and build the fishing rod, and we didn’t finish the “ocean” completely.
Conclusion: Make sure to set aside enough time to make the item or make certain your child knows the kit might have to be assembled in two or more blocks of time.
The Cardboard Is Durable
Originally, I thought the cardboard that makes up the Nintendo Labo devices was too thin but I was soon proved wrong. Once assembled, it resists being squashed or smushed. For those of you who have children who break all the things (as frequently happens in my house), this is important.
It is also easy to punch out the shapes in the cardboard without ripping or breaking them, another problem that can occur with punch-outs. But not so with Labo.
The Game Play Is Unique

The robot kit has all the bells and whistles and it’ll definitely take the longest to build but once it’s done, the player can stomp and smash a city on-screen via motion senses, also turn into a tank, and also fly virtually by holding their hands out in a T-shape. (Insert your own line of Iron Giant dialogue here.) The robot also had a “robot view” setting that’s like viewing the city through your own personal shaky cam, along with a normal view setting. Yeah, it’s basically VR except without the goggles. A quick video below shows the assembled robot kit and its innards.
The gameplay with the Labo creations is dependent on what it is.

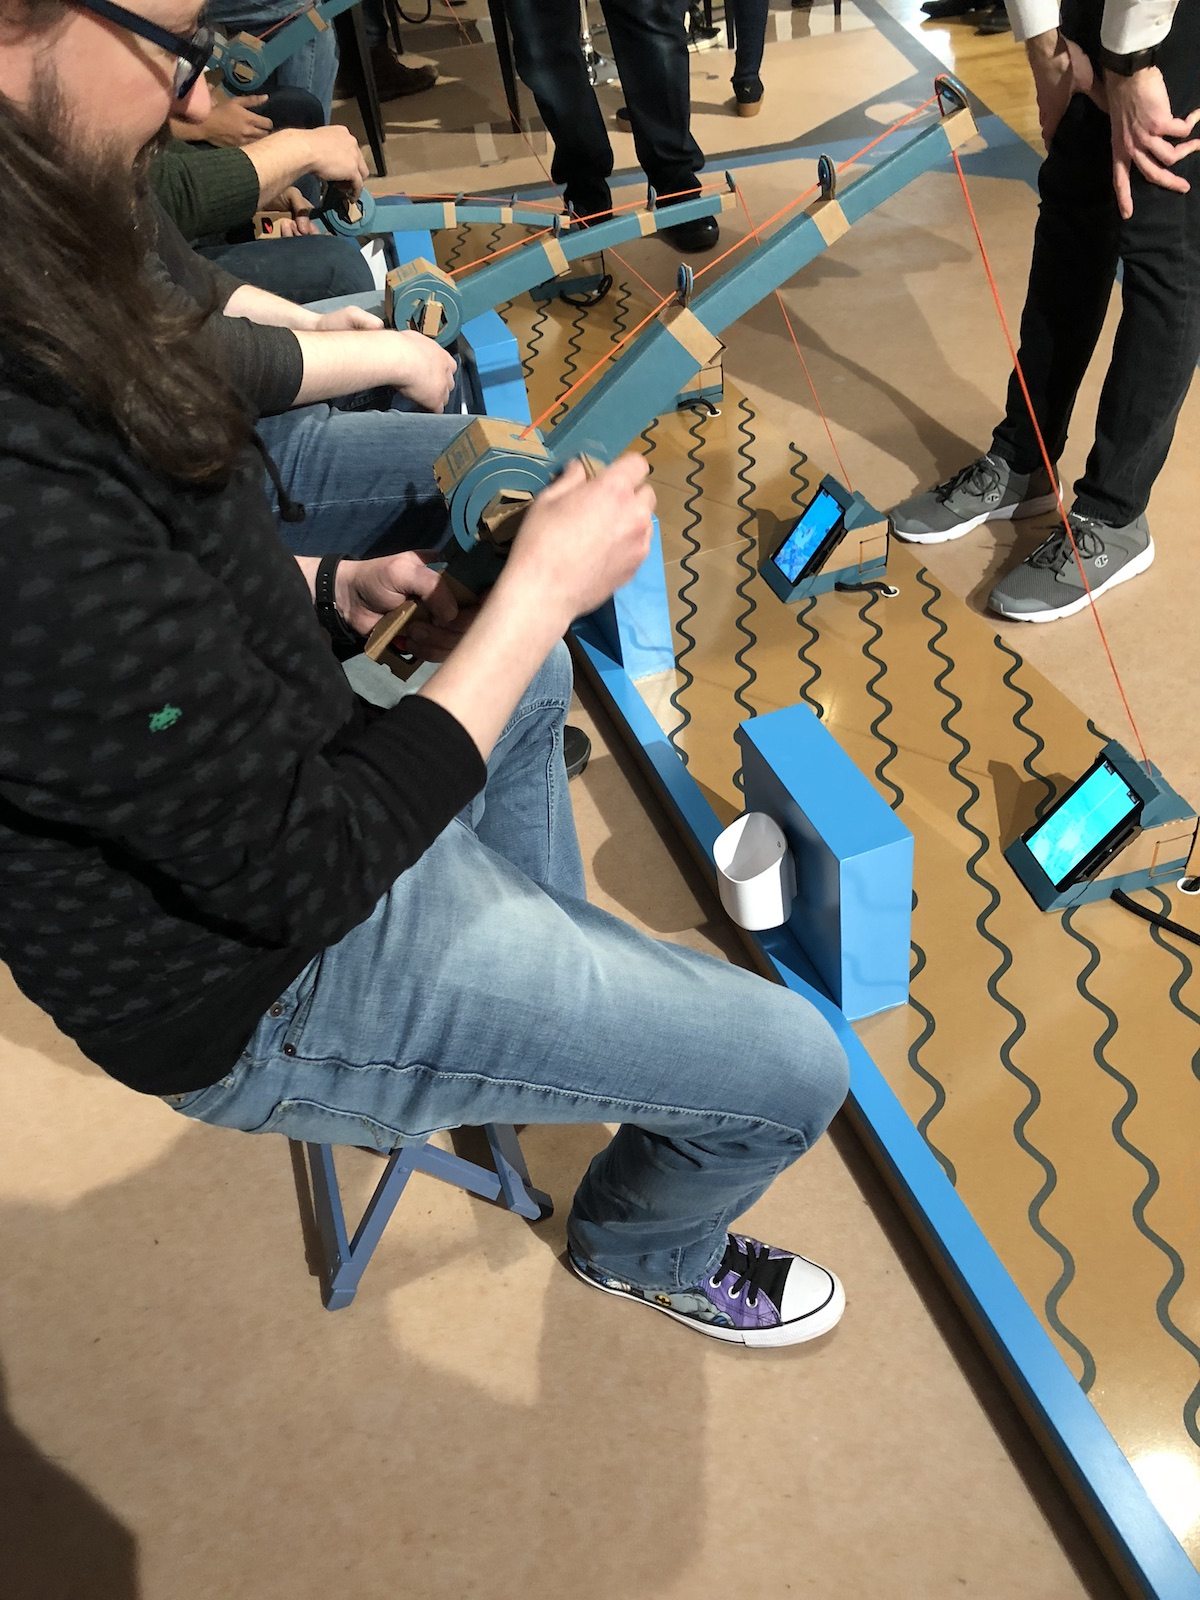
The Piano not only has regular notes but the assembled cardboard screws allow users to switch the sounds to ghost or kitten mode. If you ever wanted to hear what piano notes sounded like in kitten, here’s your chance. This is not the kind of thing that would feel the same without the tactile component of the cardboard piano–it has to work, forgive me, in concert with the software. The same goes for the fishing rod, which interacts with the screen as you catch fish from the “ocean.” (The Switch display mounted in the cardboard “ocean” standing in for water.)
As for the house? Depending on what inserts are placed into the house “windows,” the Labo house lets you play various games, feed your creature, and also send them into limbo from one hole to the other. Again, it’s not just creating a house that holds the Switch inside to provide it with a unique holder (like, say, a Mario wheel.) It’s the interaction between the house and the Switch that produces something new.
Much like the regular physical activities provided on the original Wii, like bowling, the Labo creations are a reasonable simulacrum of the real thing with the piano, the motorcycle, and the fishing rod.
The Secret Is the IR Stickers
The program for the Labo kits uses the Infrared camera on the Switch to sense the special IR stickers and respond to them. For example, if you put an IR sticker on your cat (as GeekDad Z seemed to want to do to his car), the RC car will follow the cat–until or unless the signal is blocked. It’s these stickers that also make it possible for the Robot kit to react to real-life stimuli, such as walking, punching, kneeling, and tilting your head.
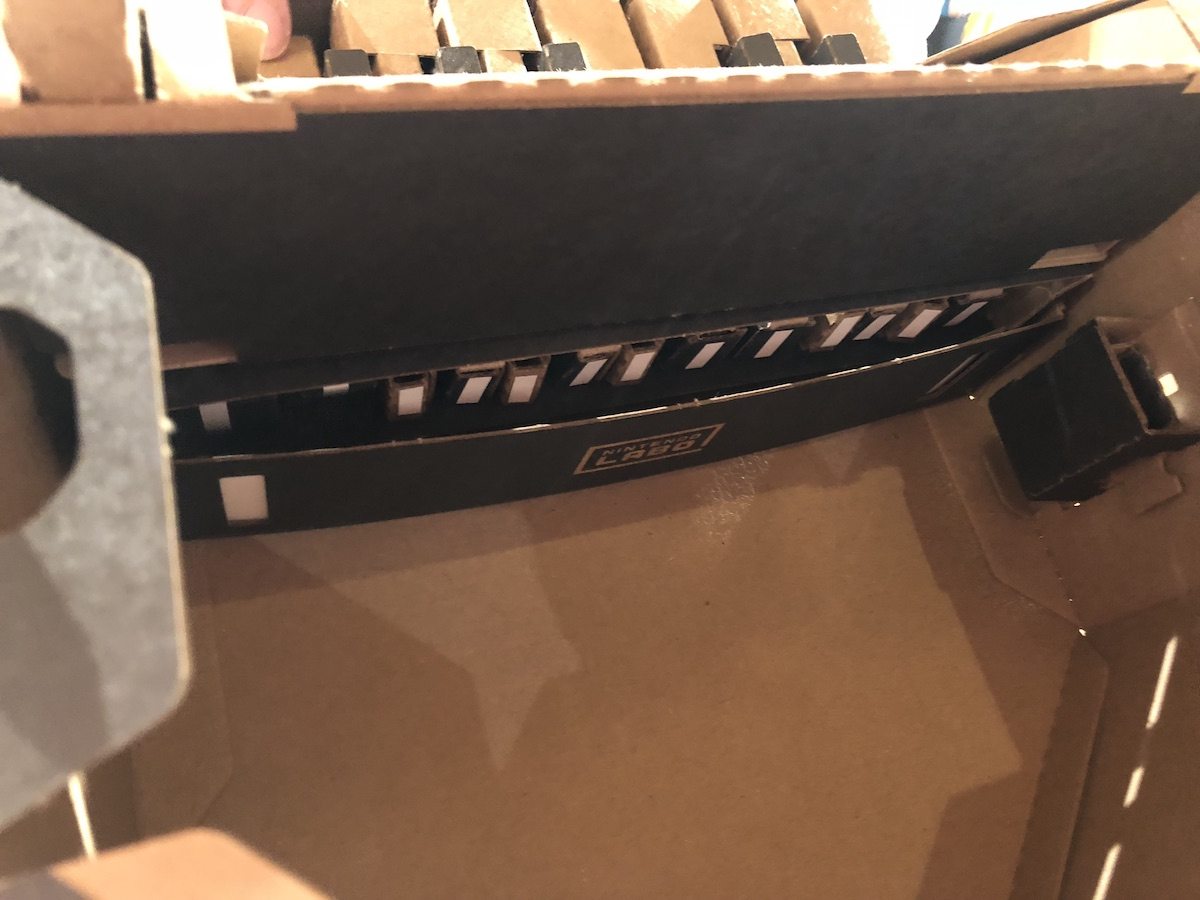
They’re also used extensively with the other Labo kits.
You Can Make the Labo Kits Interact With Each Other
Hidden inside the Labo software program is a section call ToyCon Garage. That’s where the input and outputs for the various creations can be viewed. These input/outputs can be connected, allowing players to control, say, the RC car with the fishing rod or the motorcycle. Nintendo officials said they’re still finding out all the things that ToyCon Garage can do and the limit may well be your child’s creativity.
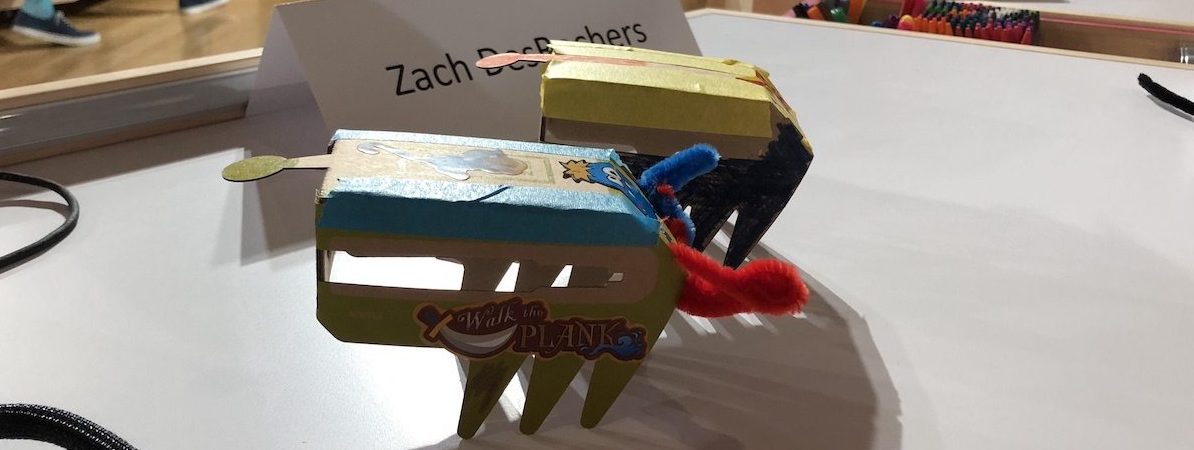
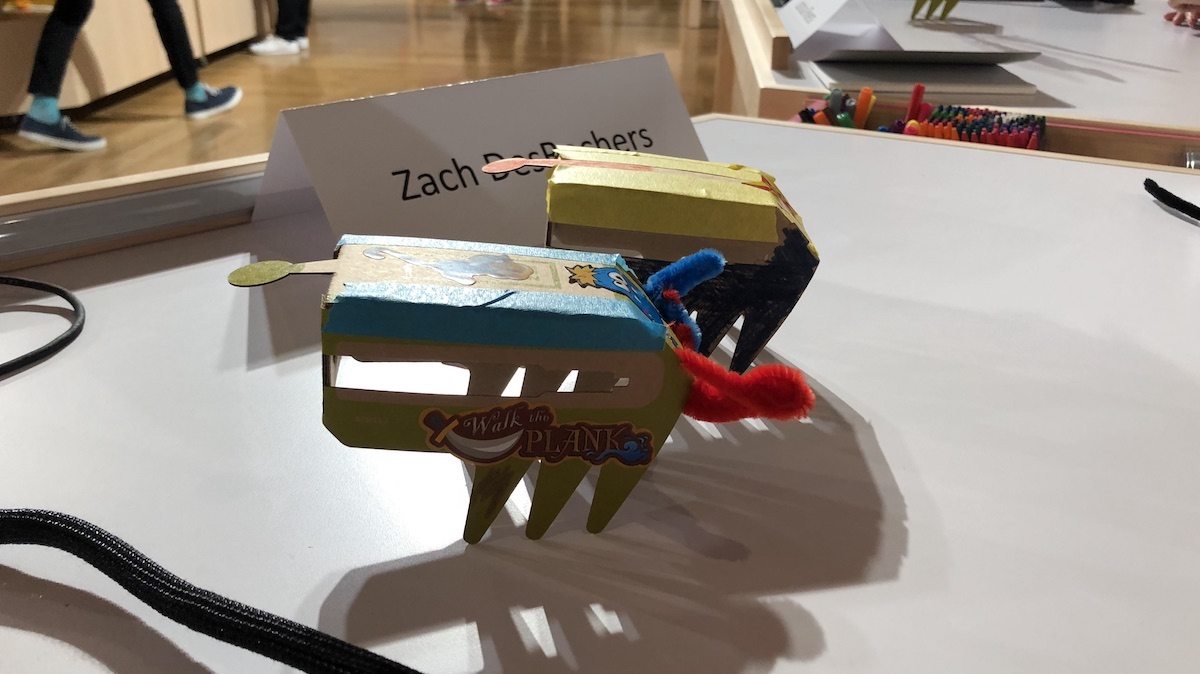
And, of course, you can decorate the kits any way you like, with the only restrictions being not to interfere with where the Switch tablet or the joy con controllers on the finished creation.


No doubt, you have shared very nice information about Nintendo Labo Kits. I have read this article meticulously and came to know about five necessary things about Nintendo Labo Kits so thank you very much. Whenever I have to hire my essay writer to write me an essay on topics like this I visit essayyoda.com source to read reviews about writing service before hiring them to assist me in that essay.