
Wonder Woman arrived on Blu-Ray last week in time for our weekend movie night, and I was once again impressed with the attention director Patty Jenkins paid to the look and feel of Europe during the Great War (WWI).
This included the use of photographic plates. Before the emergence of plastic film, thin glass plates were used at the medium to capture an image with a camera. The process was already being replaced by flexible film in the early 1900s, but there were still some photographers who used these glass plates well into the Twentieth Century. Some artist still use this “large format” to take images with beautiful effects.
Photo sites like Shutterfly do offer a modern take on “glass prints,” but these can run you around $40 or more. Instead, we used a couple of easy cheat methods to get this effect.
The easiest way I have found is a simple art hack using a printer, vellum paper and any smooth piece of glass.
I’ve picked up vellum paper at art supply and crafts store (check the scrapbooking section) for $10 to $15, depending on the quality. There are some types that work with both laser and inkjet printers, so check the specifics on the packaging before you purchase.
First print out the photo on vellum in the size you want, and make sure it is completely dry. You will be adhering the front of the photo to the image to the glass, so you don’t want it to smear.
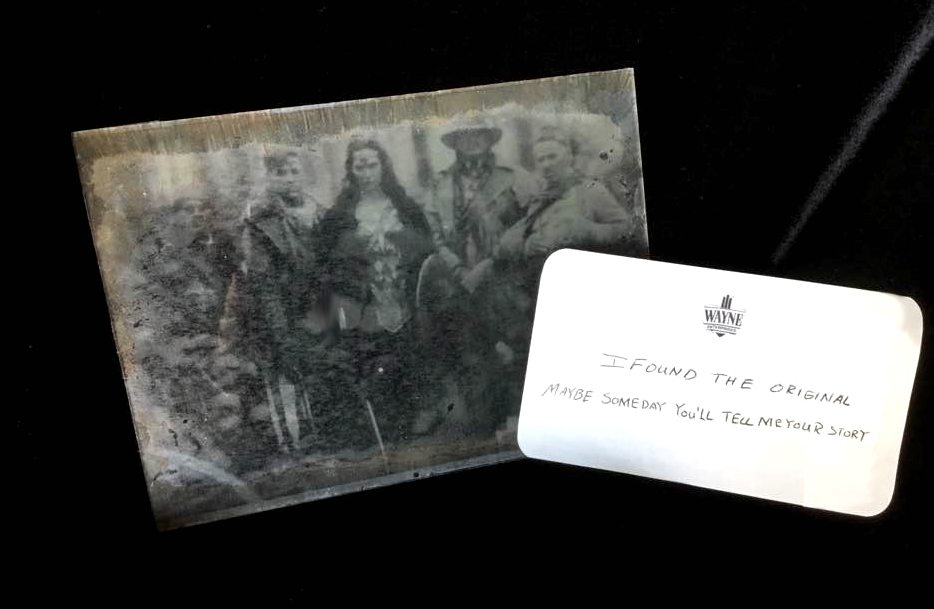
You can find the “historic” Wonder Woman and Crew image all over the internet, or use your own photo printed grayscale or in a sepia tone.
Dab some brown or black watered down acrylic paint around the edges of the glass (you can use the glass from a cheap dollar store frame) and let dry. This will help give the image a vintage edge. Lightly spray the surface of the glass with spray adhesive. This adhesive can take a while to dry, so use a surface away from anything you care about.
Carefully starting at one edge, smooth the image, front side to glass, over the glass plate. I used a ruler over the surface to make it smooth, and get rid of any bumps, wrinkles or bubbles.

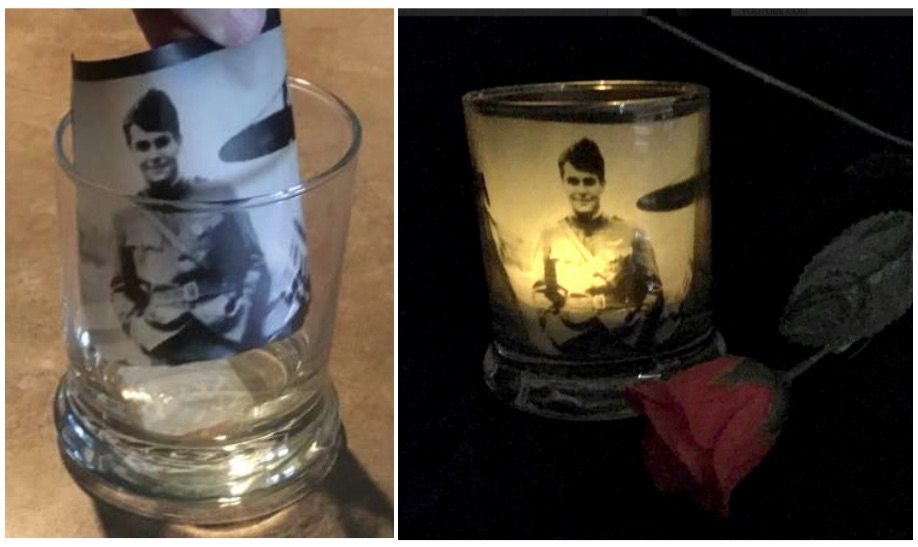
You can also place a printed vellum image a clear cylindrical glass or candle holder, for a vintage votive. No adhesive required.
The second method is one I took from the “paranormal landscapes” effect I have used in my Freaky Frame Crafts project.
Instead of vellum, use clear packing tape and an image from a slick papered catalog, magazine or old comic.
Carefully cut or tear out an image, and place a piece of packing tape over the front of it. Make sure it’s smooth. Soak it in a shallow dish of water for a minute. This will cause the back of the page to peel off easily, leaving a transparent image, with a stained glass look. Cut away any excess tape, and use decoupage to smooth the transfer over a glass surface.

It may have taken Diana 100 years—and the help of Bruce Wayne—to recover her original glass image, but thanks to modern printers and a little “cheating,” we can create a similar one in less than an hour.


