
We’ve looked at Cricuts a few times here over the years, especially the Cricut Explore and the Cricut Explore Air. They’re solid machines for cutting out paper, vinyl, or even felt projects, and Cricut has a huge library of fonts and designs. But until recently, the ability to create and cut your own images with a Cricut has been more limited. I’ve been using the Cricut Explore Air 2, the most recent addition to Cricut’s line of cutting machines, for a couple of months now. And I’m really impressed.

I’d gotten a Silhouette Cameo 3 as a present about a year ago, and I’d been using it more than my old Cricut Explore because it was so easy to upload my own images, or clipart I’d purchased outside of the brand, and make great projects. As a geeky crafter, I’m much more likely to try and cut projects with outside images from my favorite fandoms than I am to cut with images from the library. And I like being able to upload fonts from my own collection to use, too.
This used to be more challenging with a Cricut. There was expensive outside software that needed to be purchased and installed to use images outside of Cricut’s library, and I just wasn’t excited to spend more on a crafting tool that was already an investment. But the Cricut Design Space software has gotten a big upgrade since the last time we reviewed their machines, and now it’s just as easy to use outside images with a Cricut as it is with a Silhouette.

That’s a game changer for me, because there are a lot of features I really liked about the Cricut. The Explore Air 2 looks better than the Cameo 3, and the brand’s accessories all have a modern, white design that I like having in my craft room. So many of the tools between the two are similer (spatulas, weeding tools, blades), but I prefer the feel of the Cricut tools in my hand. I especially like the Cricut burnishing tool, which is more comfortable for me personally.
These machines are designed for making crafts, and I’ve used cutting machines for everything from party favors to banners to pieces of fabric. But they really are fantastic for projects around the house, too. I used the Sacramento font that I use for my personal blog and business cards and pimped the Ikea Raskog I use for planner supplies.

This is, by the way, a movement on Facebook that I did not coin. There is an actual Facebook group that GeekMom Ruth introduced me to dedicated to people’s love for this affordable Ikea staple and all the ways they’ve customized theirs.

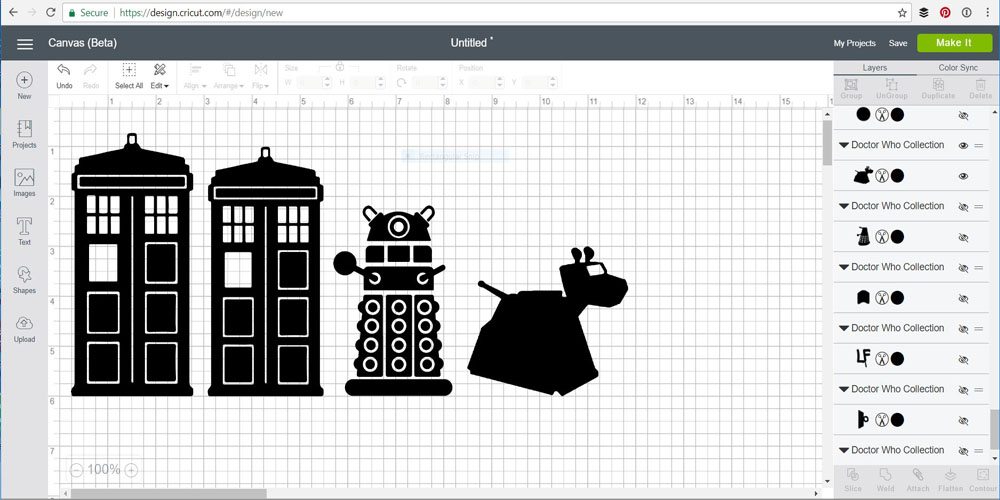
I also got a new car recently, and I used the Explore Air 2 to create a new geeky decal family for my rear windshield. My old car had the Think Geek Star Wars decals, but this time I bought some Doctor Who clipart on Etsy and used the Cricut to make my own.

It took a few tries to get the sizing right; the final version is about 8″ wide by 4″. But now my car has its own custom family made with Oracal 651 vinyl.
And with a five-year-old home for the summer, I’ve got a list of projects planned using the Explore Air 2. We have Lumi shadow printing supplies in our art bins from last summer, and I think we’ll make some vinyl cutouts of her favorite characters to use as stencils. I’ve got three more Ikea Raskog’s around the house just crying out for attention, and we might try to make some applique pillows as a sewing project. The Explore Air 2 is an investment at $250, but there are just so many fun things you can make with it.
GeekMom received a Cricut Explore Air 2 for review purposes.


