Spring is getting ready to bud, and the long season of fall sports, Halloween and New Year’s masquerade parties, and carnival season has left. Thus begins another year’s bucket’s worth of leftover plastic Mardis Gras beads.
What I always assumed was a prize for those willing to push, shove, and compromise their decency enough to acquire in only a select few cities around the globe, now pour from everything from piñatas to school carnival prize bins.

To help keep this bushel of often broken and tangled baubles under control in our home, we’ve created an easy 3-step project for turning party beads into simple mosaic art.
Step One: Pick a Solid Surface
A small wooden panel or a block with a wide surface work best, but if you want to make a larger image, use a piece of corrugated cardboard or artist canvas. Paper, card stock, or poster board are way too thin and flimsy.
Step Two: Create an Easy Image
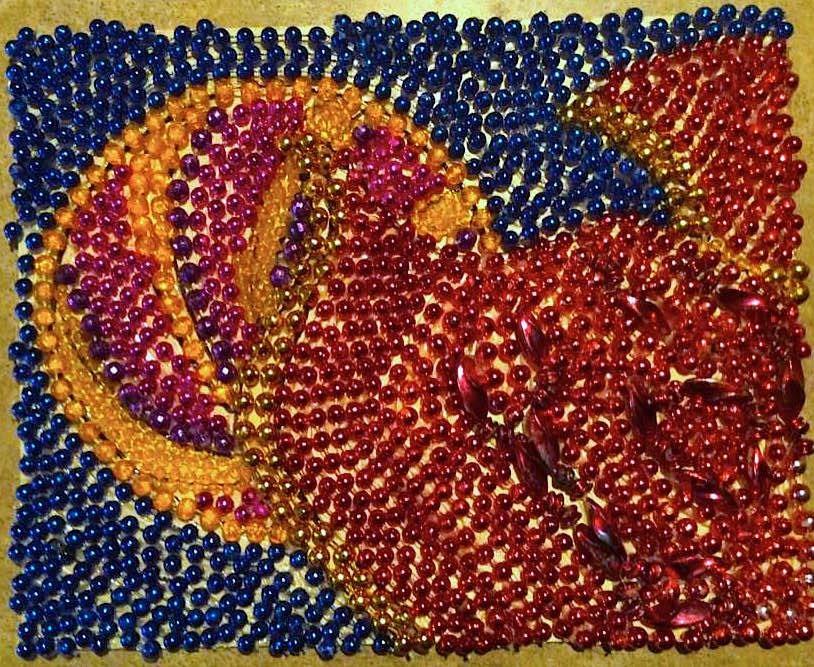
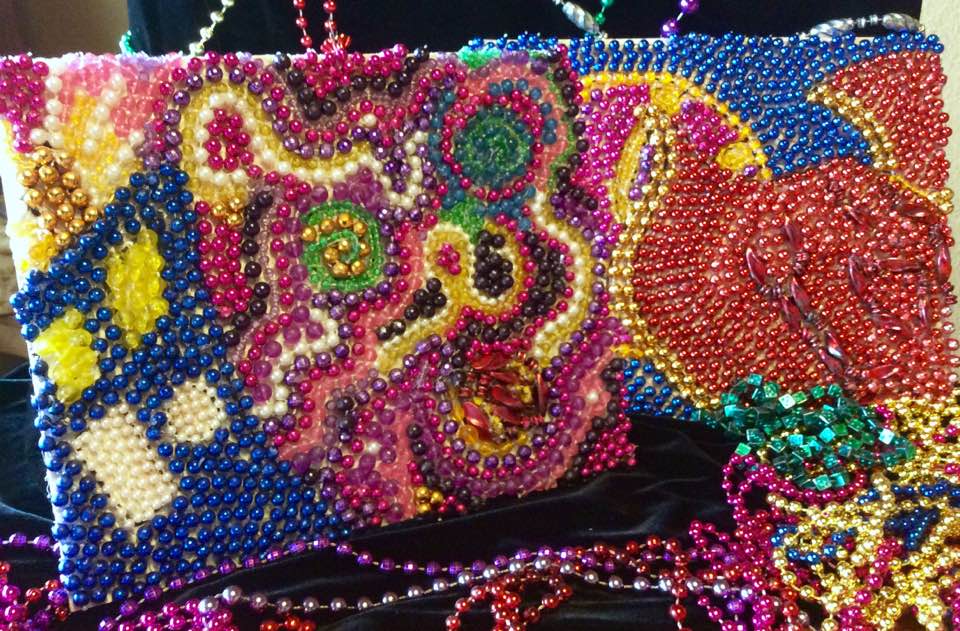
Before adding beads, we need to create a simple, sparse drawing for a pattern. You can draw directly on the surface, or on a piece of paper and glue it over the surface. The key is simple: make a picture with one simple item in the foreground (TARDIS, Death Star, etc), and keep the background fairly open. When your medium is beads, small details won’t work.
Step Three: “Paint” With the Beads
Clip the beads at one end. To paint, add a drop of glue with a glue gun to the edge of the main subject of the image. Taking it only a few beads at a time, add the glue little by little, and slowly bring outline the subject. Glue guns work best, but glues like Weldbond, which people use on small indoor mosaic projects, work well too. Make sure to supervise younger crafters when dealing with any kind of adhesive like this.
The best way to cover the image is by “painting” the smallest parts first; then the main subject in the foreground, doing the secondary images (if any), and filling in the background last.
It’s easiest to keep the bead “chain” intact for larger areas, but clip any excess off as needed. Once the larger area is filled, clip off as many individual beads as needed to fill in the spaces.
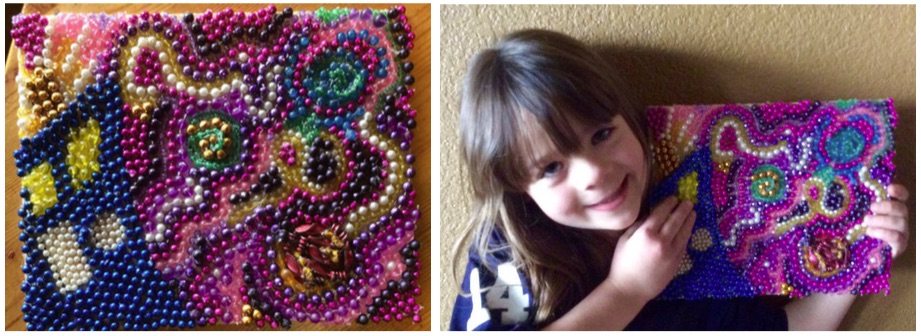
If your kids are anything like mine, especially my youngest, they don’t want to throw away their party “prizes” like beads, despite already having small bins filled with the same thing. This project will help them make use of these items in artistic ways, give them a creative challenge, and free up some space in toy bins.
At least until next party and holiday season, that is.