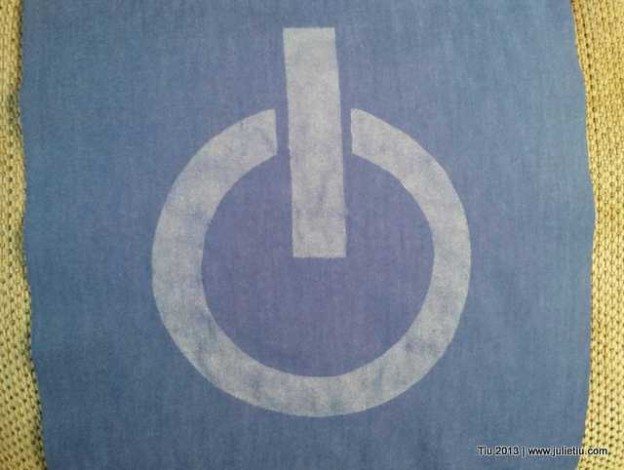
What do you give to a 15-year old boy as a gift? If you know someone of that age, you’ll know it’s near impossible to choose a gift he will like. So, instead of turning to gift cards and gift certificates, I came up with a throw pillow fit for a video game-computer-loving teenager like my nephew.
The power button is a great icon for any tech head. I made the stencil from my pots lids—true story. For you readers, I made a printable template which you can enlarge for your own project. And note, to make your pillow nice and plump, cut your fabric so that its finished dimensions will be one inch smaller (plus seam allowance) than the actual pillow.
What you need:
- 16″ pillow form
- Two pieces of cotton fabric cut to 15-1/2″ square (get a ½ yard of fabric)
- Power button template, enlarged to your liking
- Freezer paper cut to 15-1/2″ square
- Acrylic paint (I used silver)
- Matte gel medium
- Sponge paint brush, or dauber
- Iron and ironing surface
- Other materials: scissors, utility blade, scrap fabric, scrap paper, paper plate, newspaper to place under fabric while painting

Preparing the freezer paper stencil:
- Cut out the power button template with your scissors or blade.
- Find the center of the freezer paper by folding the square diagonally from both corners, mark the center. Place your stencil template, centering it on the freezer paper, and trace the power button.
- Cut out the power button stencil.
- Set your iron on warm, and while you’re waiting for the iron, place the freezer paper (shiny side down) on top of the fabric you will use for the front of your pillow. You could pin in place if you want.
- On your ironing surface, place your pillow front and stencil face up, cover with a scrap piece of fabric and evenly press (10-15 seconds) all over the fabric to “adhere” the freezer paper onto the fabric. Don’t worry, it won’t mess up the pillow front.
- After ironing, check to see if the paper is completely stuck onto your fabric, especially on the edges of your design. You want a crisp edge. If it starts to come undone while painting, you can return it to the ironing board and press again—just make sure the paint is dry.
Painting the design:
- On your paper plate or palette, squeeze a quarter size blob of acrylic paint, and add a dime size blob of gel medium. It’s to give substance to the paint otherwise the paint will be too transparent. (You will repeat this step often. I like to control the amount of paint sitting out so it doesn’t dry up fast.)
- Using your paint brush or dauber, mix until paint and medium is combined.
- Place your fabric on some newspaper or scrap paper before you start painting. Some moisture from the paint will seep through.
- Tapping off the excess off your brush, begin painting on the stencil. You want a fairly dry brush, not goopy. Paint until design is covered.
- Repeat two more times, letting each coat of paint dry for at least 20-30 minutes, preferably an hour or two. At the end of your third coat, the paint should be opaque. Let the pillow front dry overnight.
- When you’re sure the design is dry, peel the freezer paper off the fabric. Design should be crisp and awesome.
Sewing the pillow:
- Place the pillow front and back with right sides together and pin in place.
- The seam allowance is ½”. Stitch around all four sides; make sure you leave a 7″ opening. (I also backstitch at the beginning and the end.)
- After stitching, cut the corners at a 45 degree angle (shy of the stitching) to reduce bulk in the corners. Turn your pillowcase right side out and stuff the pillow into its case. Ladder stitch or slipstitch the opening closed.


“I am truly grateful to the holder of this web site who has shared
this great paragraph at at this place.”